

Jun 21, 2022
Best Practices To Follow When Developing a Health App

Adam Creamer
Read More

Developing a test automation framework for Appium boils down to a simple 2-step process:
In the real world, Appium is used to automate an entire mobile application and the simple idea to put all element locators and interactions with locators into one file won’t help us. It’s just bad design. When we inevitably go back to increase automation test coverage, we would likely end up with an unmaintainable project – large project files, complex code and duplicate usage of element locators will become the bane of your daily automation life.
Moreover, even a small change in the application UI would break the existing working locators, and if we use the linear structure in our test code, it will become so difficult to fix that locator because we need to replace the invalid locator from each place in the code.
For Example, most apps or websites have a ‘home’ page, such as a dashboard, containing a number of menu options. Many automation test cases might click on these menu options to perform a specific task. Now imagine that the UI is changed/revamped and menu buttons are relocated and some of them removed. This will lead to automation tests failure because scripts will not be able to find the particular element.
So in order to reduce that pain, we need to use some kind of structure which can eliminate those difficulties. And that masterpiece code structure (or framework as it’s more commonly called!) is known as Page Object Modeling.
Page Object Model is a popular and widely used Design Pattern in Appium (and Selenium) Test Automation. It is popular because it enhances test maintenance and reduces code duplication. The main logic behind the Page Object Model Appium framework is to keep Locators and Tests cases separate from each other.
Page Object is an object-oriented class that keeps all the element locators referring to a particular page of your Application Under Test and it has interaction methods for all relevant locators that have been defined. These will be used by the Test Cases in a particular order according to the test requirements of the feature being tested.
The main advantage to using this is that whenever a UI change causes a test script failure, you only need to apply changes on Page Object classes to fix the automation script.
The basic structure of the Page Object Model Appium framework, which is depicted below, includes Page Objects, Test Cases, Utility Class, and WebDriver categories. However, this depicts just one possible Page Object Model structure.
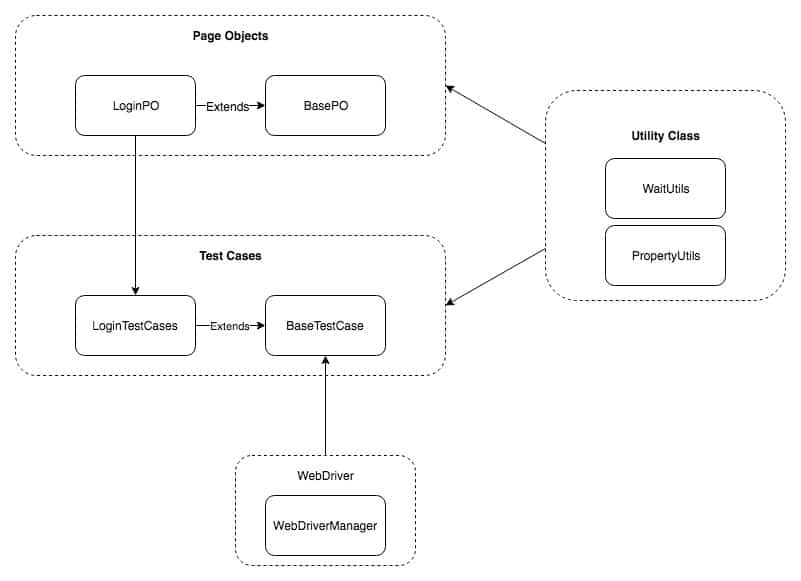
NOTE: The above structure just illustrates one possible Page Object Model structure – It may vary according to the needs of your app and test cases, and POM works best for multi page web application.
But the mentioned POM structure is bit heavy for the brain and especially when we are taking baby steps. So In this tutorial we will understand the modified and “lighter” version of POM illustrated below:
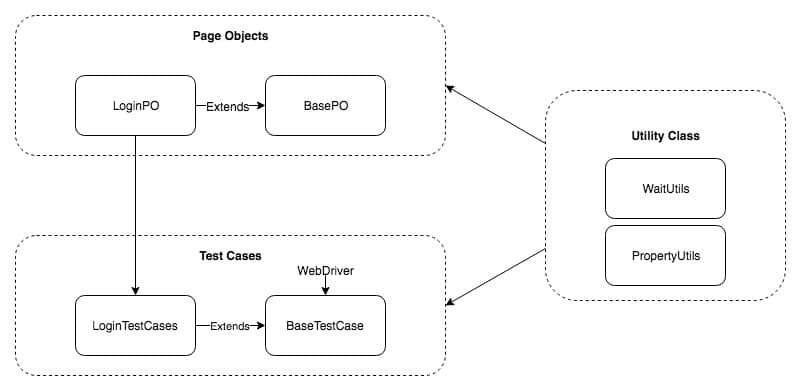
We have removed the WebDriver as separate entity and included it in the BaseTestCase. The reason to doing so is we want to simplify things, and WebDriverManager makes more sense when we are working with many different test execution clients(browsers).
So it is specially ideal to have the WebDriverManager class in case of Selenium, as there are many browsers out there such as Chrome, Firefox, Safari, Opera, etc., we need to automate upon and every browser needs some specific Desired Capabilities.
But here we are dealing with iOS and Android Devices only, so in lieu of creating a separate WebDriverManager class, we can include the WebDriver creation logic inside of BaseTestCase.
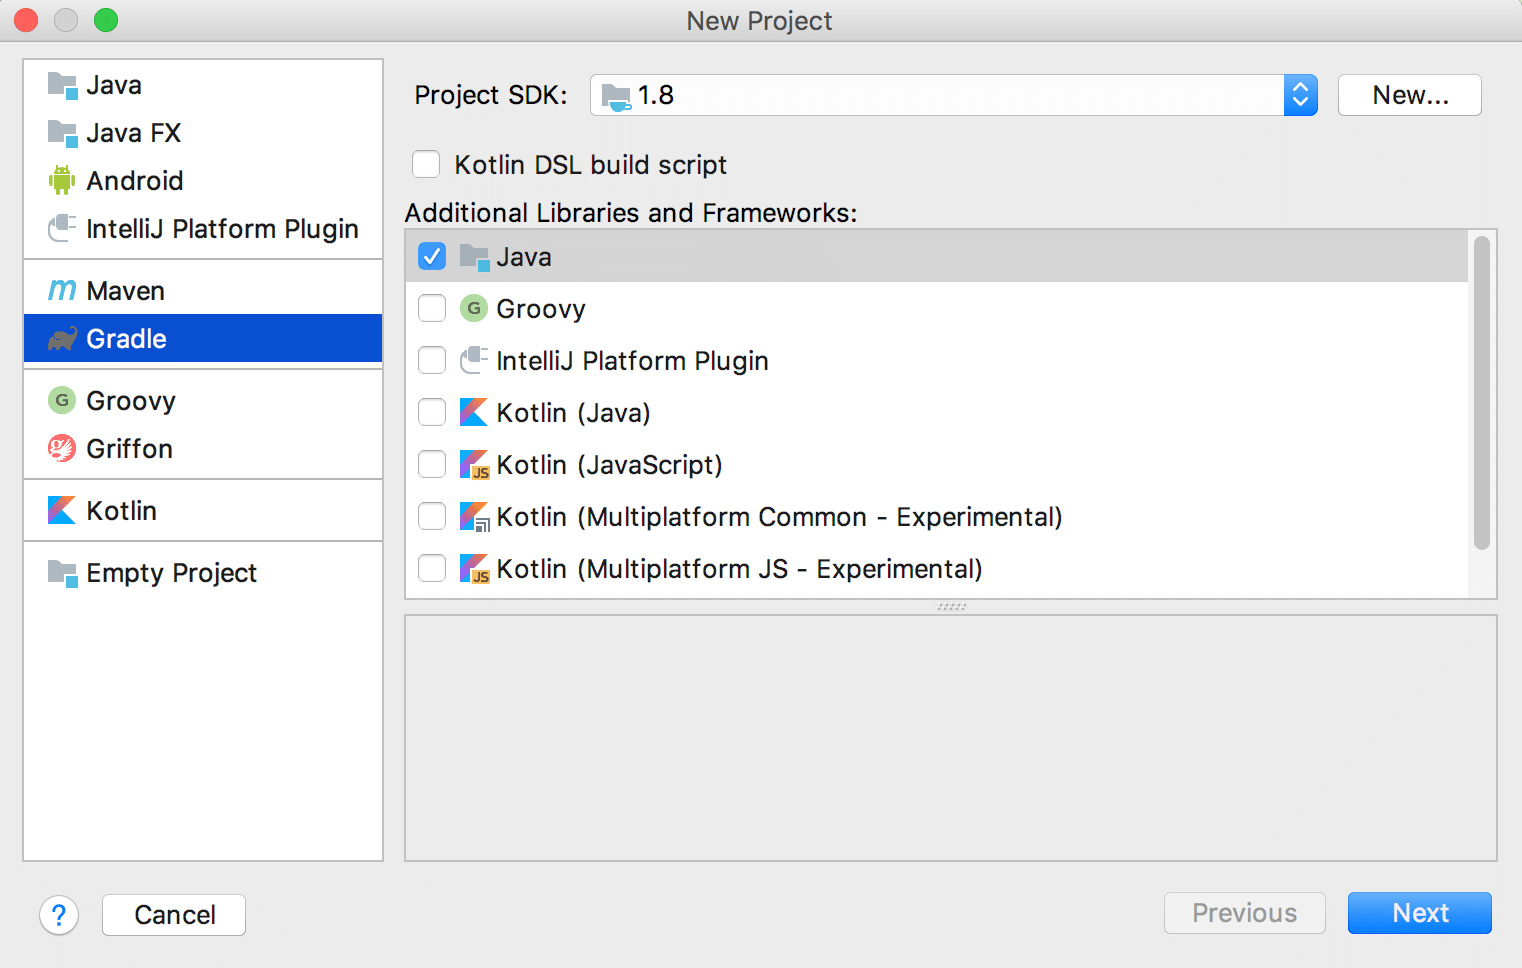
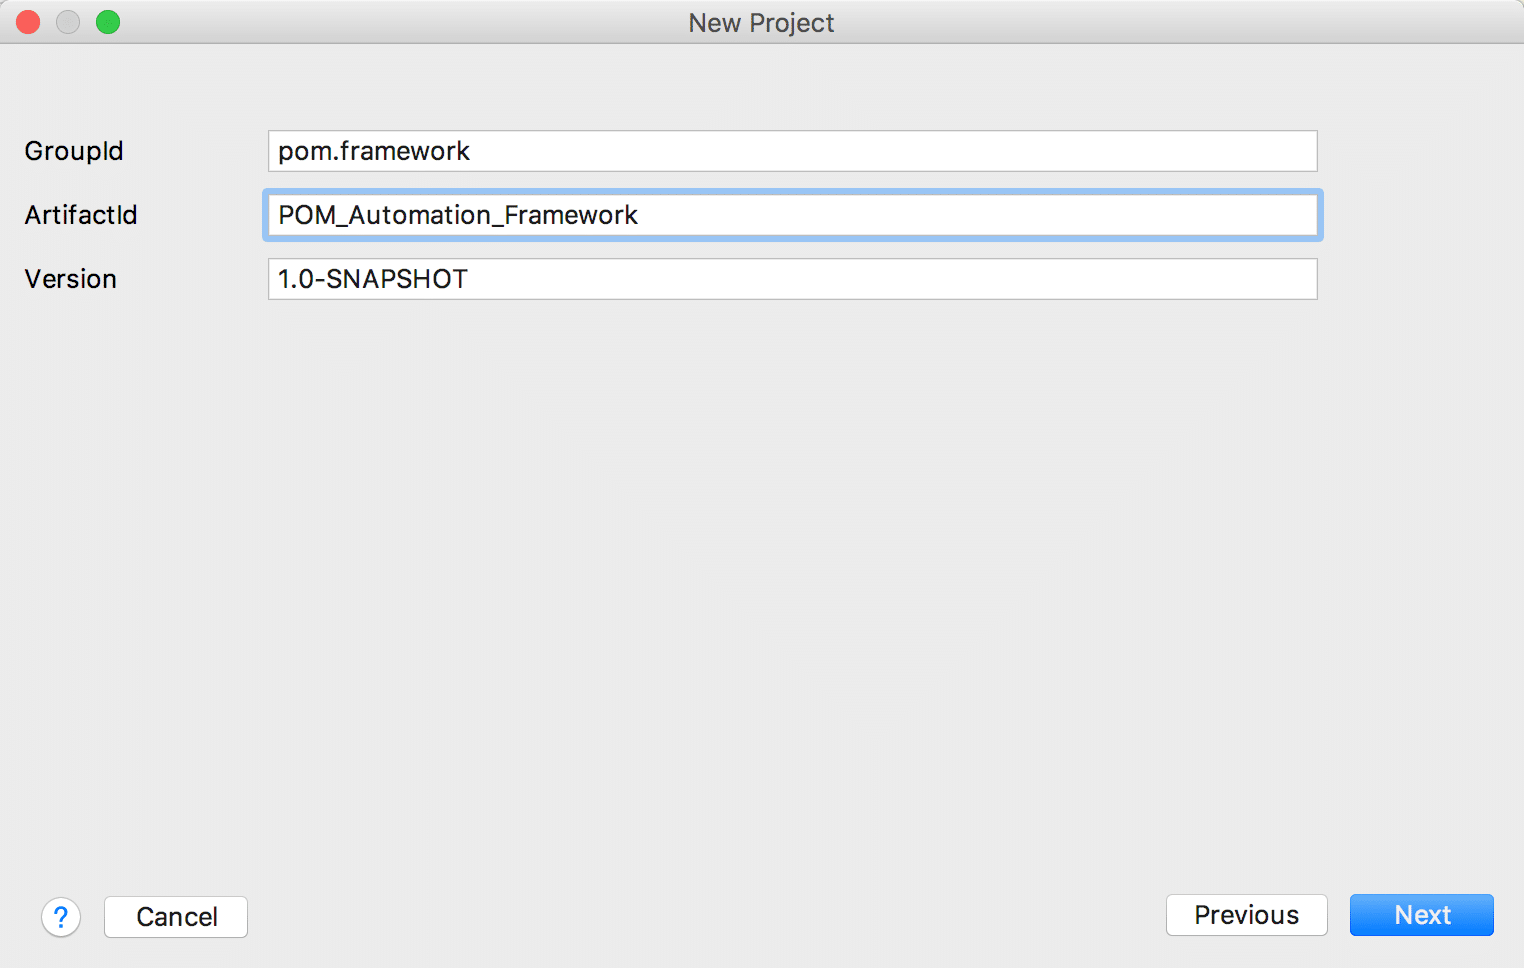
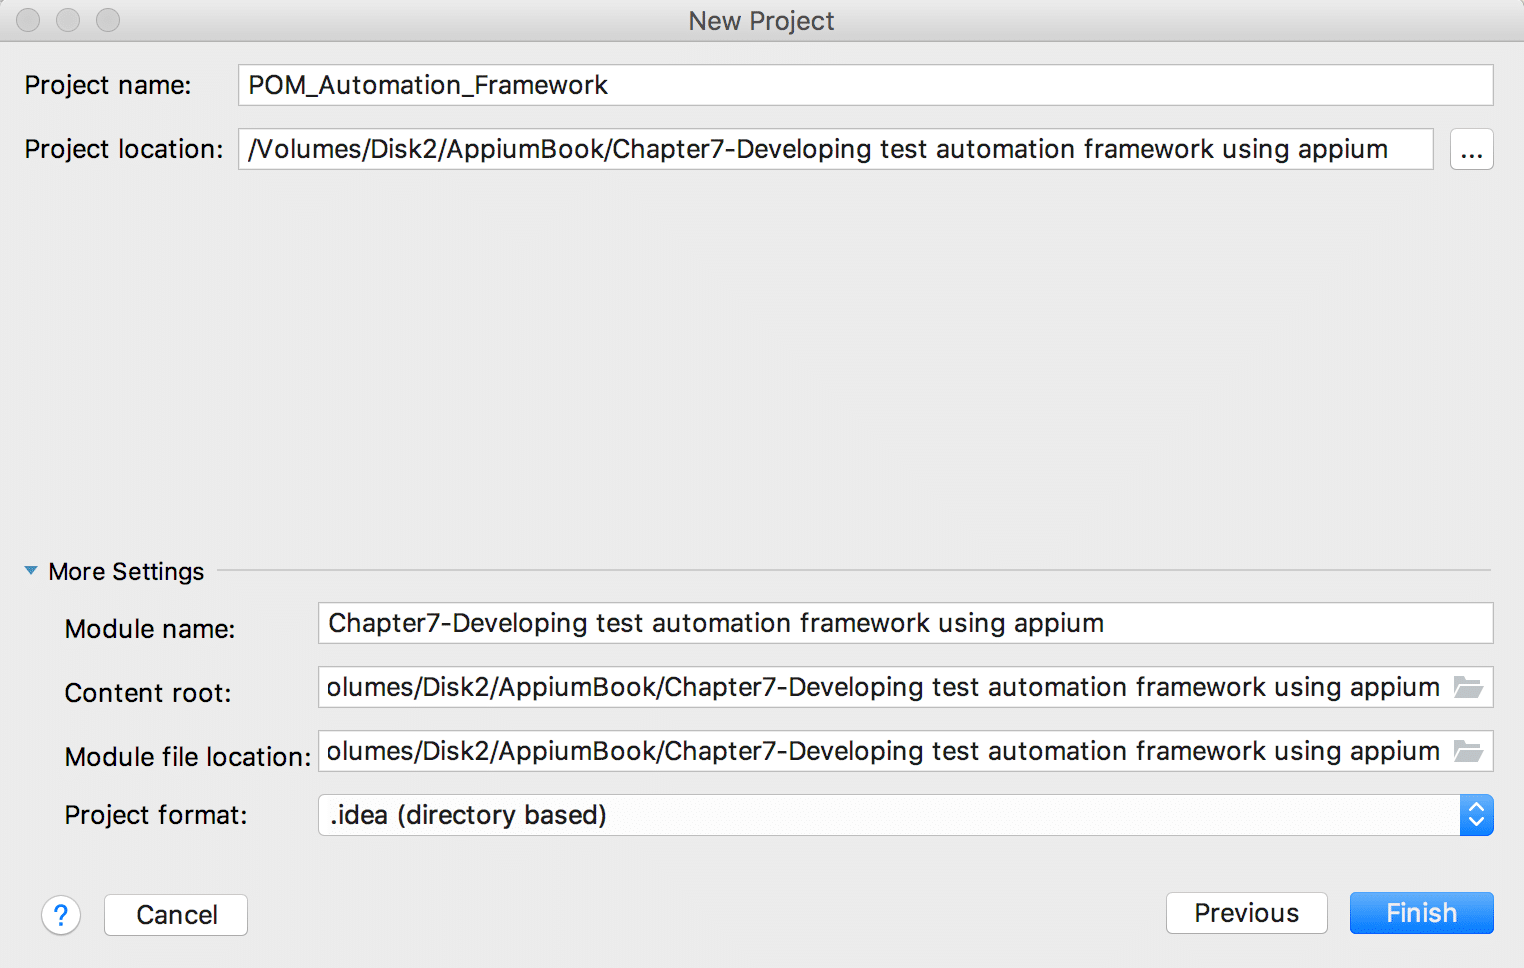
Follow the below steps to implement this(Steps shown below remain same for Intellij IDEA and Eclipse IDE):
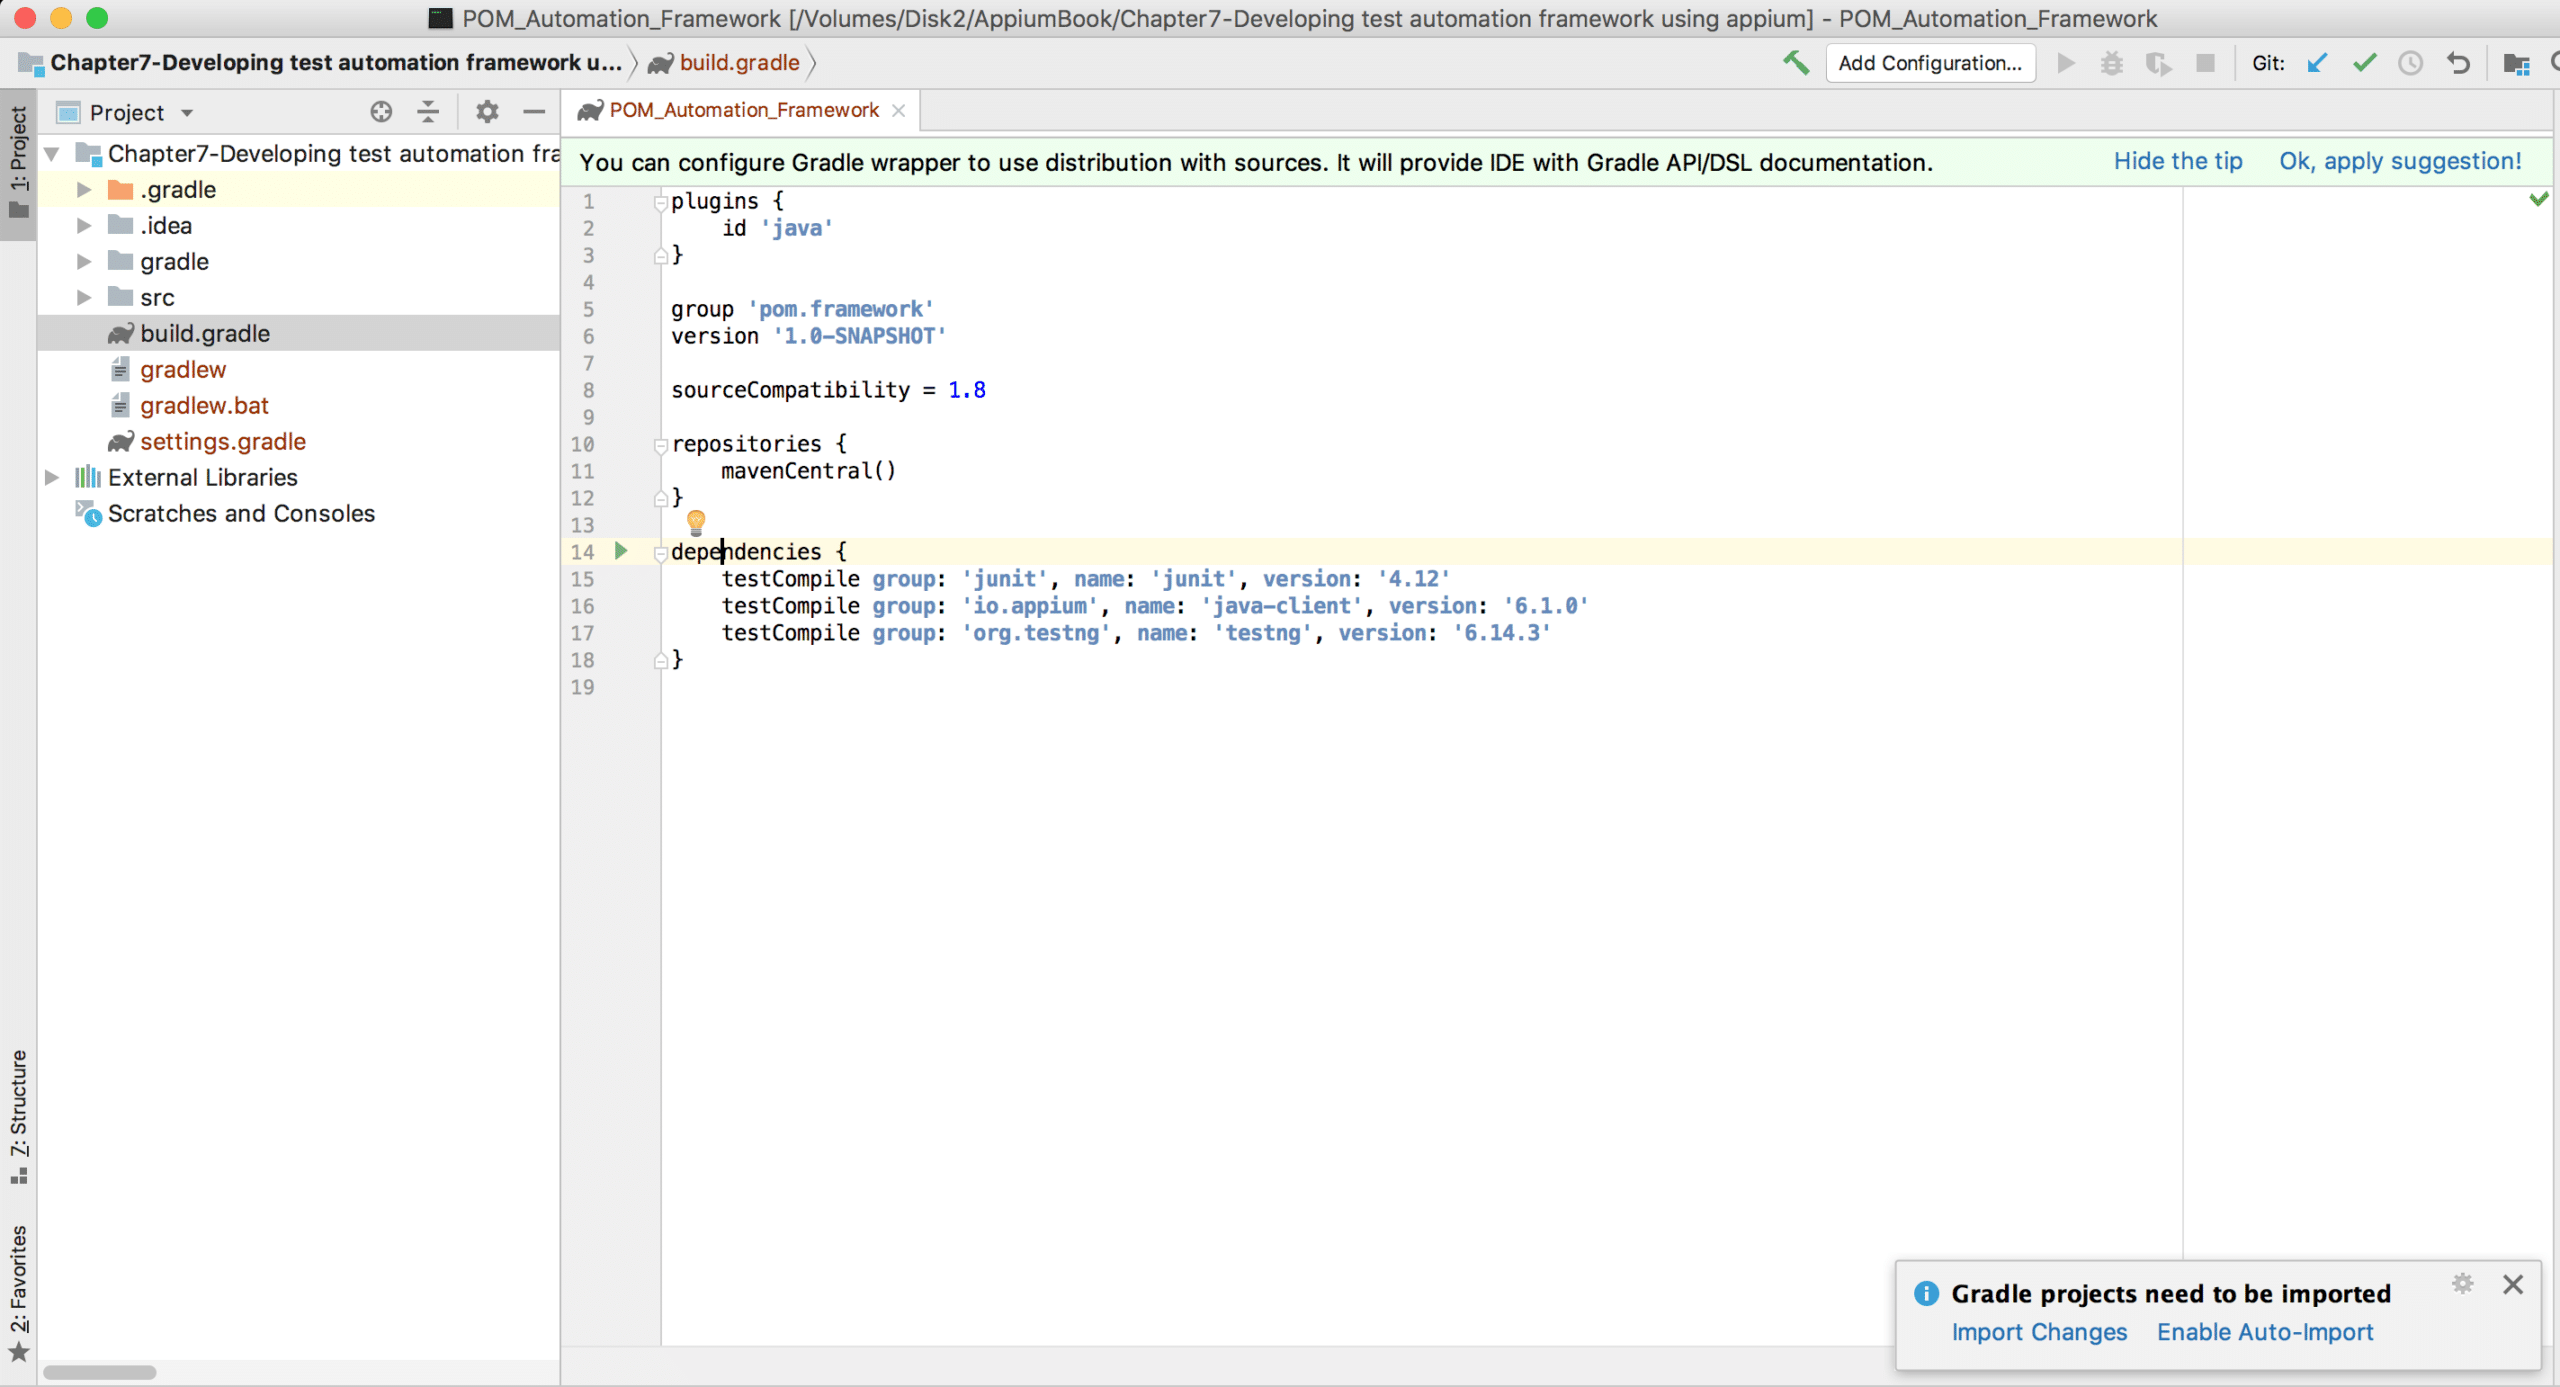
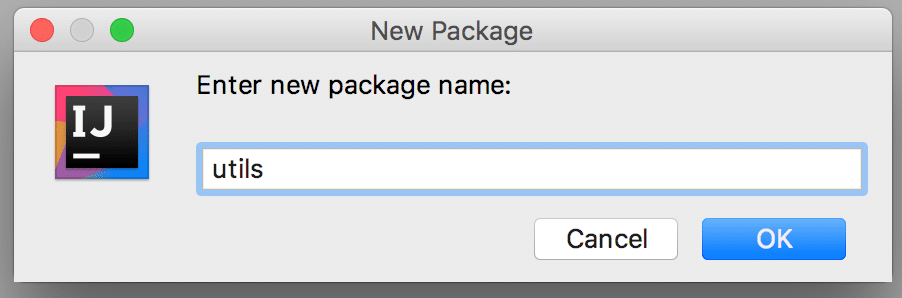
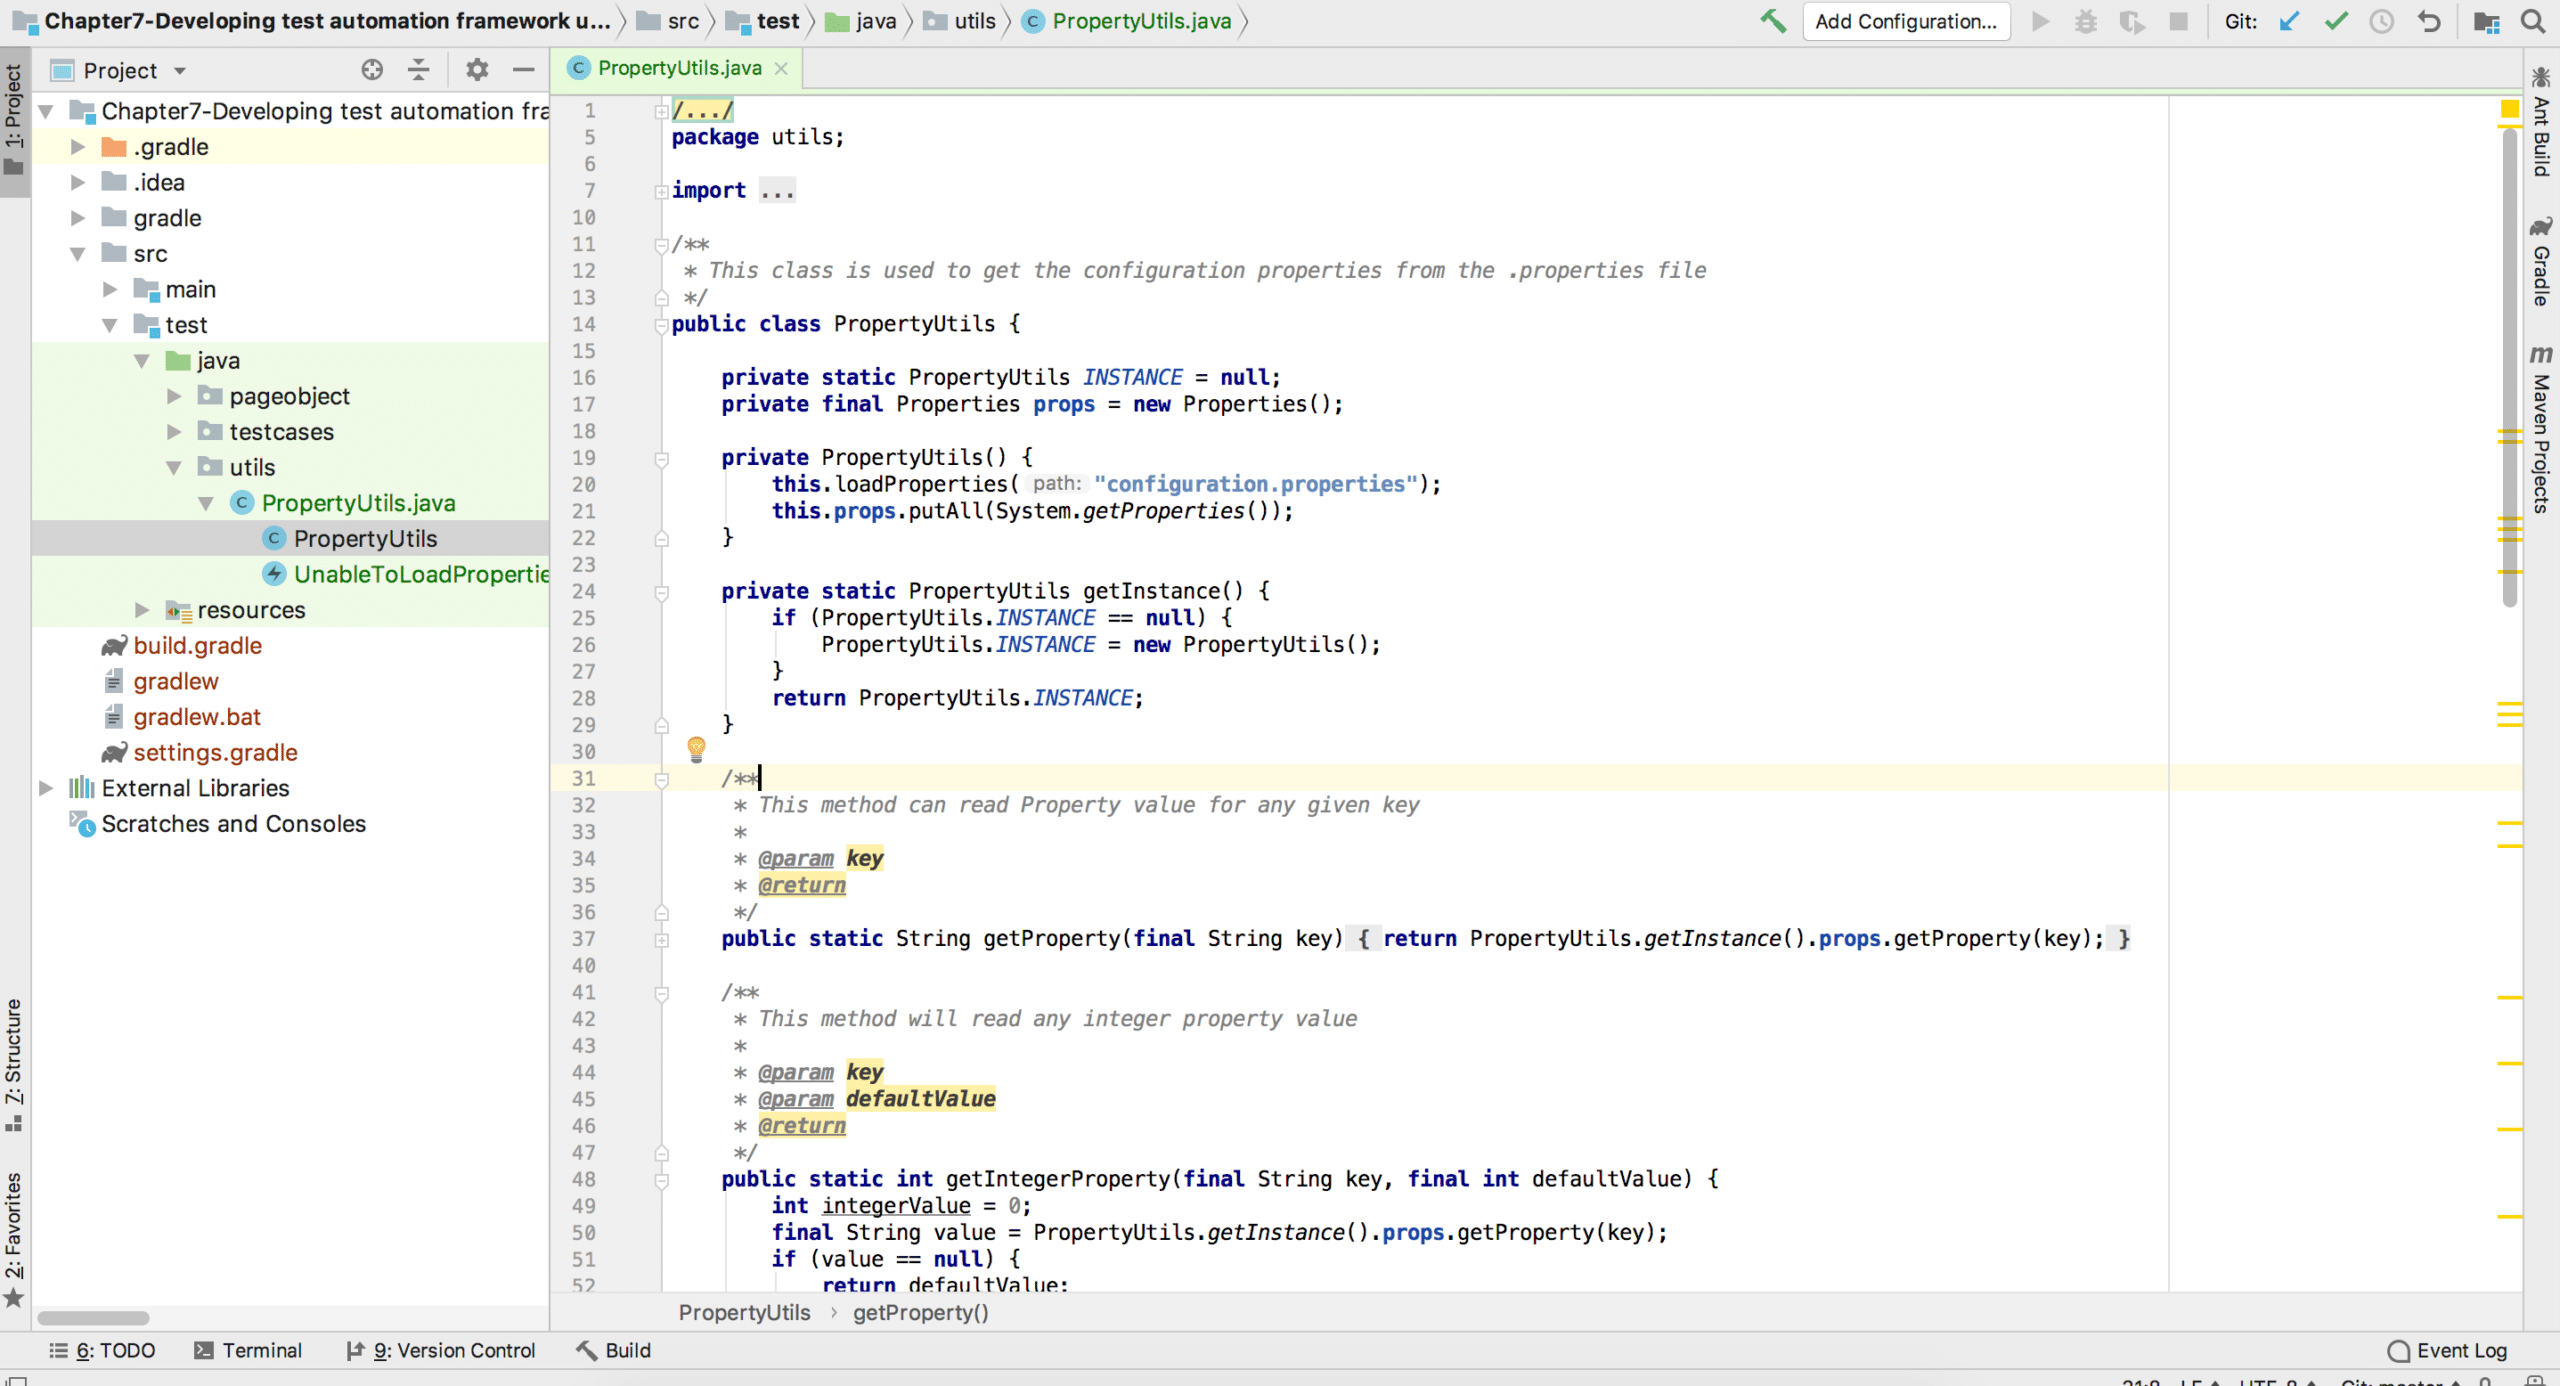
But to get the value of key from .properties file, we need to implement methods and we will use the PropertyUtils class for that.
package testcases;
import org.testng.annotations.AfterMethod;
import org.testng.annotations.BeforeMethod;
import org.testng.annotations.Test;
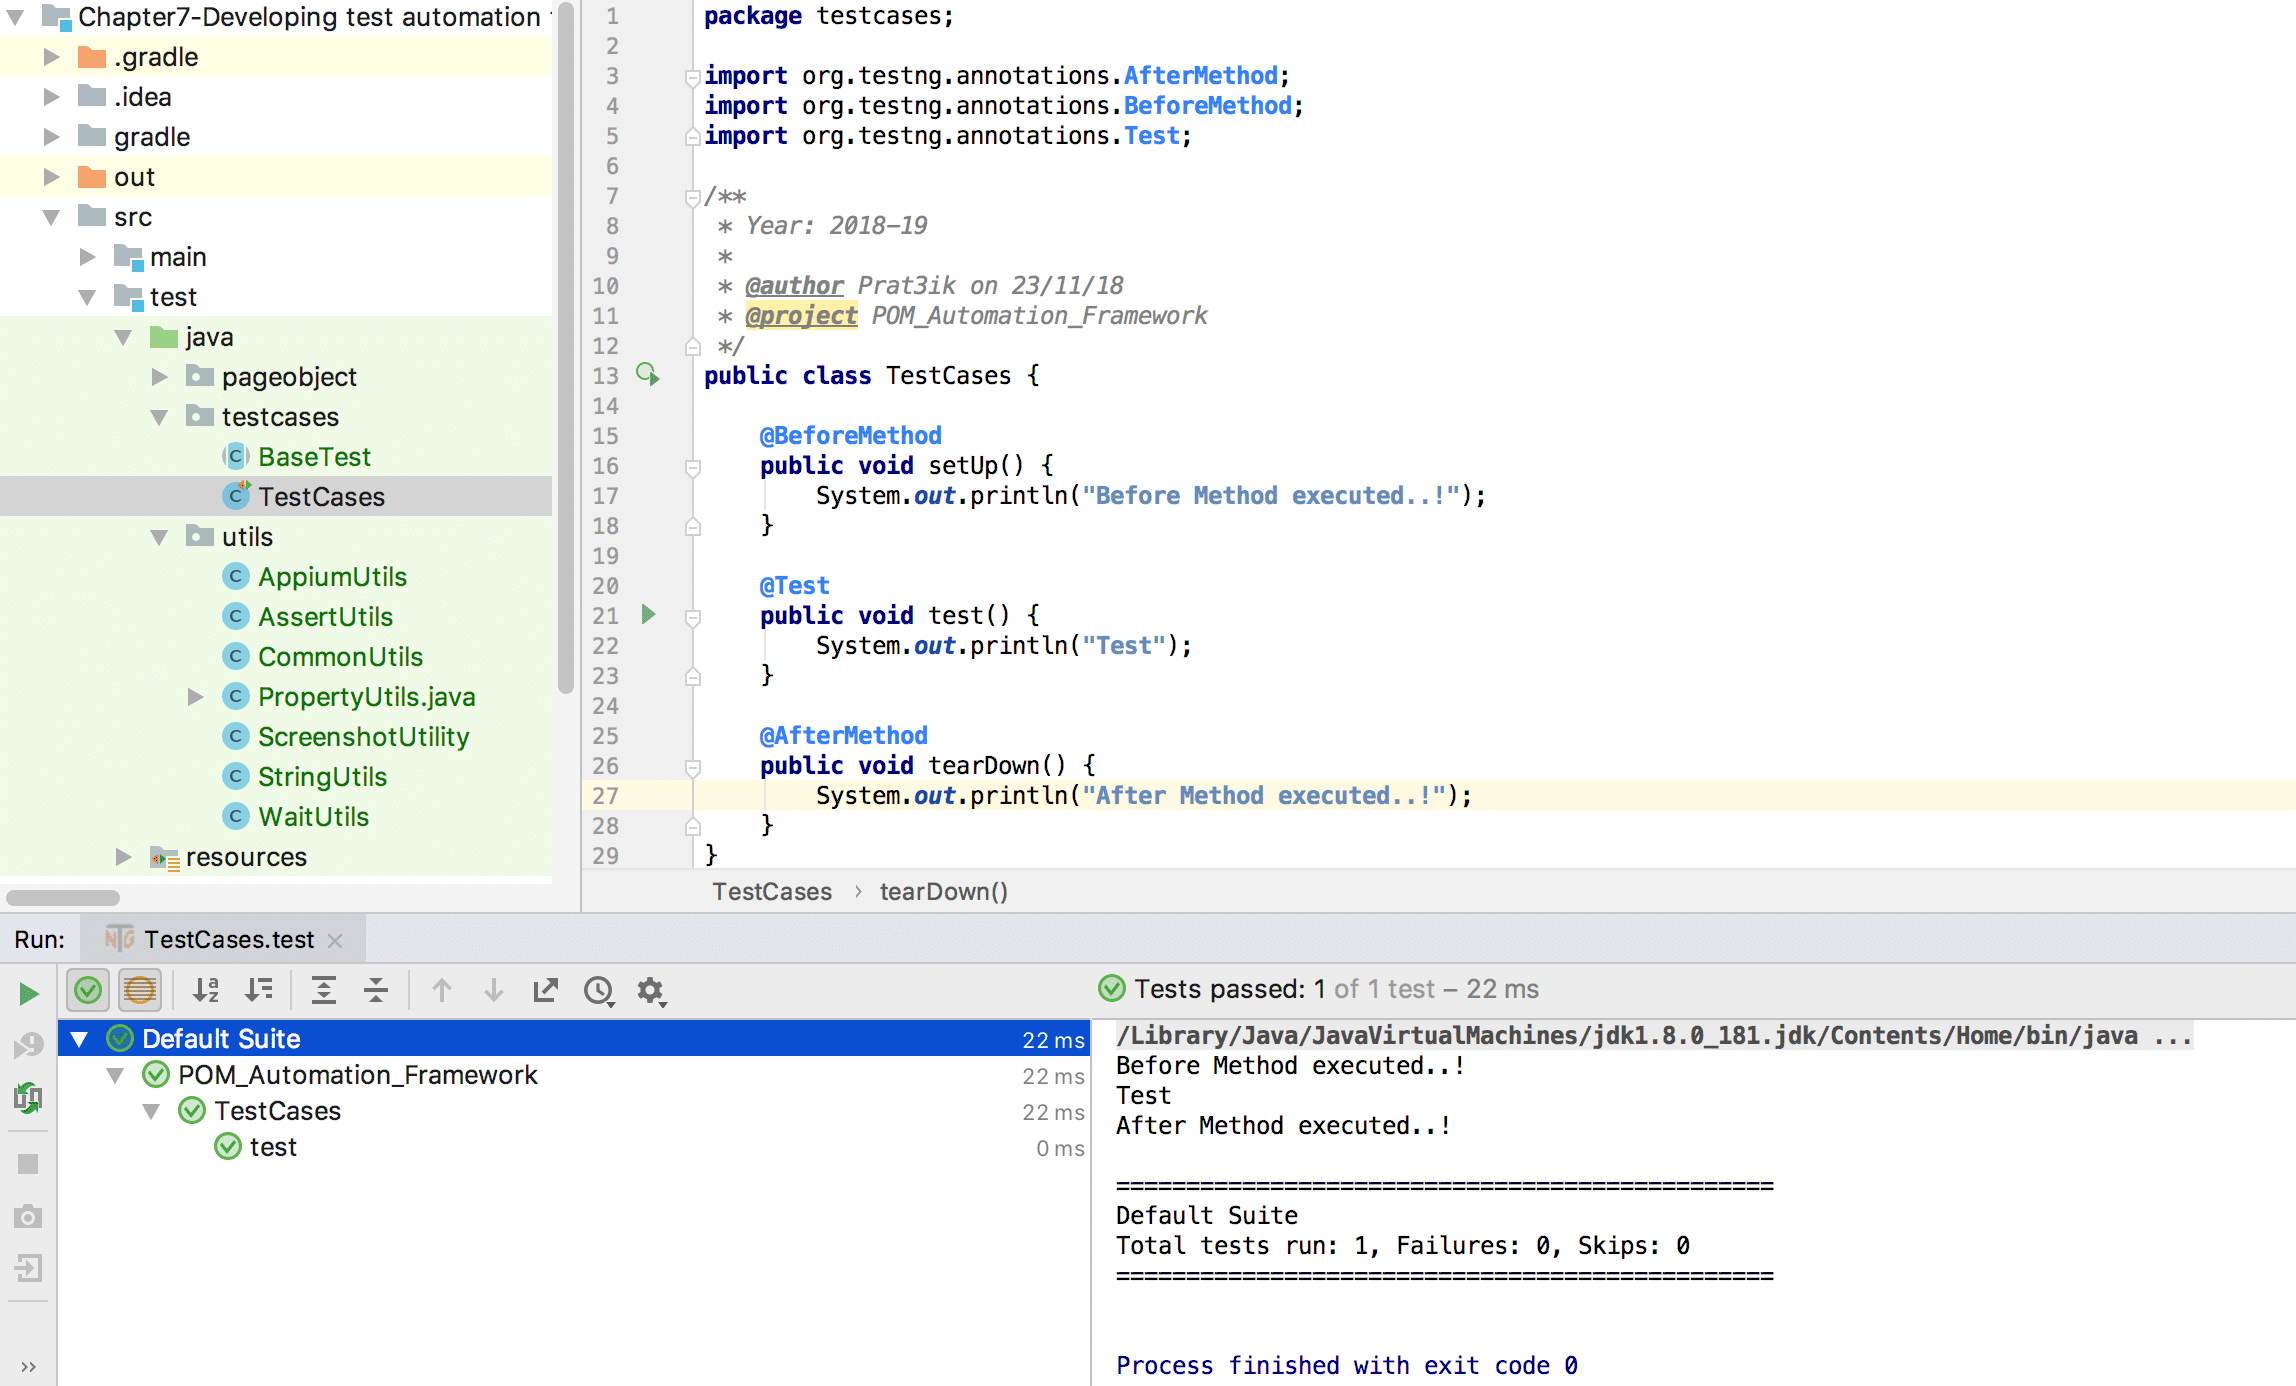
public class TestCases {
@BeforeMethod
public void setUp() {
System.out.println("Before Method executed..!");
}
@Test
public void test() {
System.out.println("Test");
}
@AfterMethod
public void tearDown() {
System.out.println("After Method executed..!");
}
}
@BeforeMethod
public void setUpAppium() throws MalformedURLException {
    DesiredCapabilities capabilities = new DesiredCapabilities();
    setDesiredCapabilitiesForAndroid(capabilities);
    driver = new AppiumDriver(new URL(APPIUM_SERVER_URL), capabilities);
}
/**
 * It will set the DesiredCapabilities for the local execution
 *
 * @param desiredCapabilities
 */
private void setDesiredCapabilitiesForAndroid(DesiredCapabilities desiredCapabilities) {
	String PLATFORM_NAME = PropertyUtils.getProperty("android.platform");
	String PLATFORM_VERSION = PropertyUtils.getProperty("android.platform.version");
	String APP_NAME = PropertyUtils.getProperty("android.app.name");
	String APP_RELATIVE_PATH = PropertyUtils.getProperty("android.app.location") + APP_NAME;
	String APP_PATH = getAbsolutePath(APP_RELATIVE_PATH);
	String DEVICE_NAME = PropertyUtils.getProperty("android.device.name");
	String APP_PACKAGE_NAME = PropertyUtils.getProperty("android.app.packageName");
	String APP_ACTIVITY_NAME = PropertyUtils.getProperty("android.app.activityName");
	String APP_FULL_RESET = PropertyUtils.getProperty("android.app.full.reset");
	String APP_NO_RESET = PropertyUtils.getProperty("android.app.no.reset");
	desiredCapabilities.setCapability(MobileCapabilityType.AUTOMATION_NAME, "uiautomator2");
	desiredCapabilities.setCapability(MobileCapabilityType.DEVICE_NAME, DEVICE_NAME);
	desiredCapabilities.setCapability(MobileCapabilityType.PLATFORM_NAME, PLATFORM_NAME);
	desiredCapabilities.setCapability(MobileCapabilityType.PLATFORM_VERSION, PLATFORM_VERSION);
	desiredCapabilities.setCapability(MobileCapabilityType.APP, APP_PATH);
	desiredCapabilities.setCapability(AndroidMobileCapabilityType.APP_PACKAGE, APP_PACKAGE_NAME);
	desiredCapabilities.setCapability(AndroidMobileCapabilityType.APP_ACTIVITY, APP_ACTIVITY_NAME);
	desiredCapabilities.setCapability(MobileCapabilityType.FULL_RESET, APP_FULL_RESET);
	desiredCapabilities.setCapability(MobileCapabilityType.NO_RESET, APP_NO_RESET);
        desiredCapabilities.setCapability(AndroidMobileCapabilityType.AUTO_GRANT_PERMISSIONS, true);
}
// To get Absolute Path from Relative Path
private static String getAbsolutePath(String appRelativePath){
    File file = new File(appRelativePath);
    return file.getAbsolutePath();
}
/**
* This will quite the android driver instance
*/
private void quitDriver() {
    try {
    	this.driver.quit();
	} catch (Exception e) {
		e.printStackTrace();
	}
}
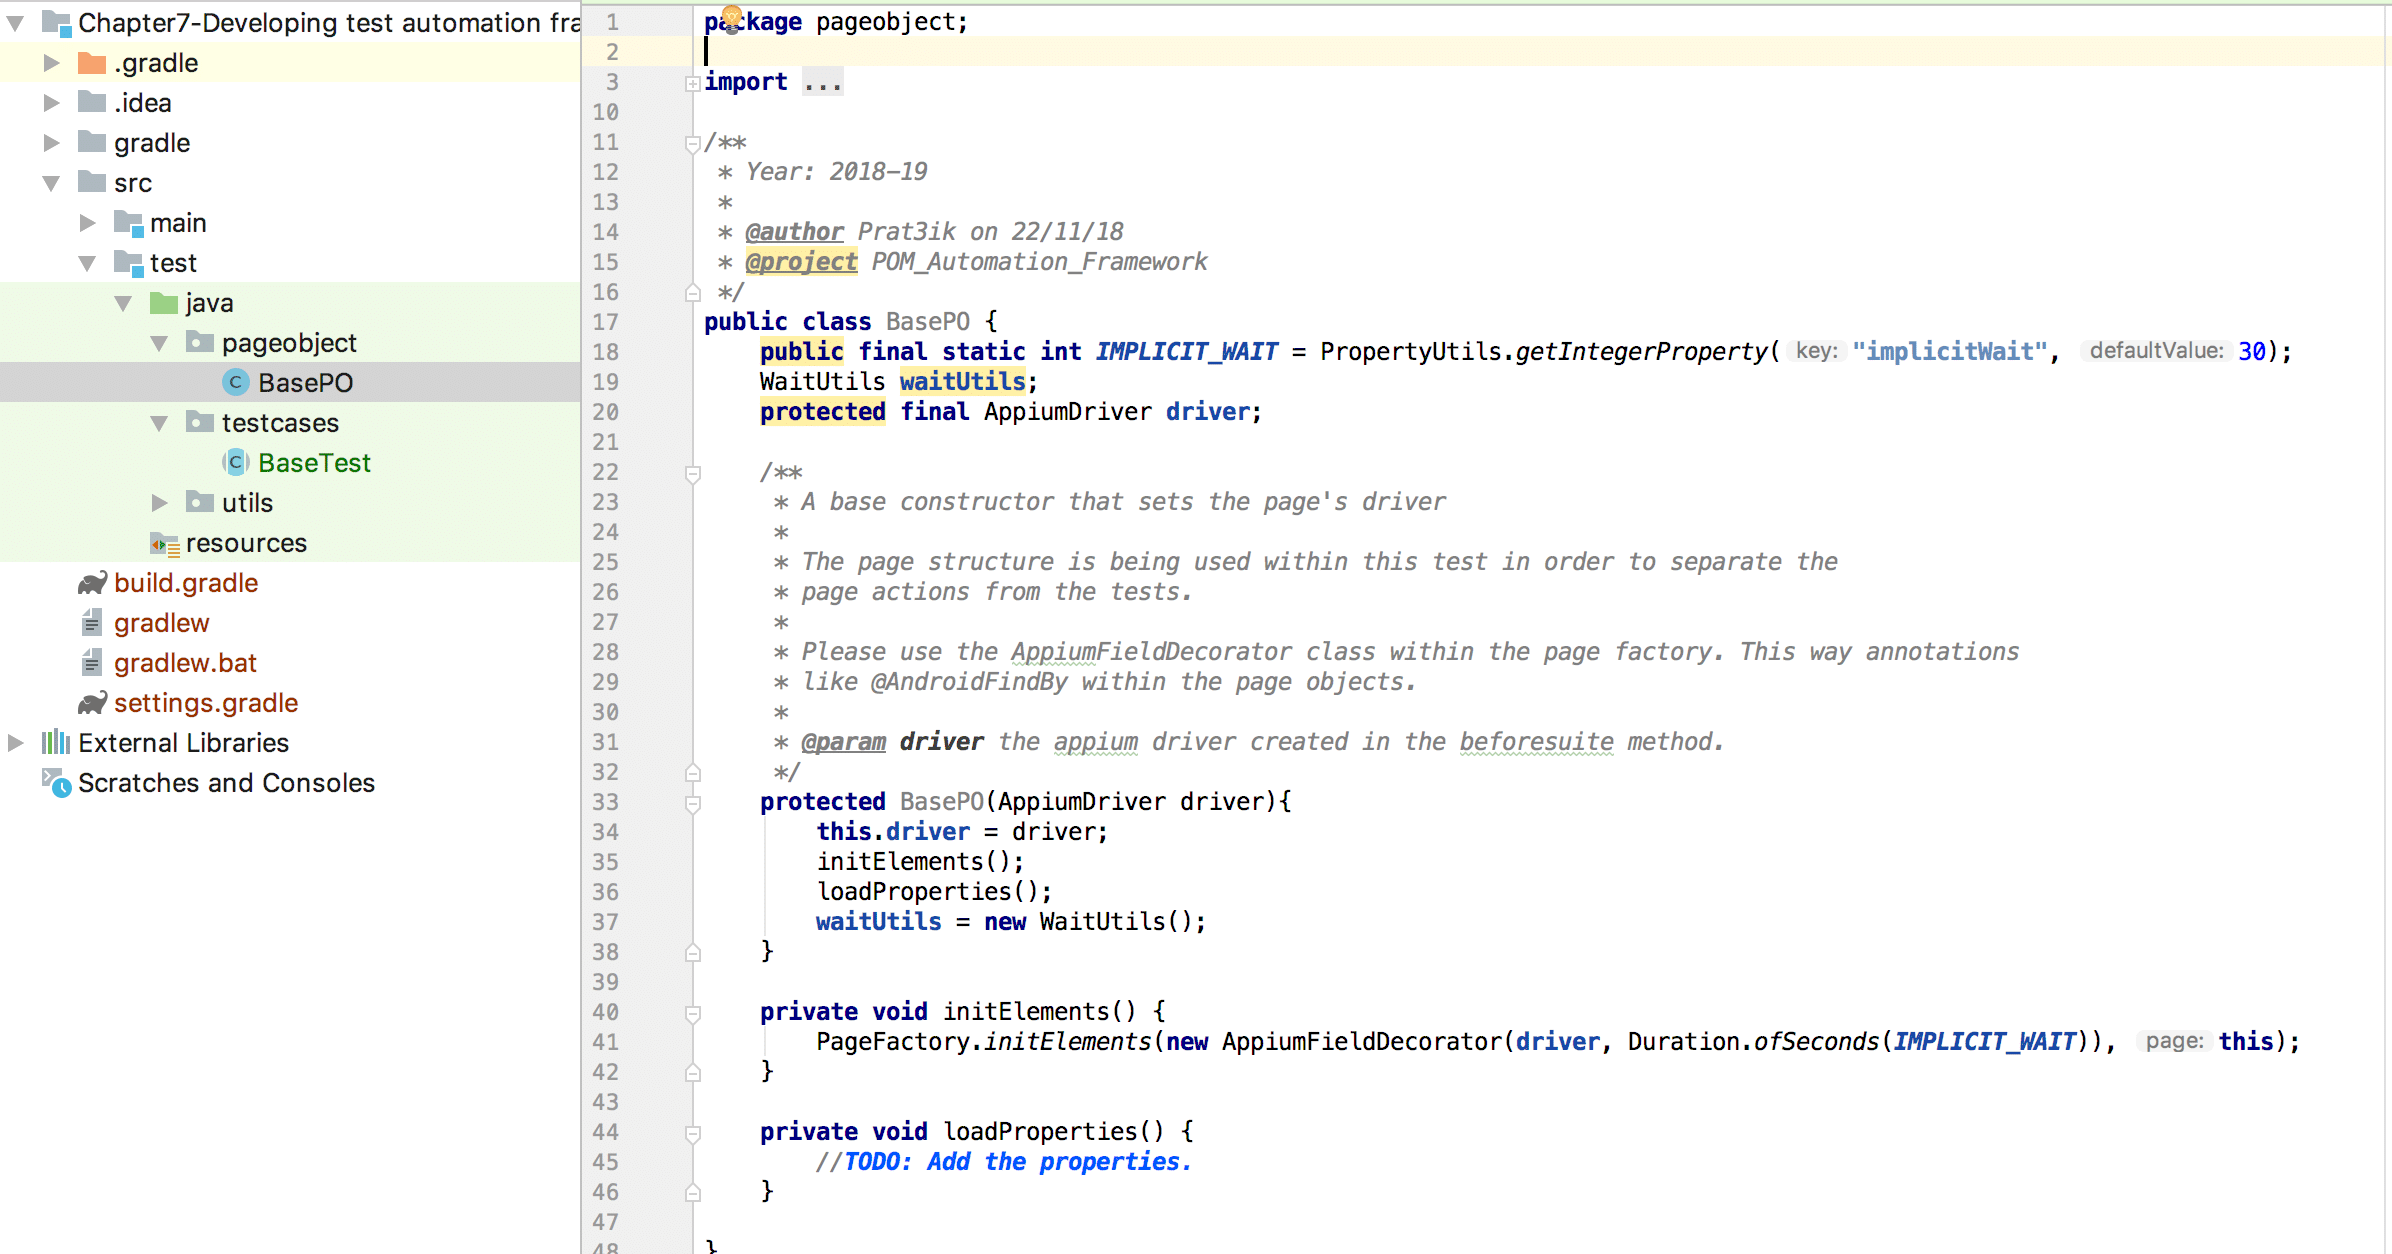
private void initElements() {
   PageFactory.initElements(new AppiumFieldDecorator(driver, Duration.ofSeconds(IMPLICIT_WAIT)), this);
}
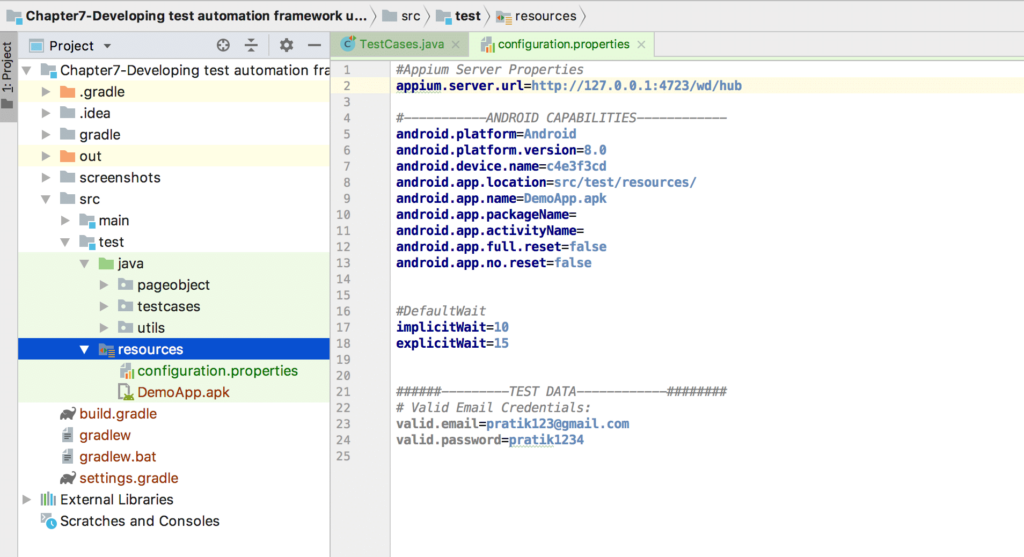
Here you can also see some objects and variables defined. IMPLICIT_WAIT is getting the values defined in properties file of java which will be stored under resources/ dir.
For iOS:
@iOSFindBy(xpath = “//XCUIElementTypeTextField”)
IOSElement emailTextField;
For Android:
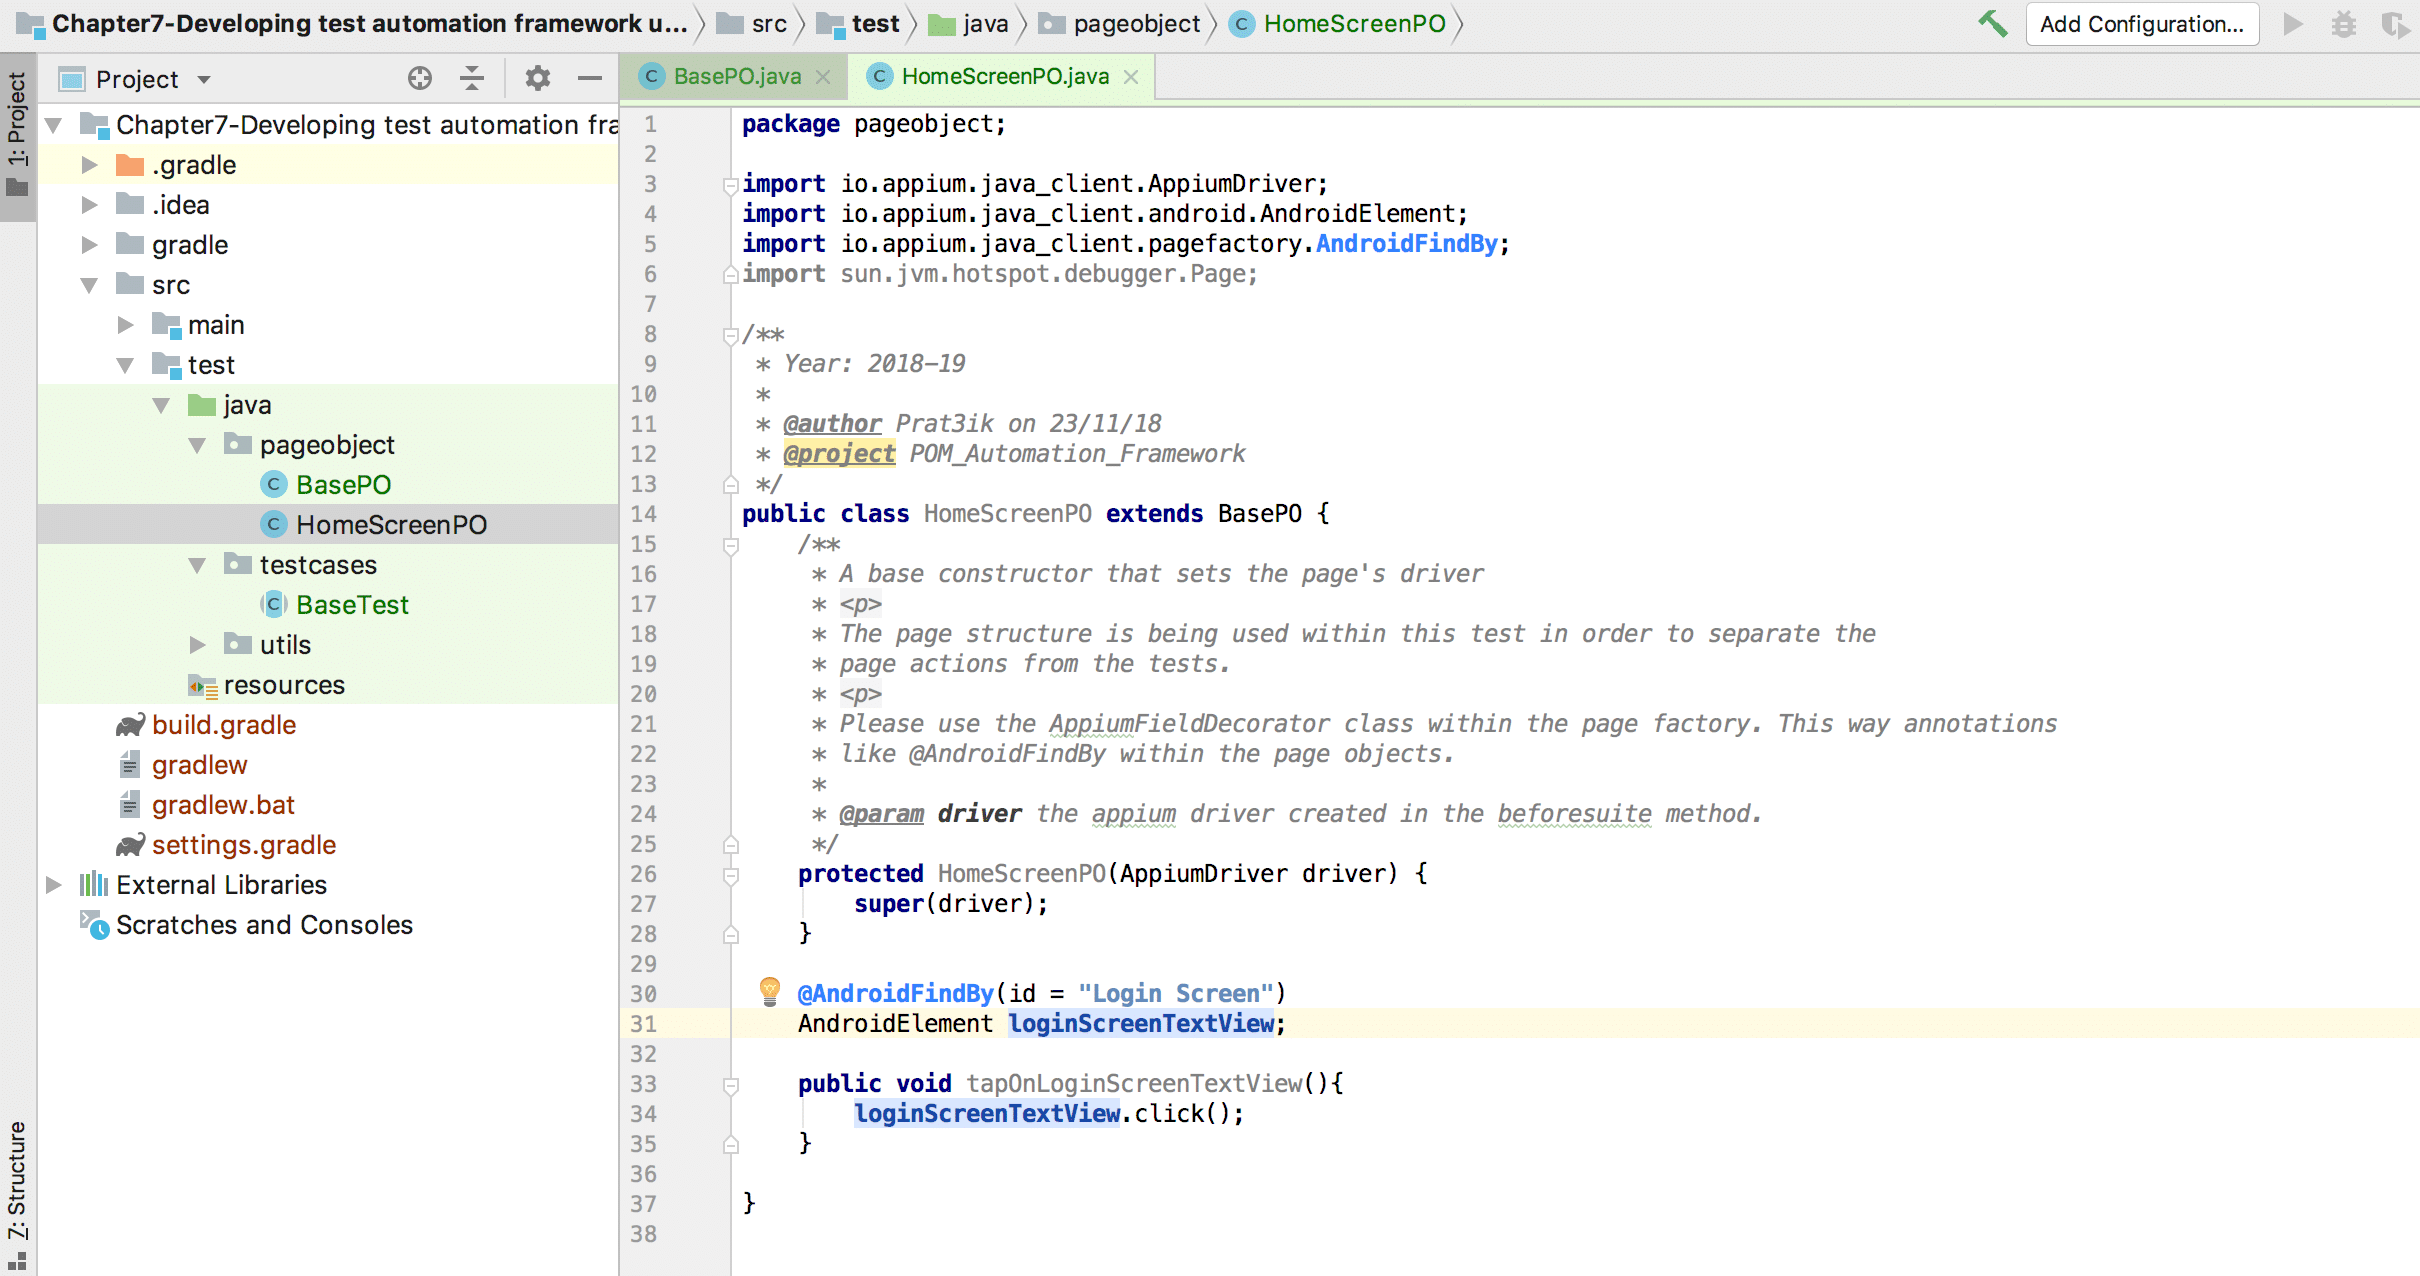
@AndroidFindBy(xpath = "//android.widget.TextView[@text='Login Screen']")
AndroidElement loginScreenTextView;

HomeScreenPO.java
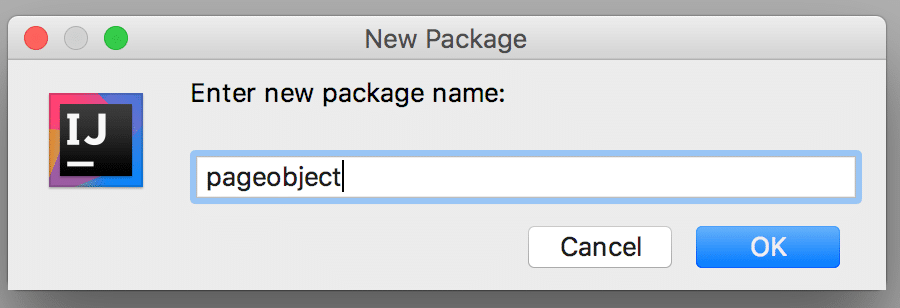
package pageobject;
import io.appium.java_client.AppiumDriver;
import io.appium.java_client.android.AndroidElement;
import io.appium.java_client.pagefactory.AndroidFindBy;
public class HomeScreenPO extends BasePO {

    public HomeScreenPO(AppiumDriver driver) {
        super(driver);
    }
    @AndroidFindBy(xpath = "//android.widget.TextView[@text='Login Screen']")
    AndroidElement loginScreenTextView;
    /**
     * This method will click on Login Screen textview.
     */
    public void tapOnLoginScreenTextView(){
        loginScreenTextView.click();
    }
}
In our example we will use the locally resided .apk file.
NOTE: Before executing the Test Case make sure that the Appium mobile automation test server is running on https://127.0.0.1:4723/wd/hub
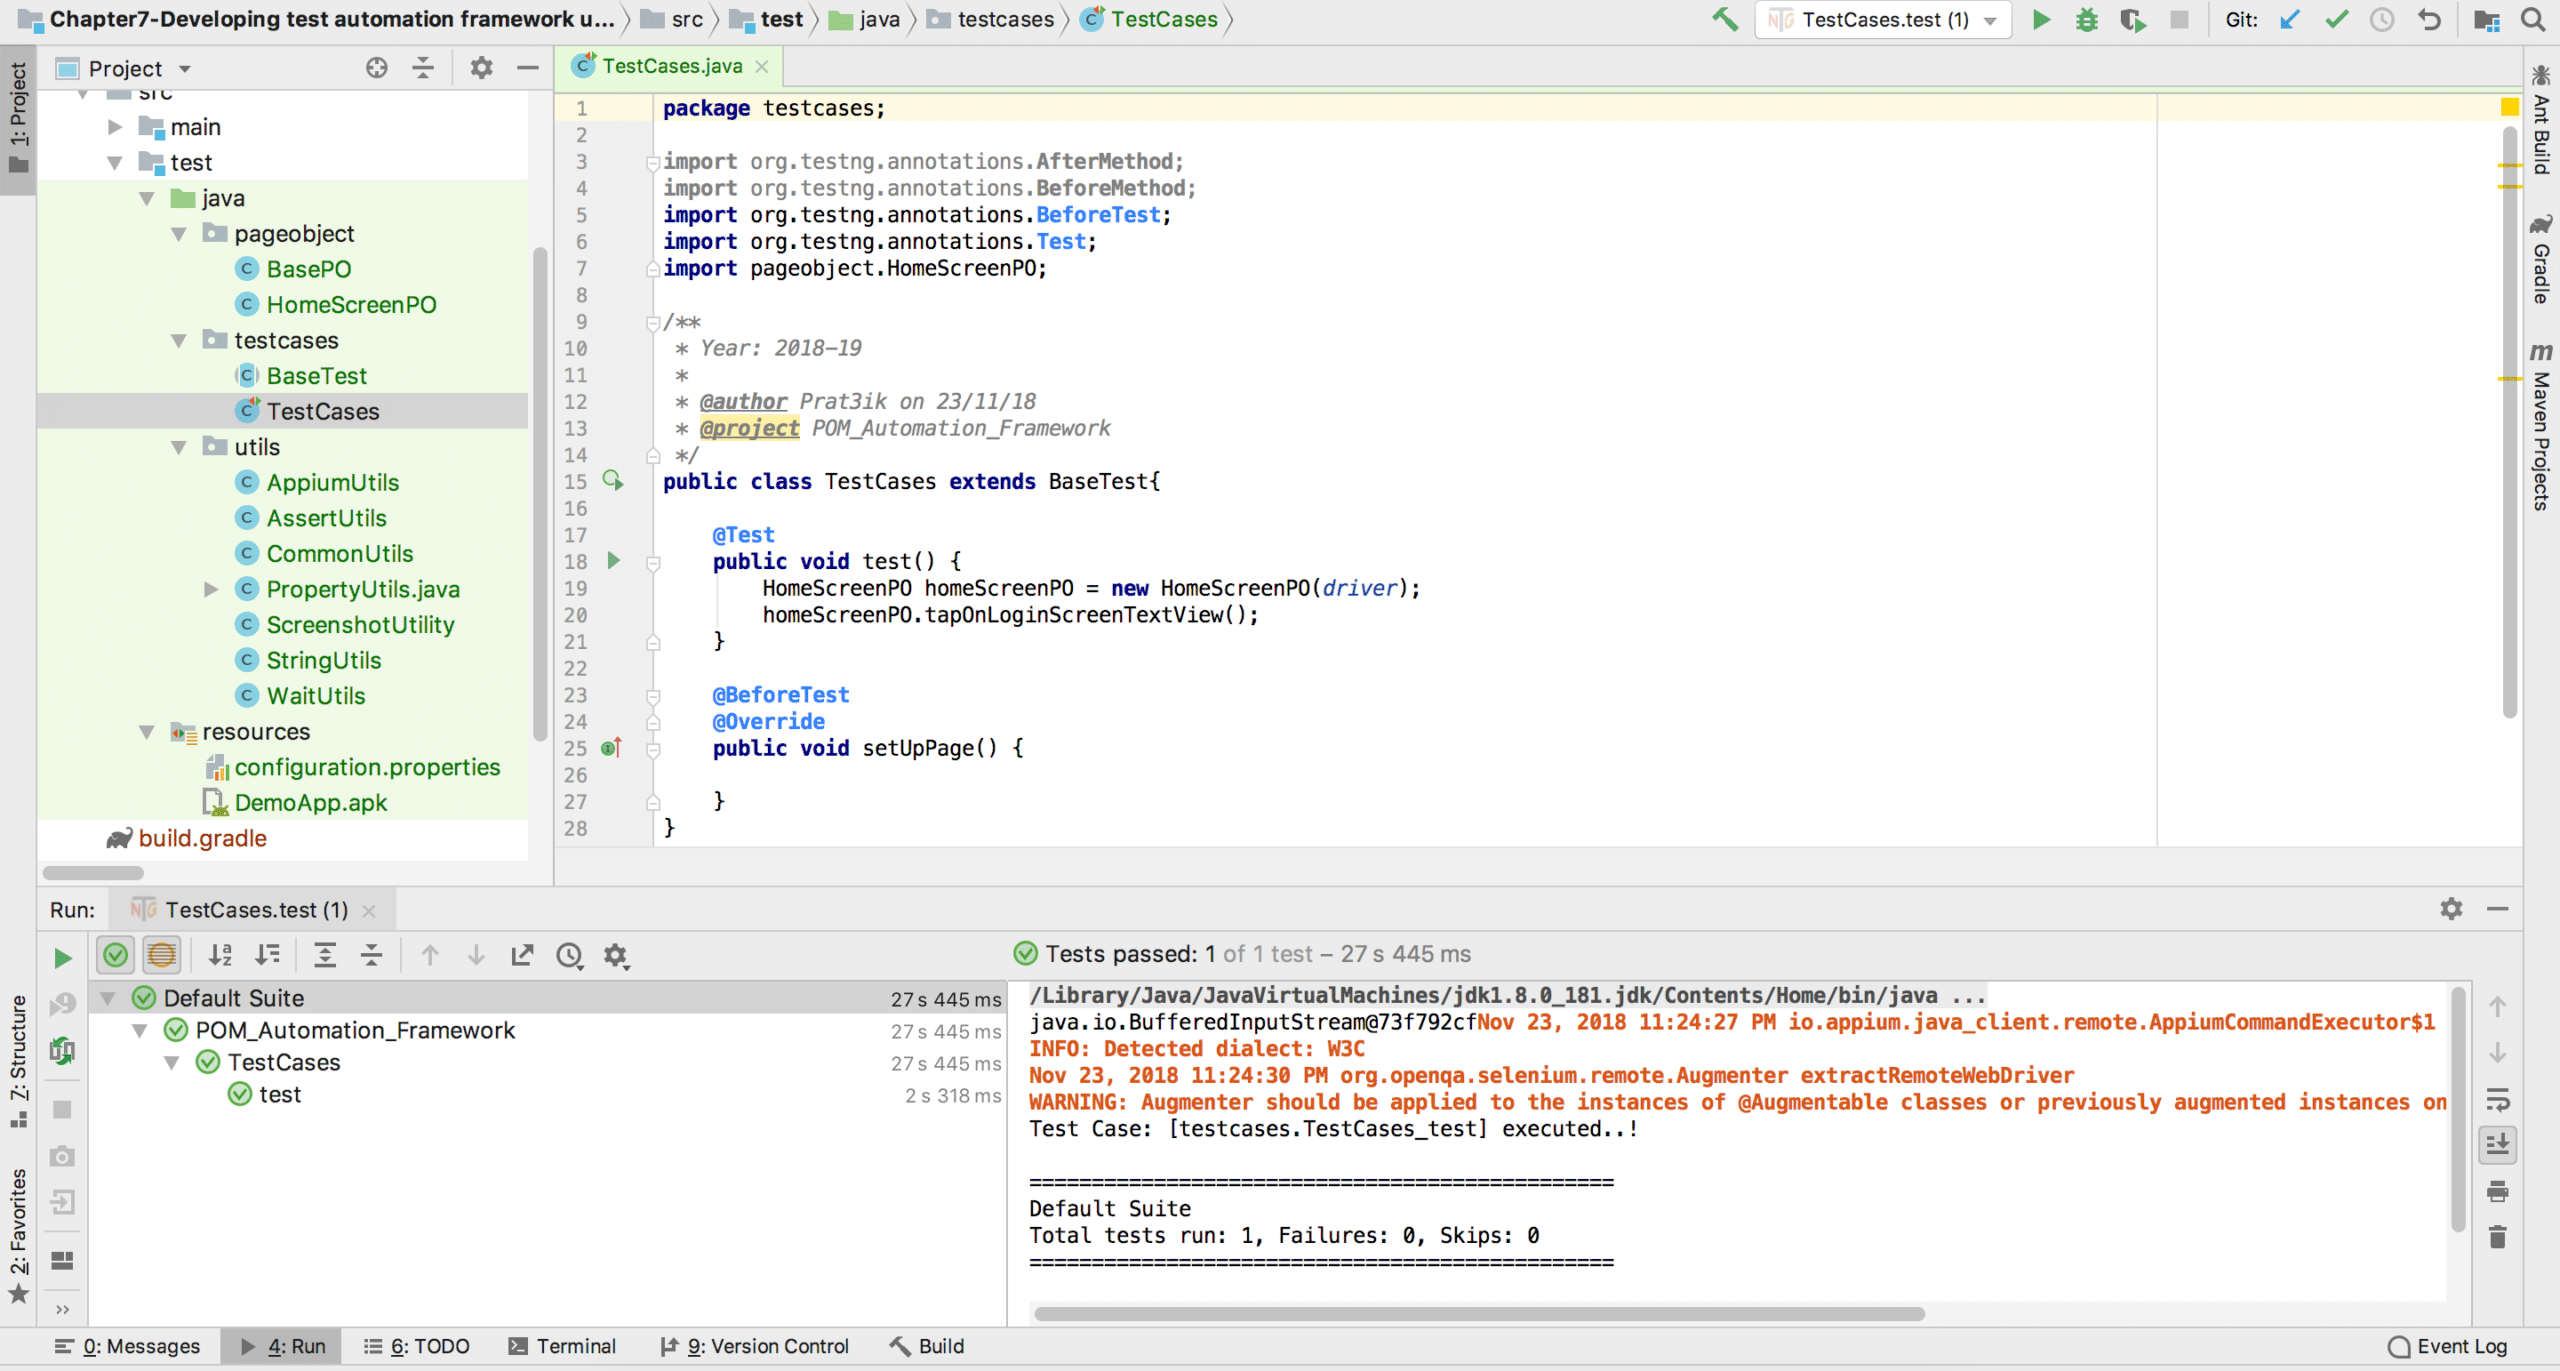
TestCases.java
package testcases;
import org.testng.annotations.AfterMethod;
import org.testng.annotations.BeforeMethod;
import org.testng.annotations.BeforeTest;
import org.testng.annotations.Test;
import pageobject.HomeScreenPO;

/**
 * Year: 2018-19
 *
 * @author Prat3ik on 23/11/18
 * @project POM_Automation_Framework
 */
public class TestCases extends BaseTest{
    @Test
    public void test() {
        HomeScreenPO homeScreenPO = new HomeScreenPO(driver);
        homeScreenPO.tapOnLoginScreenTextView();
    }
    @BeforeTest
    @Override
    public void setUpPage() {
    }
}
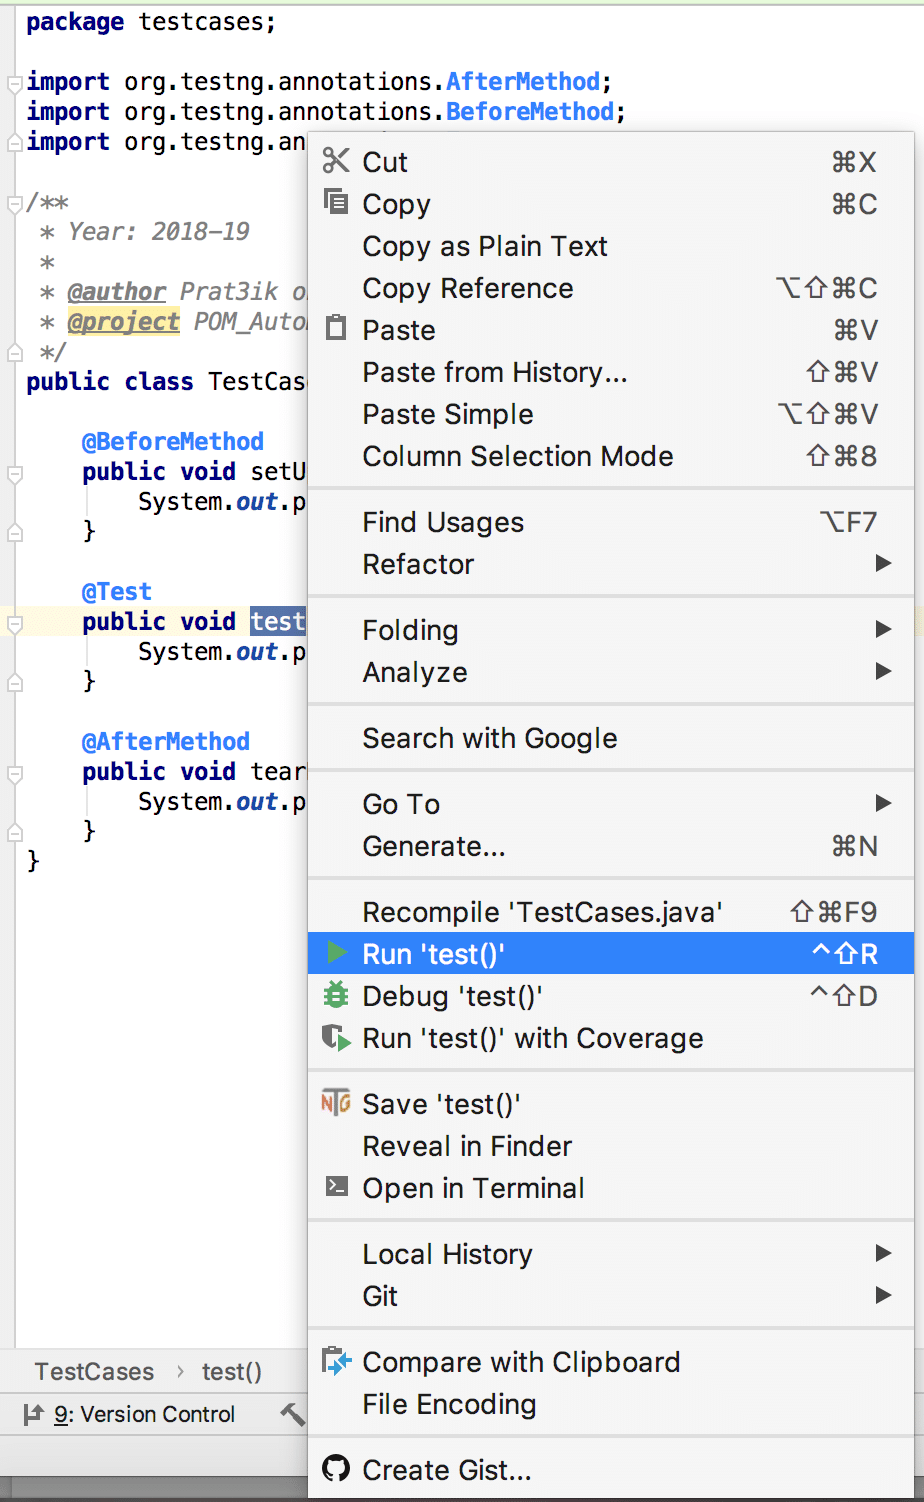
Execute the above test by selecting the test method > Right Click > Run ‘test()’
Change the Locator: After getting the right locator you just need to change it with old and incorrect locator, so In HomeScreenPO.java file you just need to replace the old locator with the new locator.
@AndroidFindBy(xpath = "//android.widget.Button[@text='Login Screen']")
AndroidElement loginScreenTextView;
That’s it! As you can see, we just need to change the locator in the Page Object class and everything works normally again – that is the beauty of using this Appium framework! If you are not using the Appium framework, then you might need to change the locator from every affected place in code, which is not advisable and can also break something else.
Structuring your test cases like this will make for a far more maintainable test automation suite. Learning the rigors to do it following this design pattern will benefit you and your organization for years to come!


