
Feb 7, 2018
Manual Testing For The Less Technical Tester

Adam Creamer
Read More
In our last post, we introduced the topic of manual testing by describing how a plane needs a pilot to perform some manual tasks—especially during high-risk parts of a flight. Using the same analogy, it’s critical that some functionality on a large plane is automated to lessen the impact of human error and fatigue. For mobile apps, automation testing similarly helps teams conduct normally tedious and time-consuming tests that add a great deal of unnecessary risk and inefficiency if performed manually.
Advancing by leaps and bounds over the past few years, automated mobile app testing is not only used by more testing teams but also makes sophisticated testing accessible for less technical testers. In this post, we’ll look at the basics of automation testing, why it’s important, and how our platform makes automated testing easier for both technical and less technical testers.
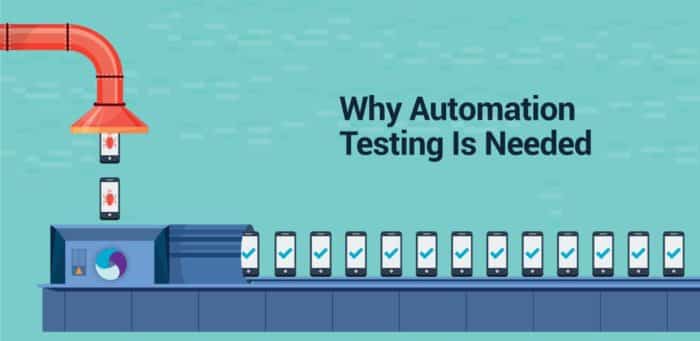
Automated mobile app testing not only saves time but also reduces the chance of human error—especially when tests grow voluminous and complicated. When DevOps teams develop rigorous testing procedures and test cases, automation testing scripts ensure that these tests are run the same way each time across dozens or hundreds of device configurations. This level of rigor increases testing quality and produces better results.
Mobile apps require certain kinds of automated tests that don’t lend themselves well to human interaction. Some examples include:
Scripts help automate as many workflows as possible depending on the mobile app tested. One common automated test case that serves as a great example is a login workflow. An automated testing script for a login workflow helps a tester save a lot of time when starting a new test suite (or group of test cases). Most AI automated testing begins with a login workflow first—and so it’s a great place for less technical testers to start.
An automated script for a login workflow would include testing for an ideal login case that includes a correct username and password, and incorrect login cases such as what happens when a user inputs the wrong password. Logins seem simple but need to involve a variety of aggressive tests that examine all possible inputs (both valid and invalid), security vulnerabilities, and outputs (including what happens if a user forgets their password or tries to log in too many times).
Below is an example of a Java test script for an iOS web application login workflow. (In a future blog post, we will talk more about writing test automation scripts.)
package kobiton.com.junit;
import java.util.concurrent.TimeUnit;
import org.openqa.selenium.WebElement;
import io.appium.java_client.ios.IOSDriver;
import org.junit.After;
import org.junit.Assert;
import org.junit.Before;
import org.junit.Test;
import kobiton.com.configs.Configs;
public class iOSWebTest {
  IOSDriver<WebElement> driver = null;
  String wrongUsernameMsg = "Your username is invalid!";
  String wrongPasswordMsg = "Your password is invalid!";
  String successMsg = "You logged into a secure area!";
  @Before
  public void Setup() {
    driver = new IOSDriver<WebElement>(Configs.kobitonServerUrl(), Configs.desiredCapabilitiesiOSWeb());
    driver.manage().timeouts().implicitlyWait(90, TimeUnit.SECONDS);
  }
  @After
  public void Teardown() {
    try {
      if (driver != null)
        driver.quit();
    } catch (Exception e) {
      e.printStackTrace();
    }
  }
  @Test
  public void testIFixitIOSWeb() {
    // Keep the test cases in order
    testInvalidUsername();
    testInvalidPassword();
    testLoginSuccessfully();
  }
  public void testInvalidUsername() {
    System.out.println("should return error when we input wrong username");
    login("foo", "SuperSecretPassword!");
    Assert.assertTrue(getMessage().contains(wrongUsernameMsg));
  }
  public void testInvalidPassword() {
    System.out.println("should return error when we input wrong password");
    login("tomsmith", "SuperSecretPassword");
    Assert.assertTrue(getMessage().contains(wrongPasswordMsg));
  }
  public void testLoginSuccessfully() {
    System.out.println("should run test successfully with correct username and password");
    login("tomsmith", "SuperSecretPassword!");
    Assert.assertTrue(getMessage().contains(successMsg));
  }
  public void login(String userName, String password) {
    driver.get("https://the-internet.herokuapp.com/login");
    driver.findElementById("username").sendKeys(userName);
    driver.findElementById("password").sendKeys(password);
    driver.findElementByXPath("//form[@name='login']").submit();
  }
  public String getMessage() {
    return driver.findElementById("flash").getText();
  }
}
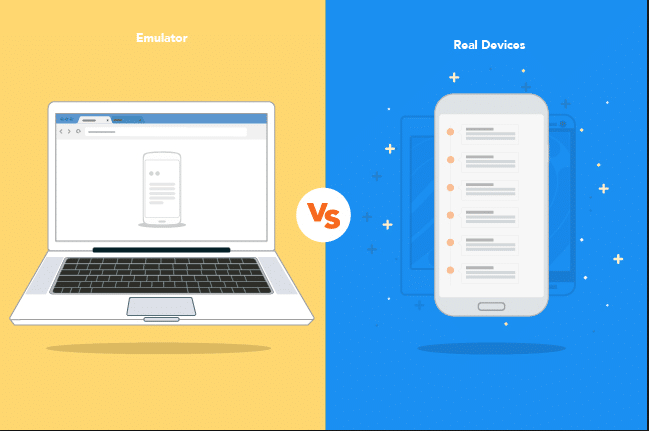
On the Kobiton platform, you can perform automated tests on real devices—whether you own them or use a real device provided by the Kobiton cloud. After writing a script in the language of your choice (we support C#, Java, Ruby, NodeJS, PHP, and Python), you will add the desired capabilities to your script (see below) and initiate the test. Kobiton then applies your script to the devices you’ve selected.
After logging into the Kobiton portal, complete the following steps.
Here, you select the device upon which you want to run the automated test. You can connect your own real device to the Kobiton platform or access a real device from our cloud library that includes hundreds of the most popular device configurations. If you connect a device that you own into our cloud, others on your team may test that device no matter where they are located. This improves your organization’s efficiency and speed of collaboration.
Use Kobiton’s desired capabilities settings to configure your test scripts. Our settings include all the required configurations you need to automate your test using the Appium Framework and to run your automation test on real devices in the Kobiton cloud.
These configuration steps include:
Kobiton automatically translates your desired capabilities into code based on the options you selected. Simply copy and paste this code into your test script under the Input Capabilities section. This will replace the current configuration with the Kobiton device configuration and change the parameters in your test script.
Execute your test by inputting the command to initiate your automation test.
To check on your automated testing status, go to the dashboard, click the Sessions tab, and verify that your test is currently running. (Kobiton currently doesn’t support the ability to watch a live execution of a test, but it is on the way).
After the test ends, you can check your session details for commands and respective screenshots. Kobiton also integrates with Katalon Studio for recording and playing back your test sessions. Katalon Studio will record your manual test, turn the manual steps of your test case into an executable script, and then allow you to use that script over and over again instead of having to manually execute that test case each time. This Katalon tutorial will give you an overview of how to use and integrate this tool with our platform.
—
Whether you’re performing a manual or automated mobile app test, there are many ways for testers to take advantage of the Kobiton platform without needing heavy expertise in testing and development. In this and our last post, we’ve only given you a brief overview of how you can benefit from some of Kobiton’s mobile app testing features and functionality. Learning occurs through doing, so jump in and get started with some of the tactics we’ve outlined.


