CircleCI – Our mission is to empower technology-driven organizations to do their best work. We want to make engineering teams more productive through intelligent automation.
CircleCI provides enterprise-class support and services, with the flexibility of a startup. We work where you work: Linux, macOS, Android, and Windows – SaaS or behind your firewall.
Prerequisites for Running Your First Build
Some basic knowledge of Git.
A GitHub account, of which you are logged into. We will use GitHub for this guide but you can follow the equivalent processes for Bitbucket if required.
An account on CircleCI.
Some basic terminal or
bash knowledge and prior experience using the command line is helpful.
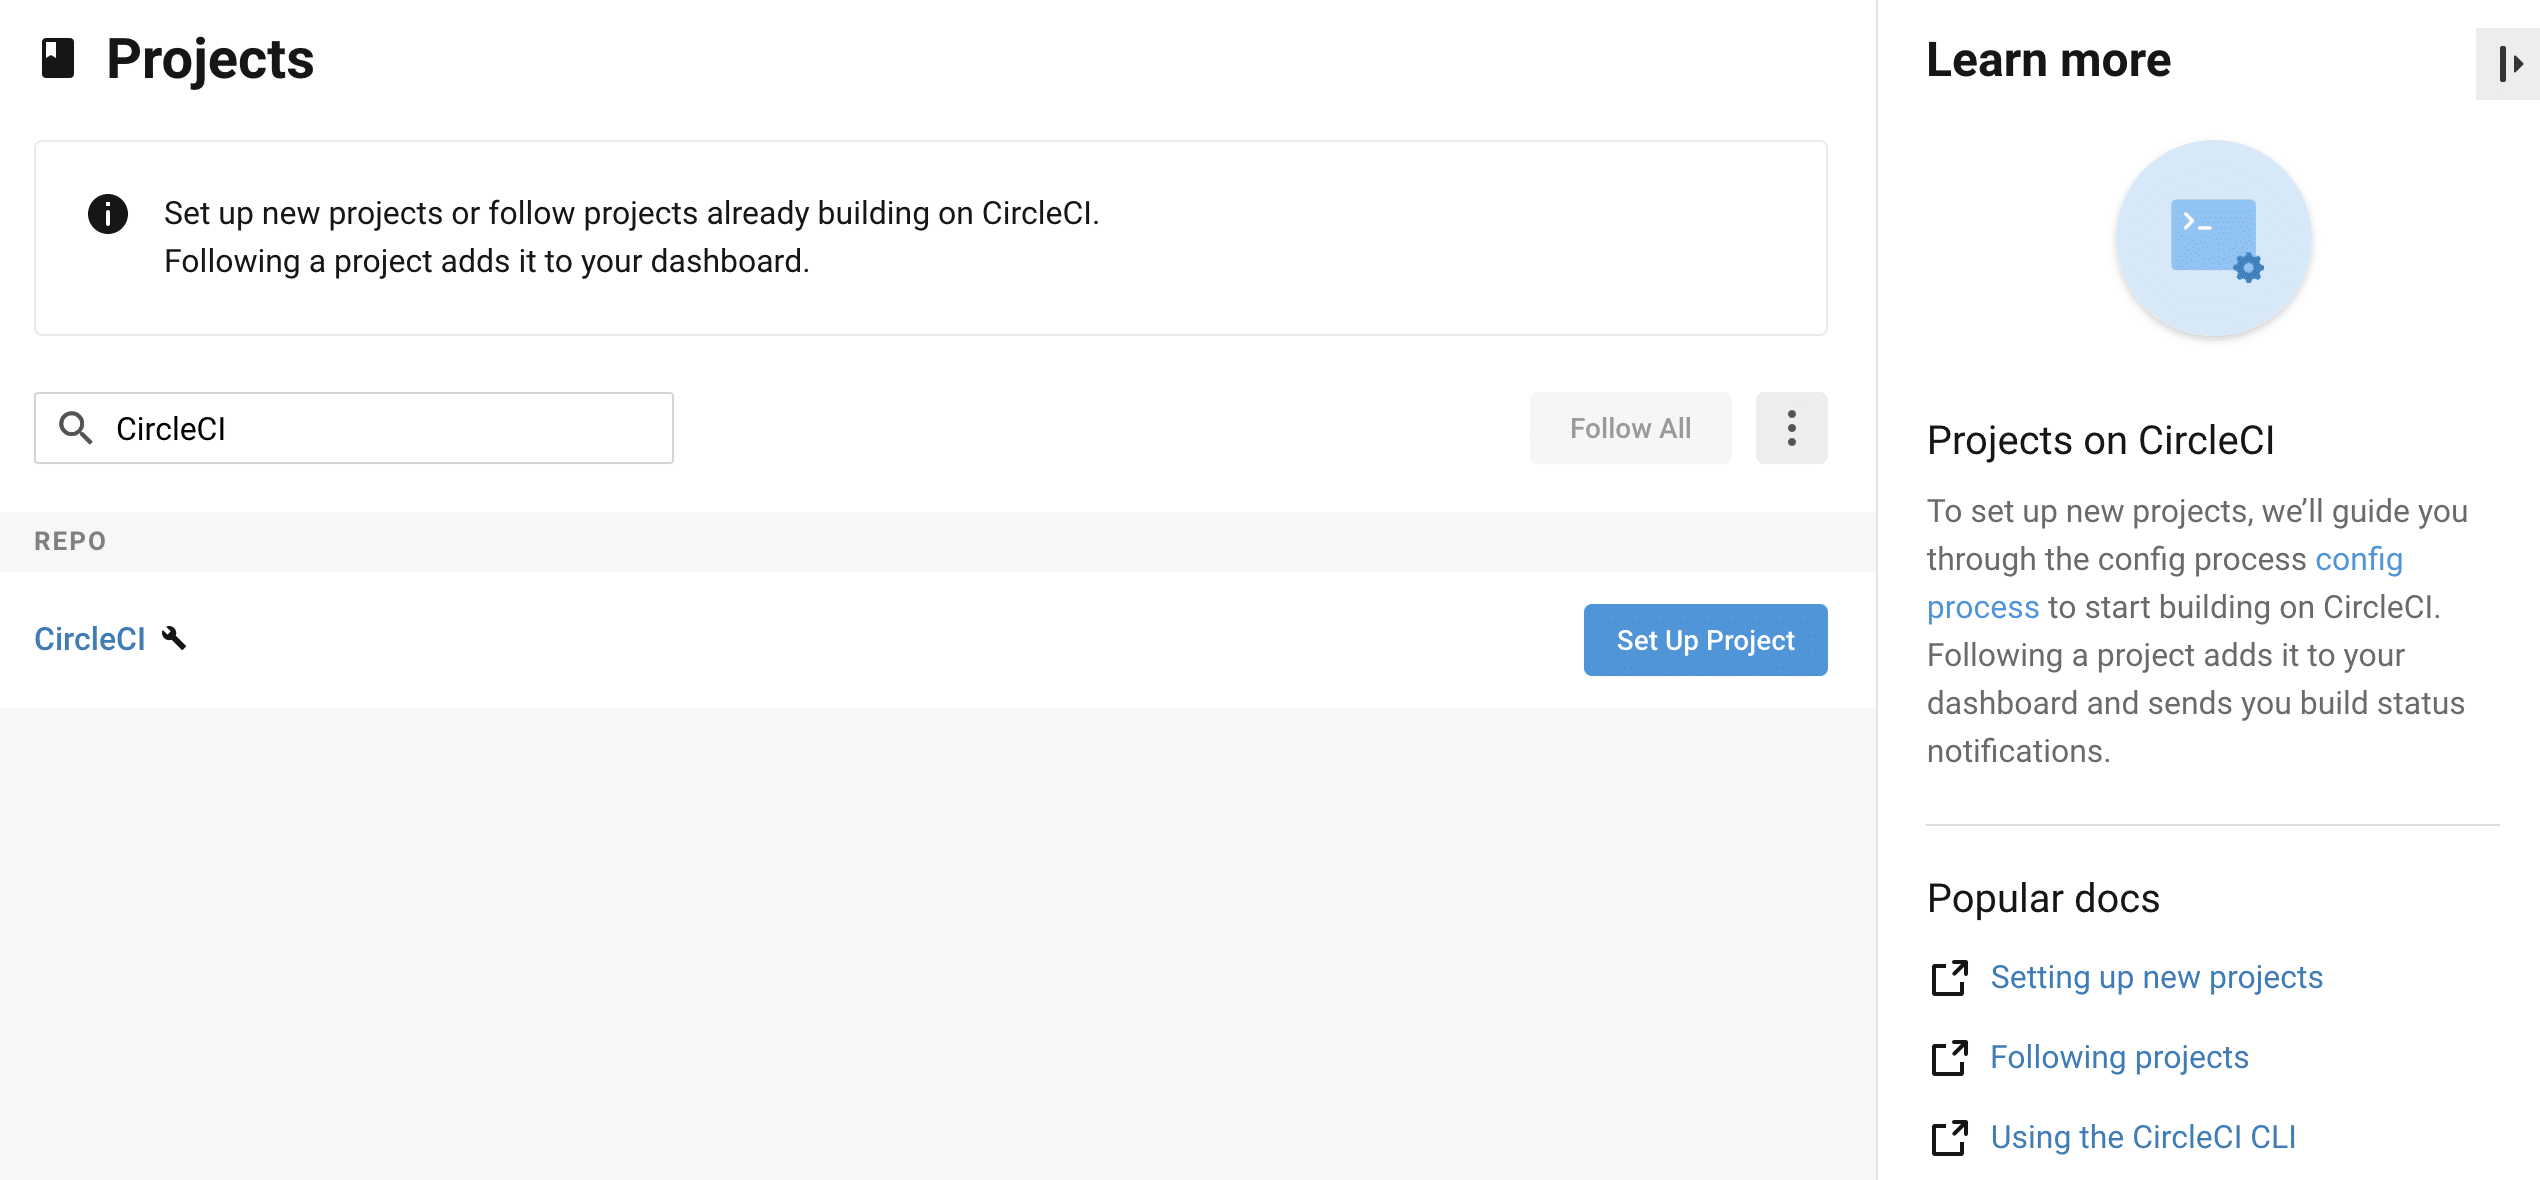
If you are part of any organization, you will need to select the organization you wish to work under in order to set up your repository with CircleCI.
Once on the Project page, find the project you are using, in our case CircleCI, and click Set Up Project.
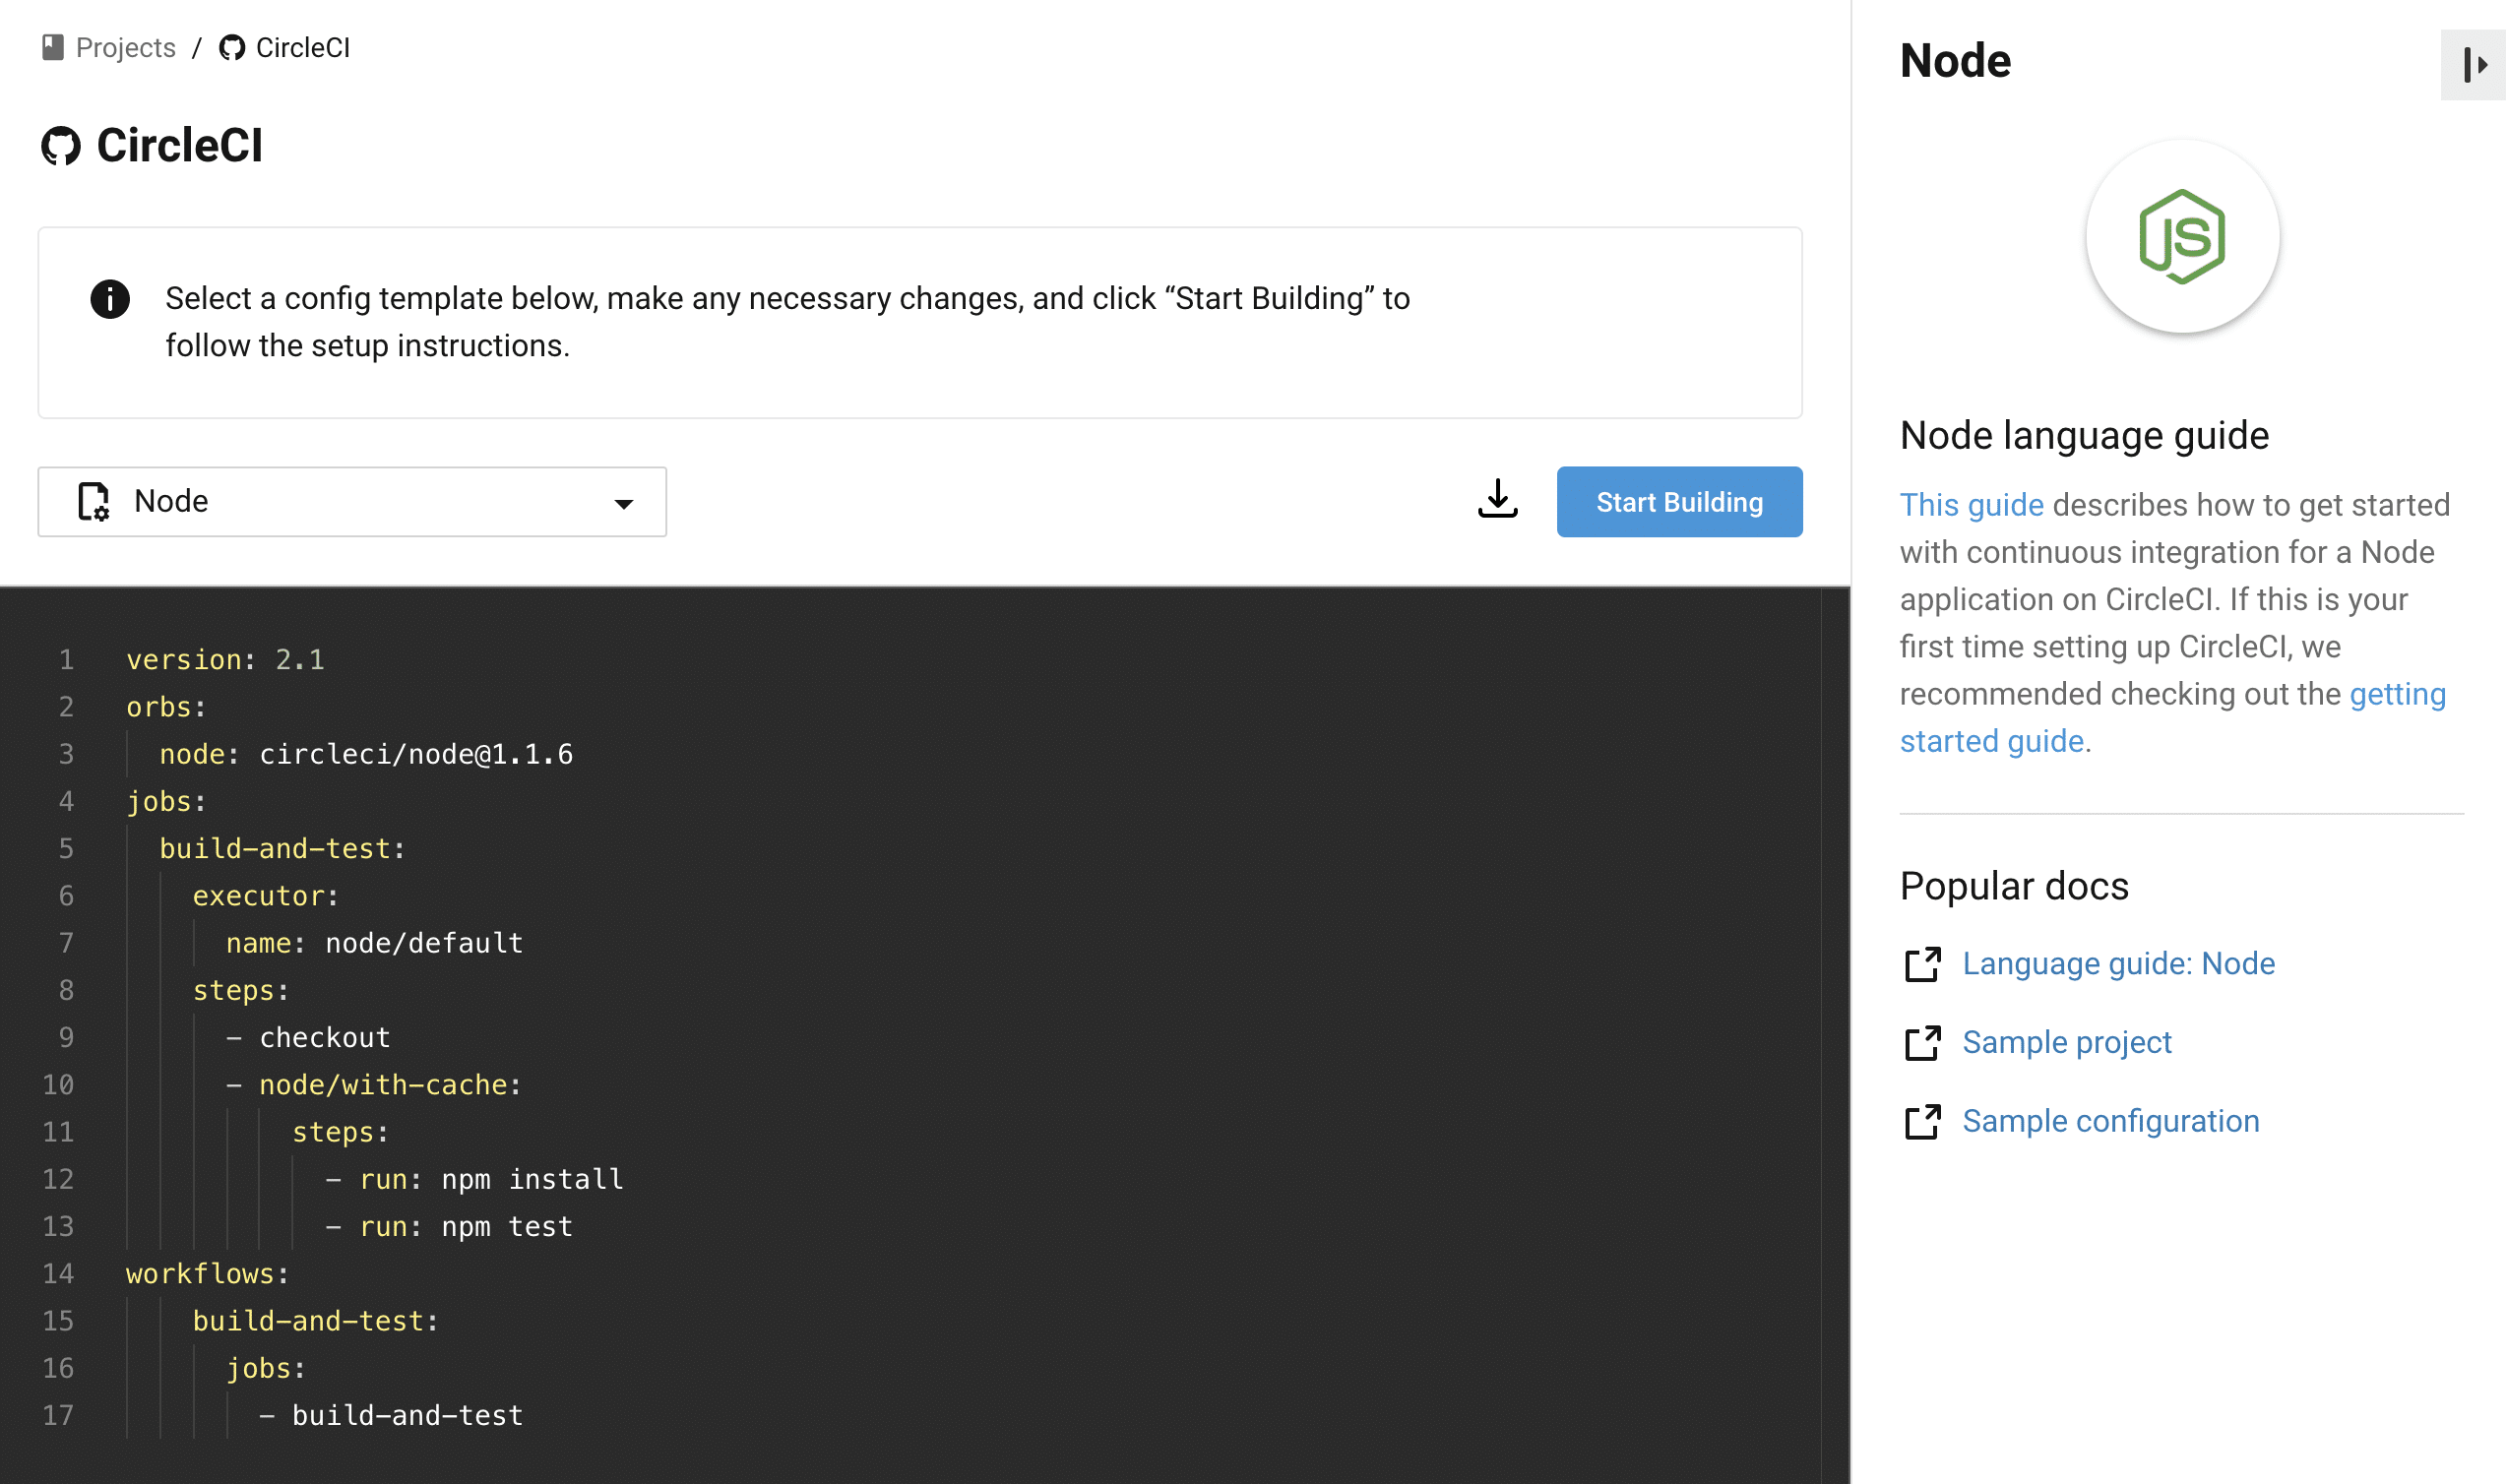
On the following screen, choose a language from the dropdown to get a pre-populated config.yml file with suggested best-practices for your project. For this example, because we have a CircleCI repository, we will use the Node configuration example at the bottom of the list.
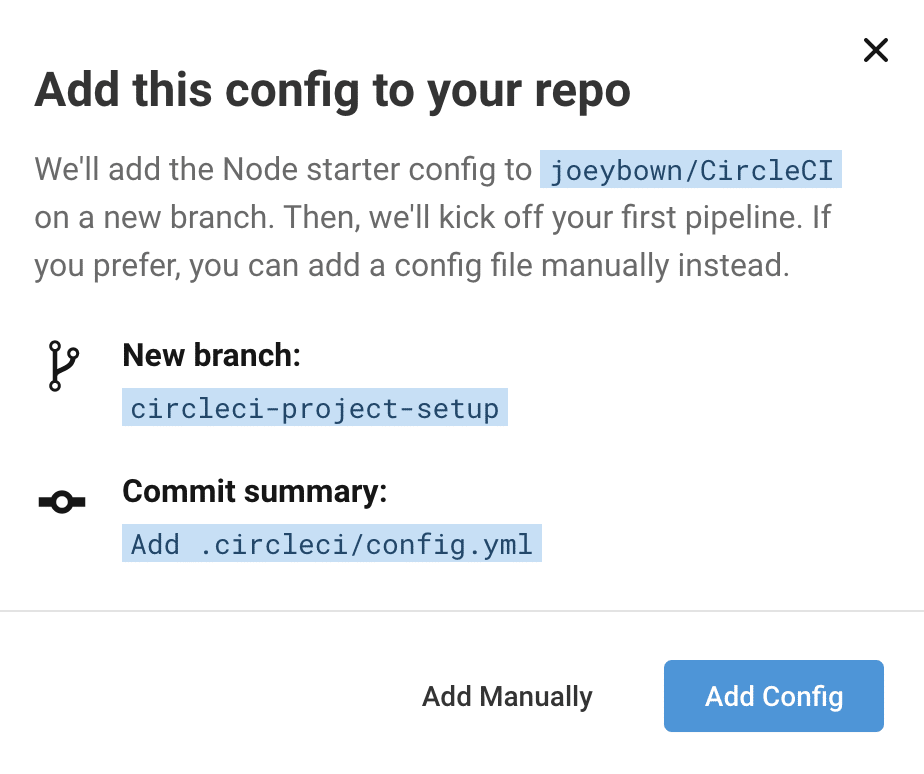
5. Click Start Building and follow the prompt to add your config to a new branch and start your first pipeline.
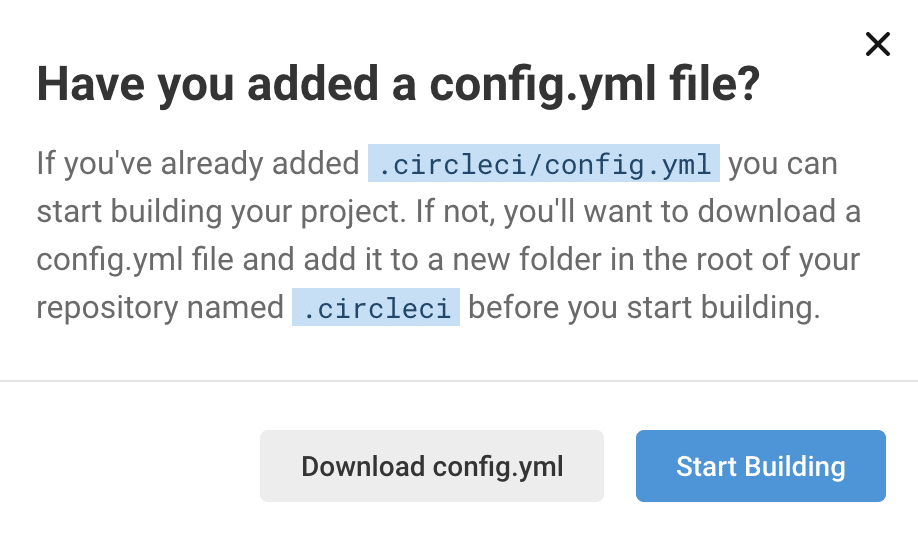
6. Click Add Manually button
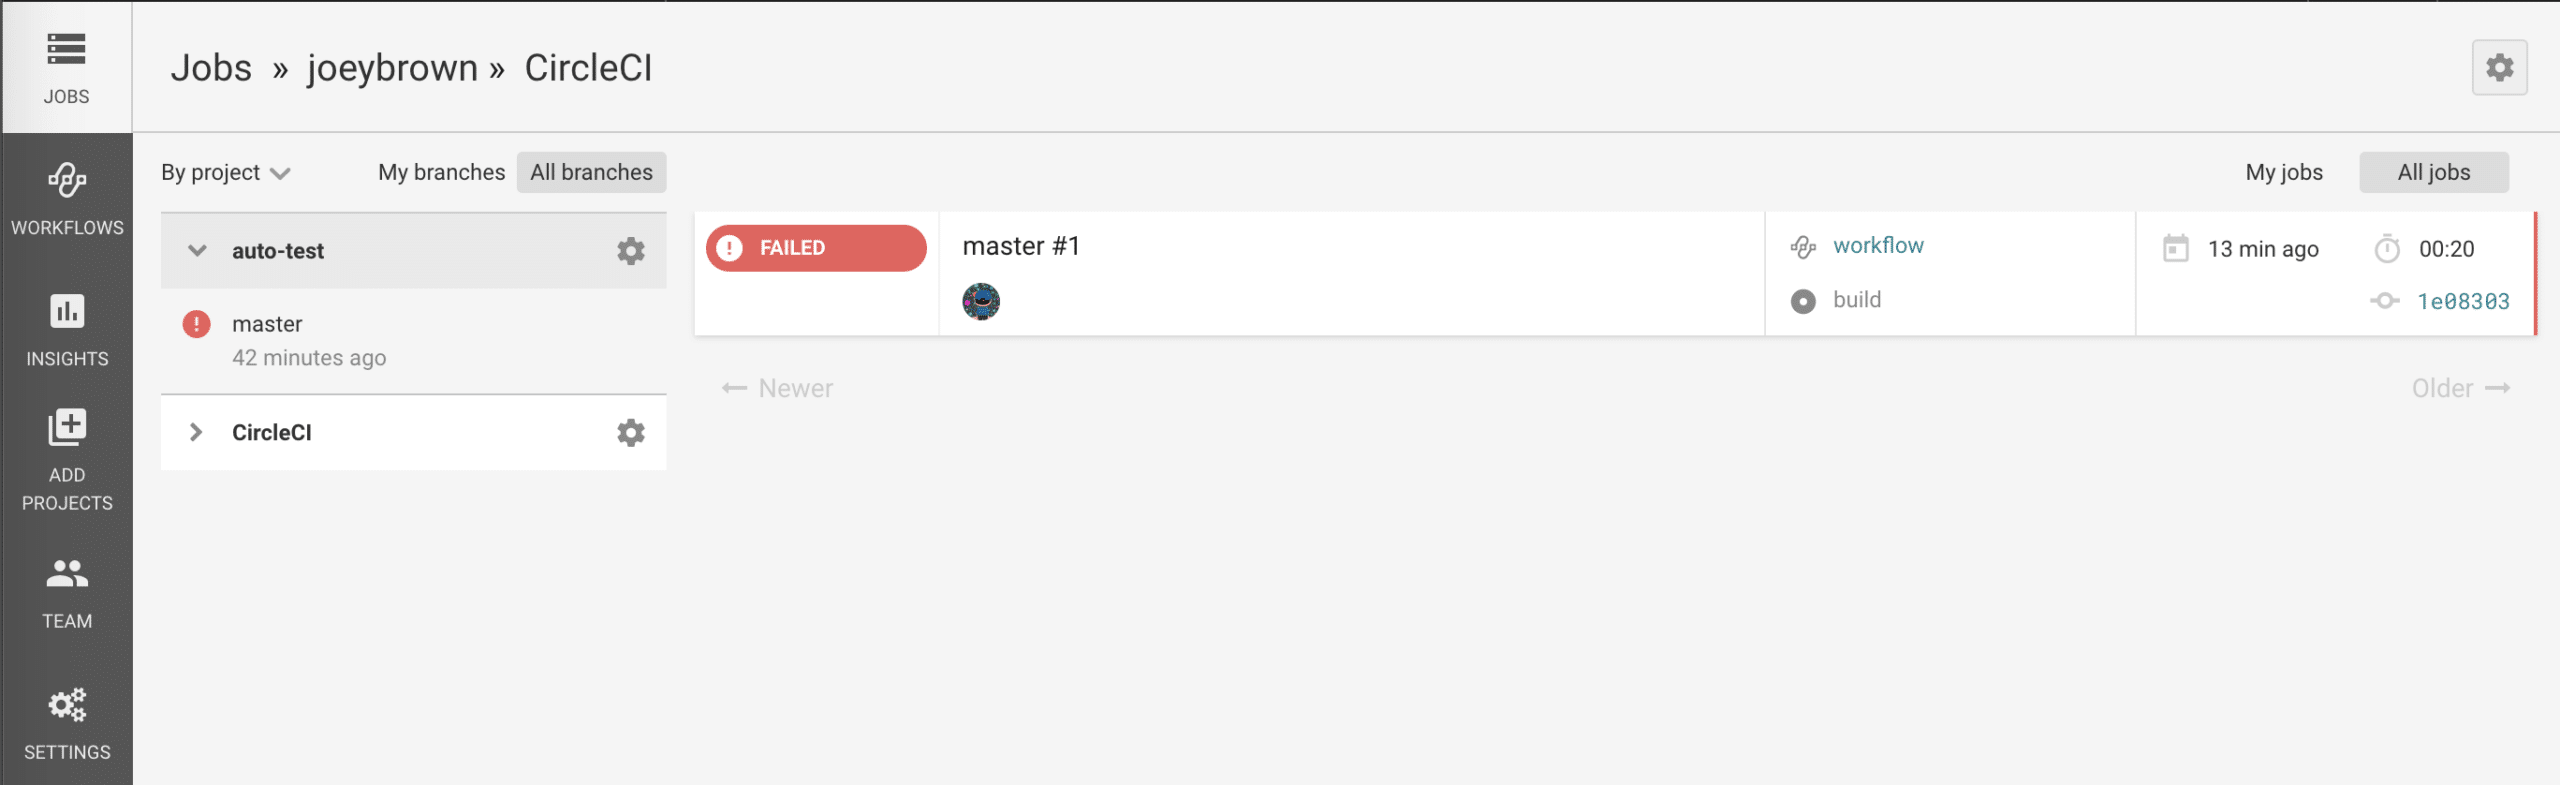
7. You will be taken to the Pipelines page where you can view your newly running build.
Digging Into Your First PipelinE
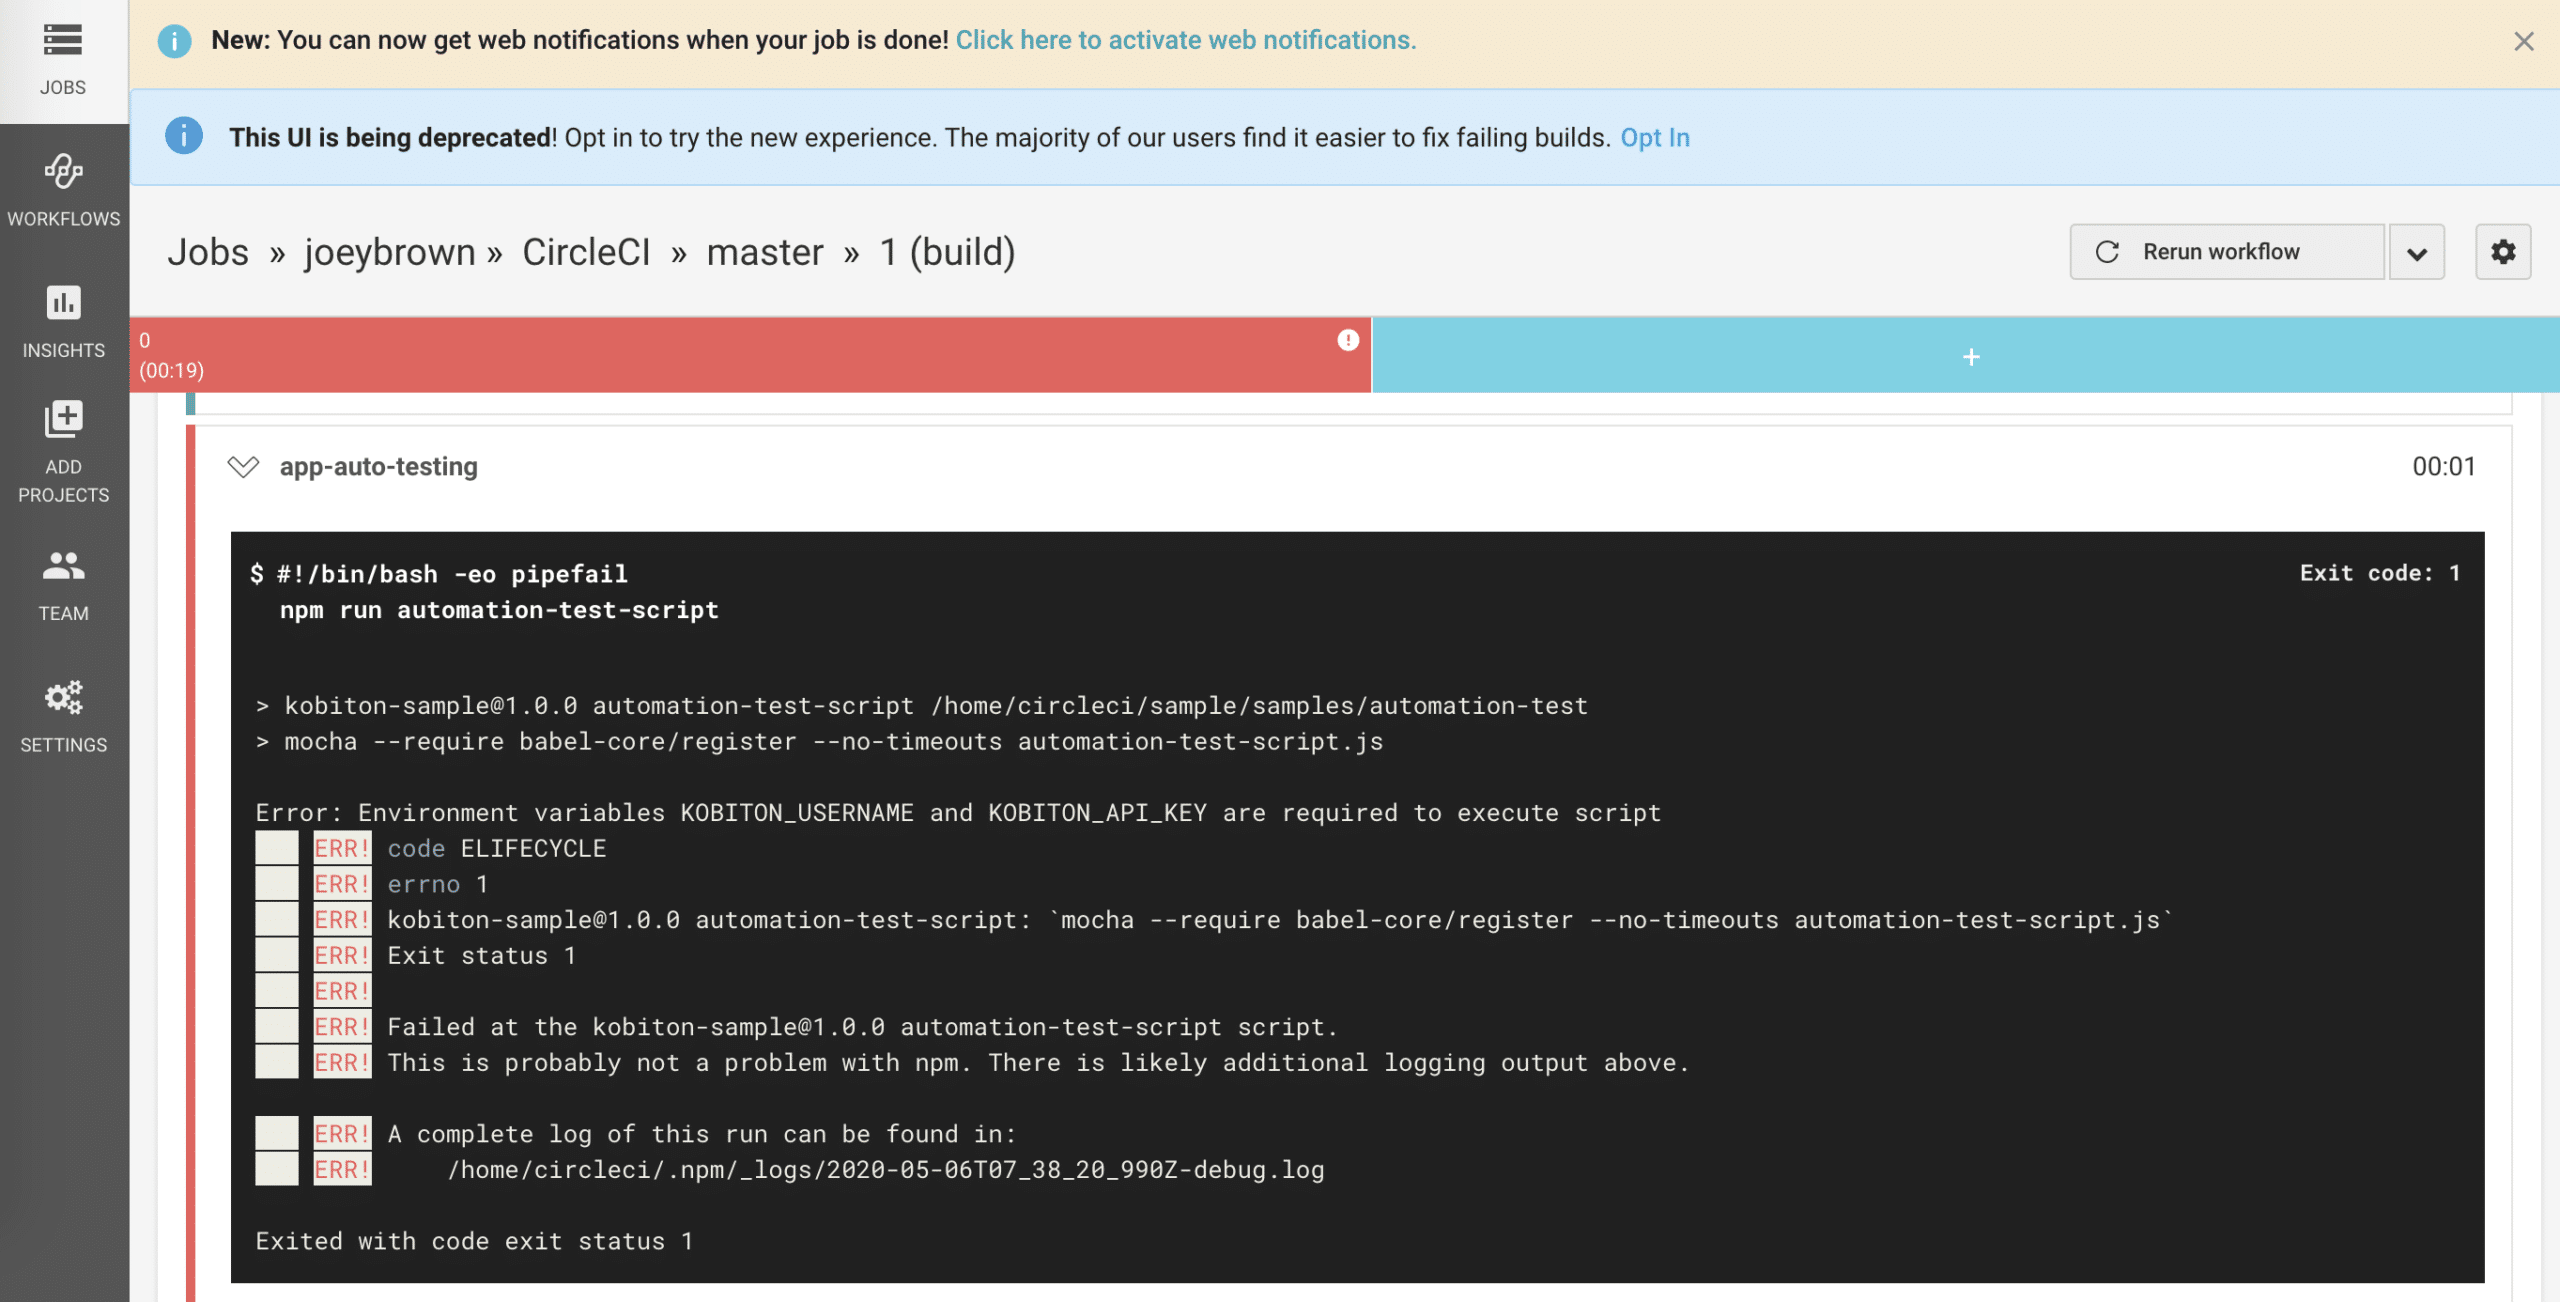
You should see your pipeline start to run automatically—and failed! So, what just happened? Click on the read FAILED button on your pipeline to investigate the following parts of the run:
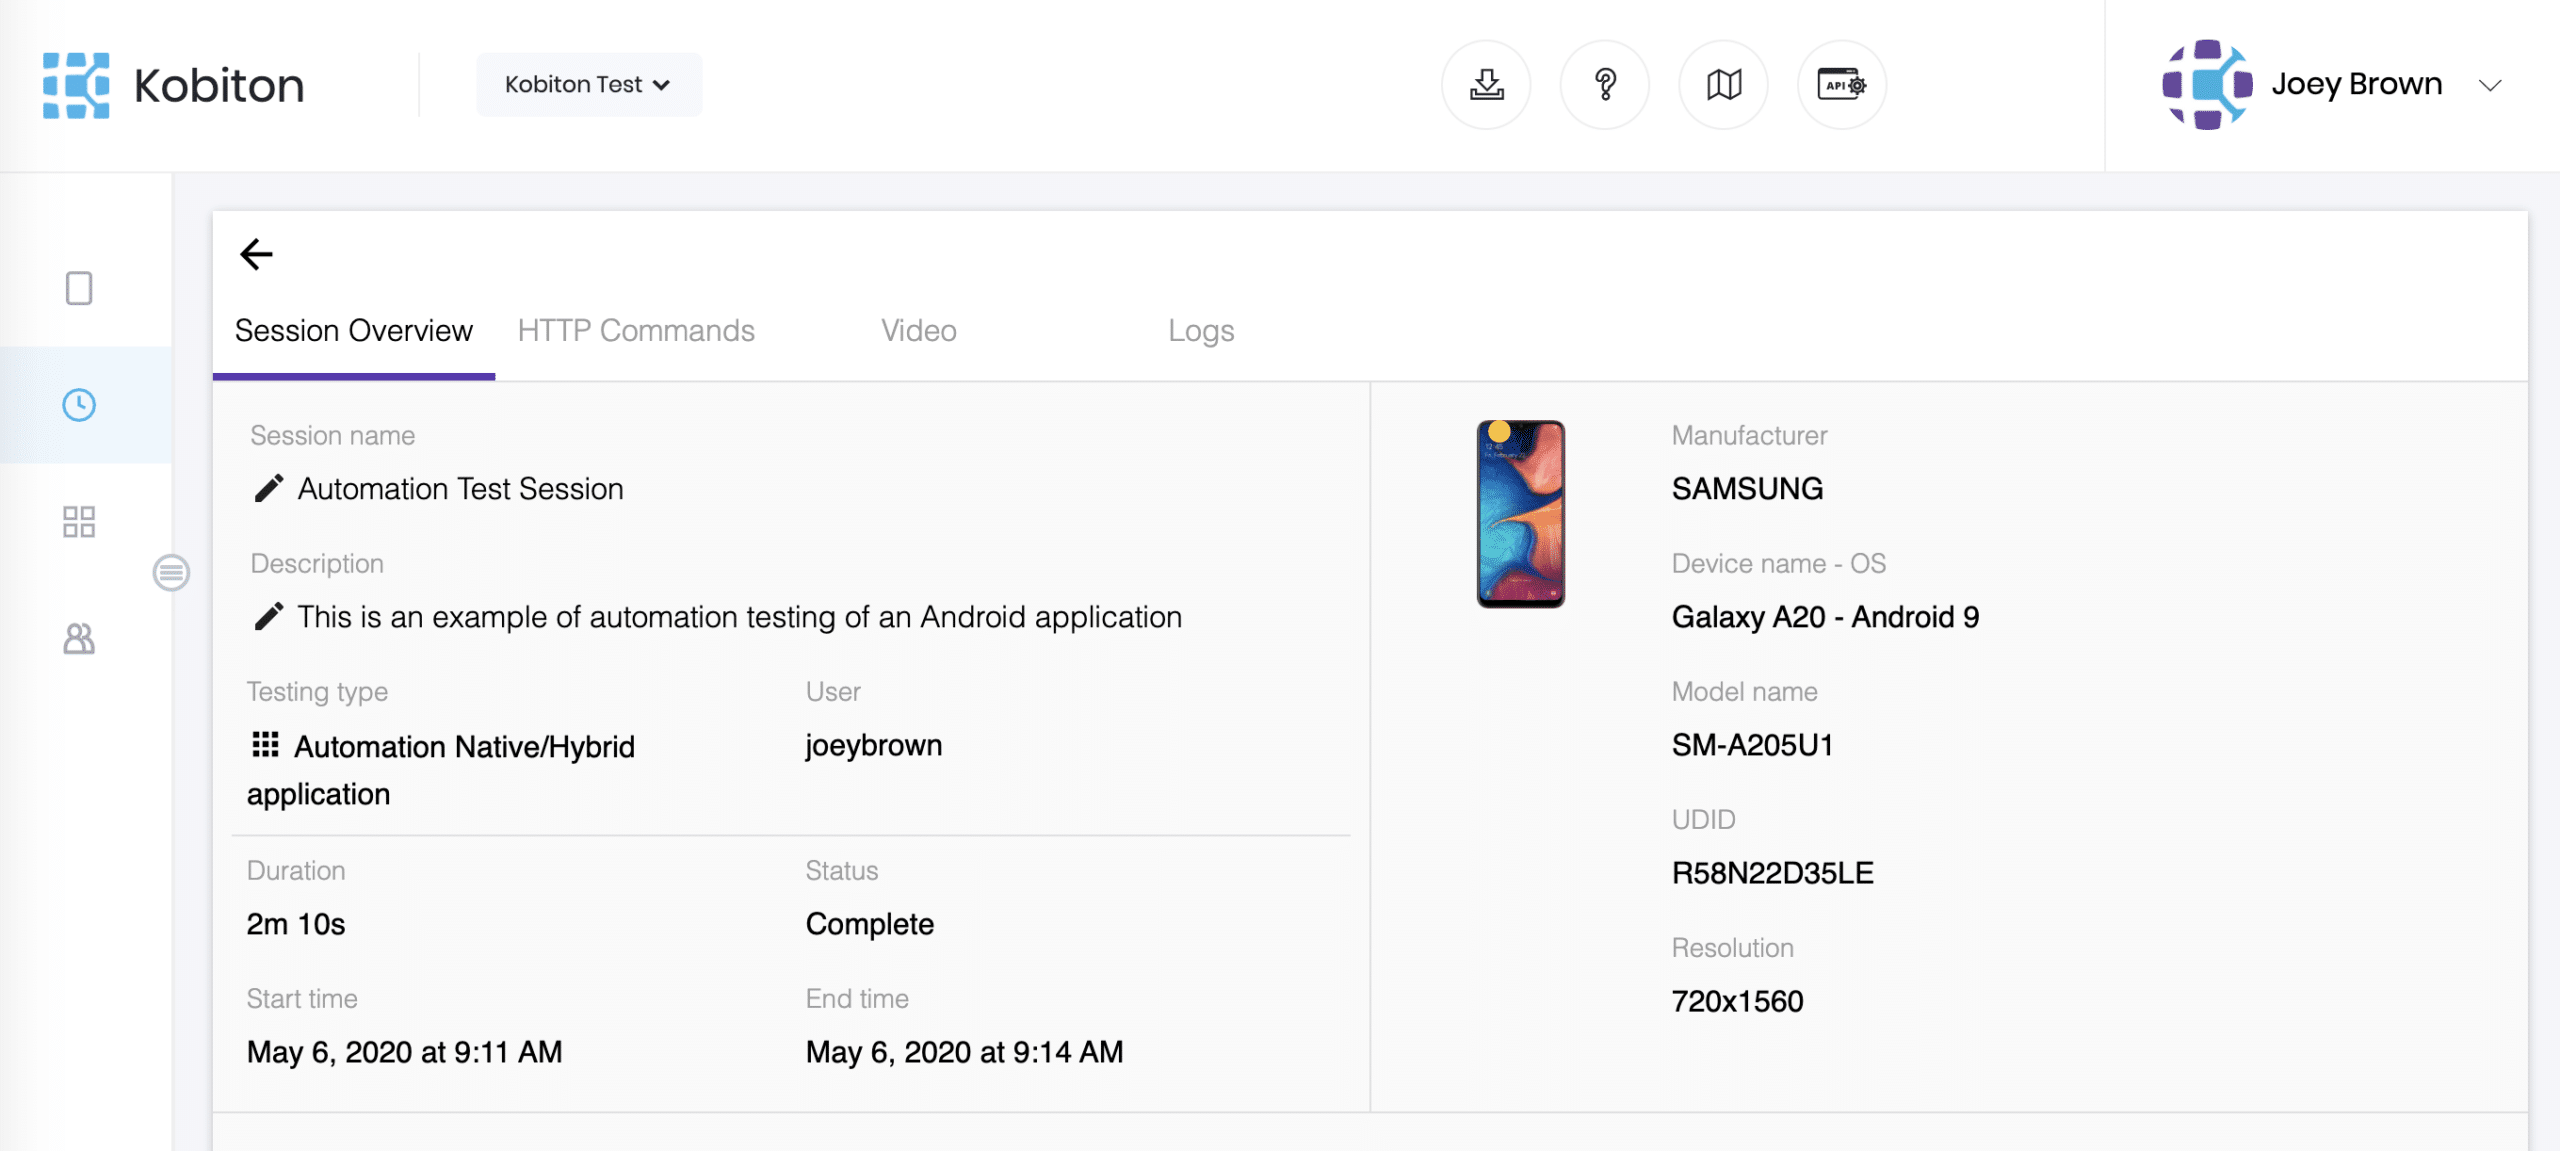
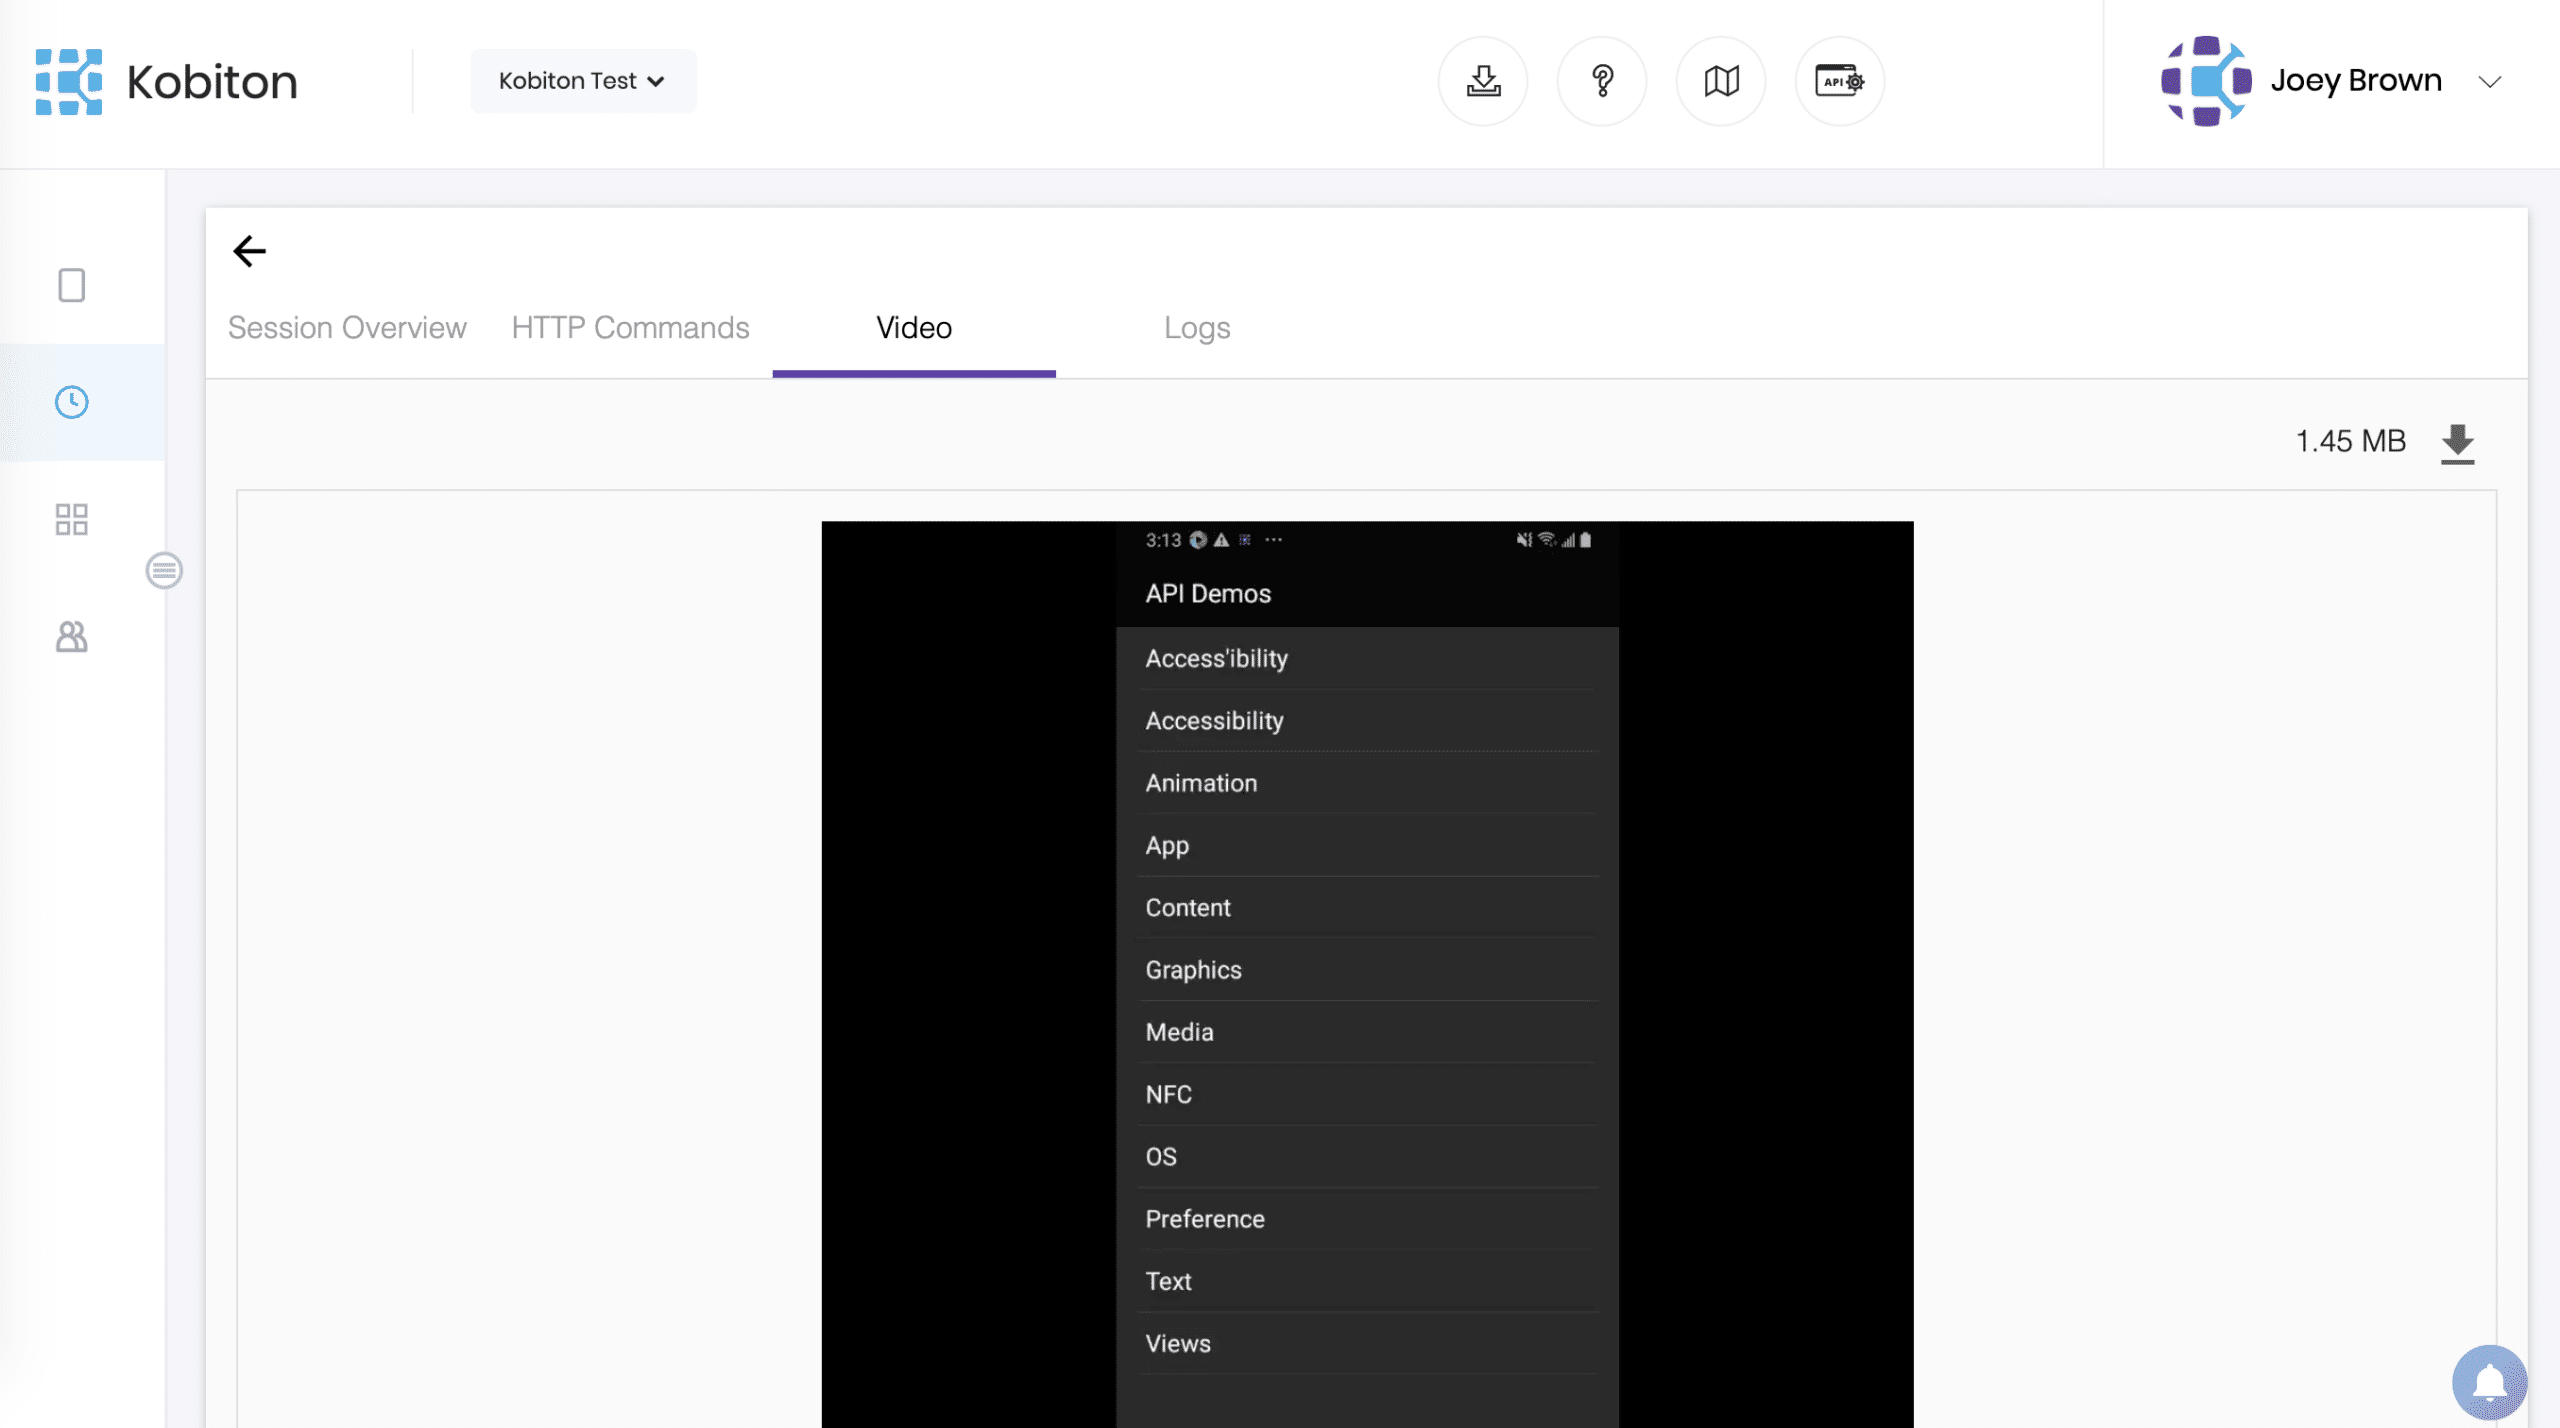
Let’s investigate the steps of our job why it is failed. The first job is failed because we are missing some variables to run test with Kobiton Cloud.
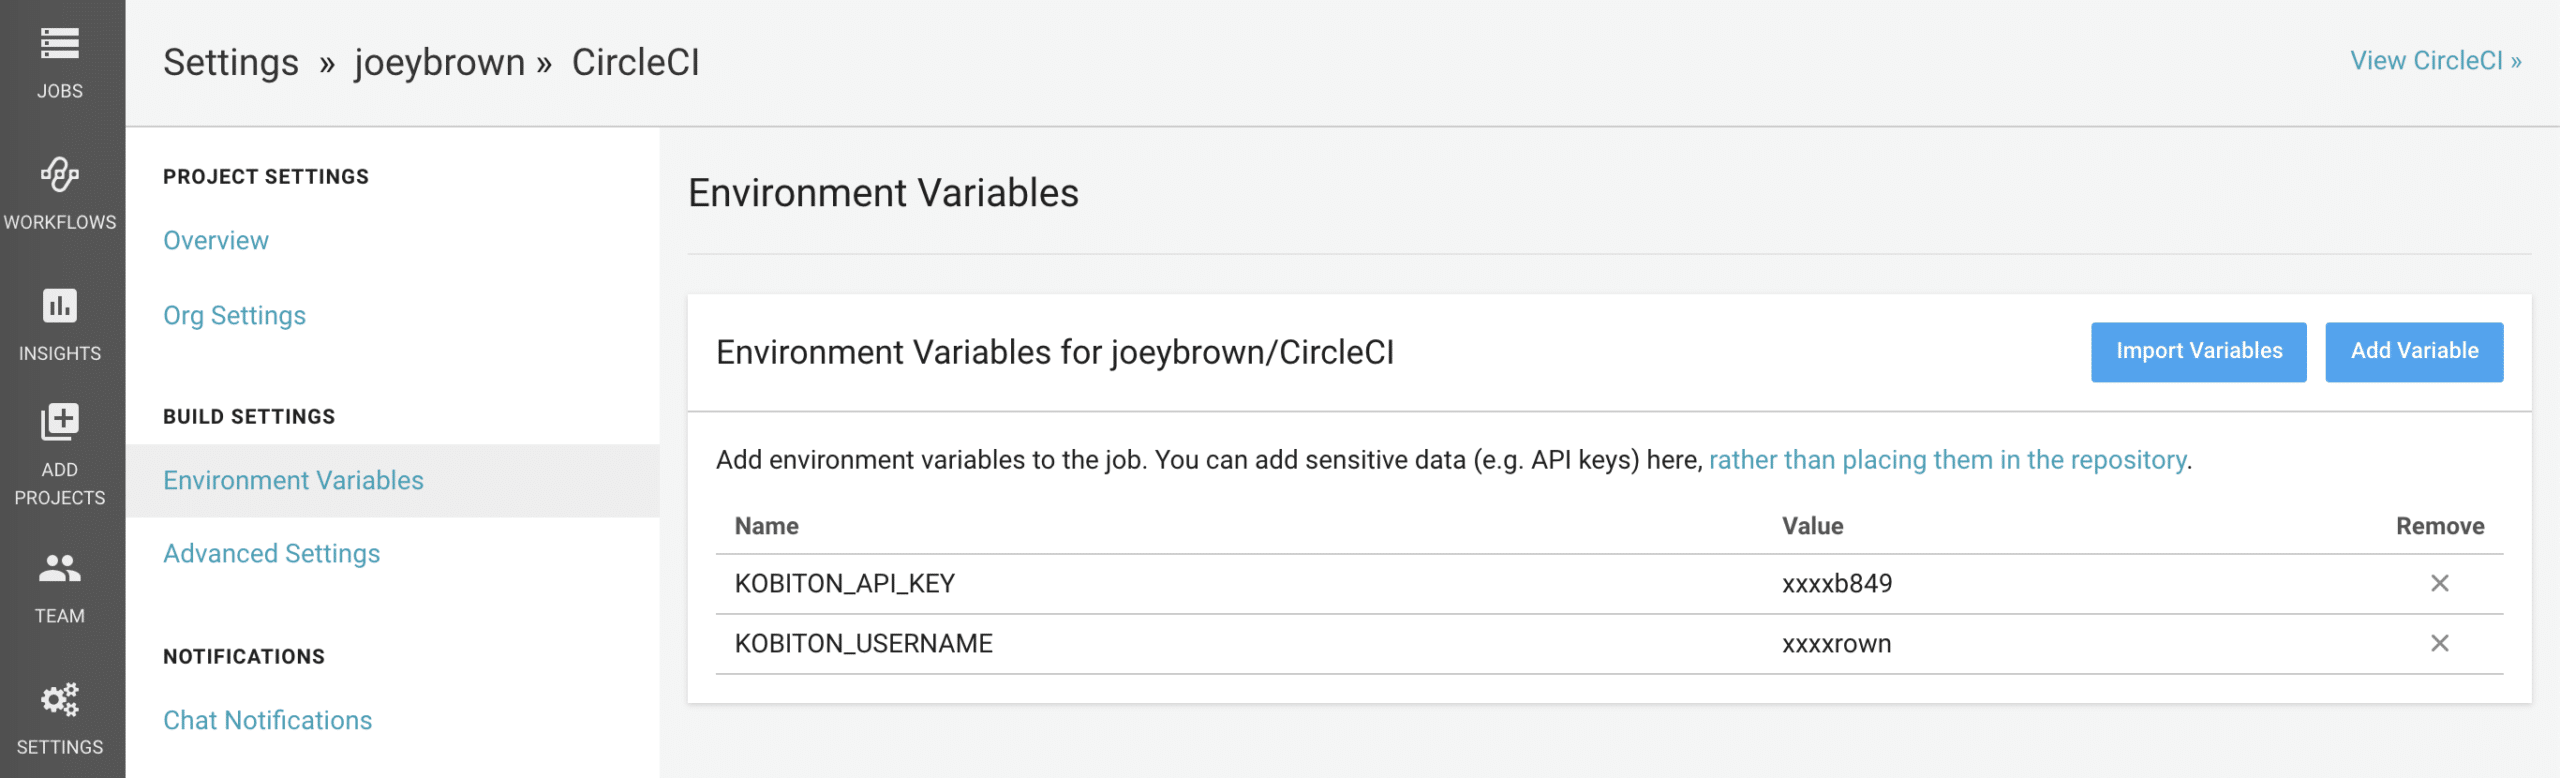
Now we will add two missing variables to the job.
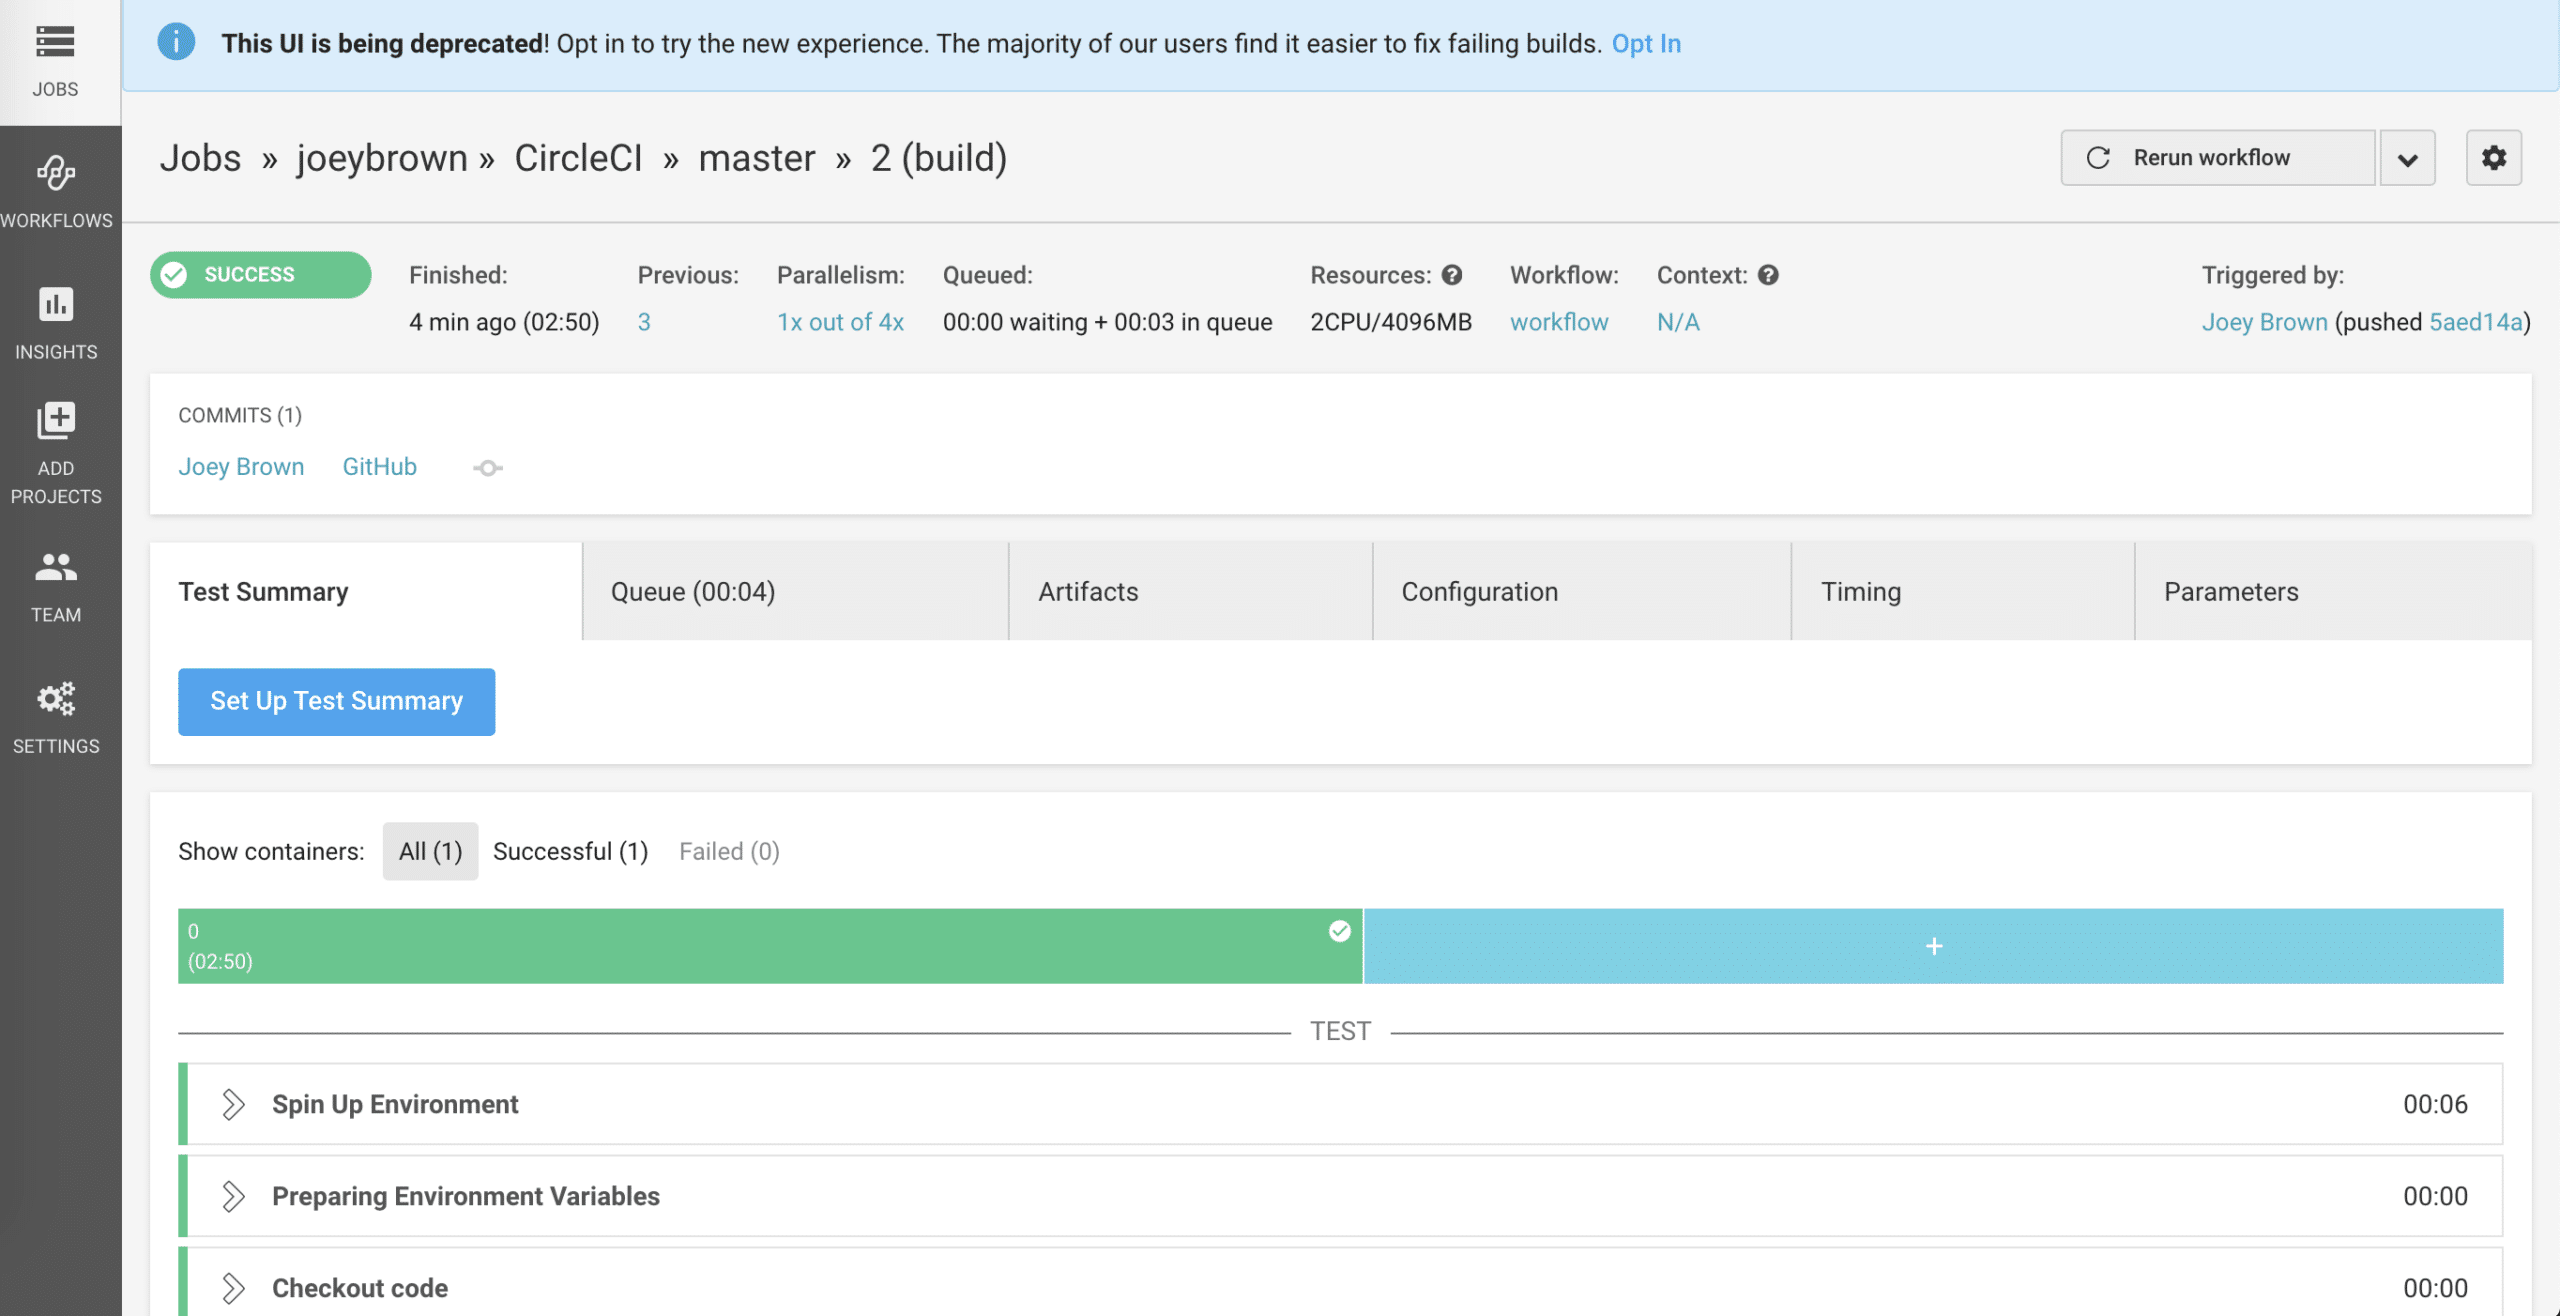
Then rerun the job again. Hurray, the job is run successfully.