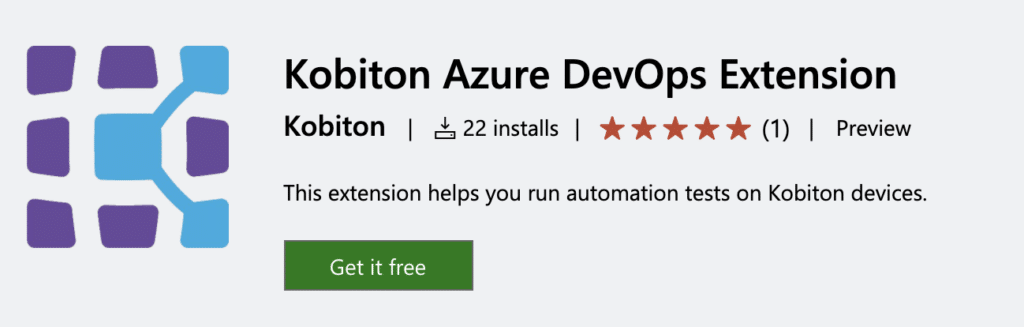
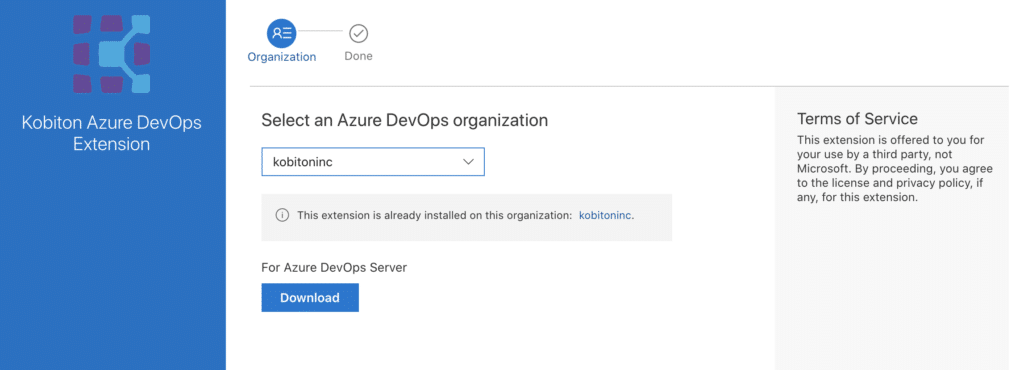
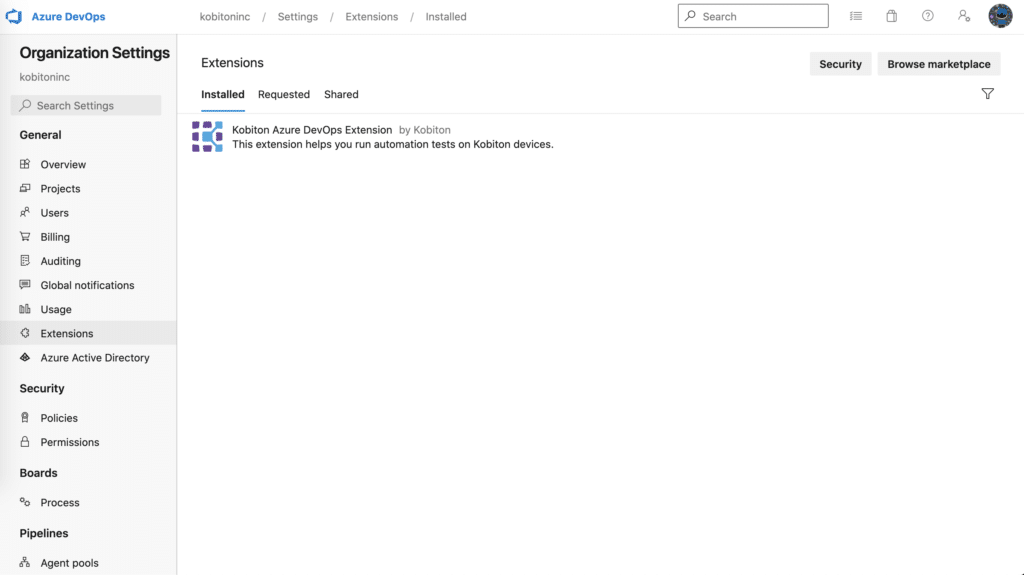
In this tutorial, you learn how to integrate Kobiton – Mobile Cloud platform with Azure DevOps Services. Integrating Kobiton – Mobile and Web Testing with Azure DevOps Services provides you with the following benefits:
Speed up the testing cycle while increasing the quality of mobile and web applications
Run your Selenium and Appium scripts to test your mobile apps on real Android & iOS devices.
After your tests are completed, your test results will be visualized on the Kobiton system with the full report with videos, screenshots, device logs, and Appium logs. In addition, we also have provided a complete list of commands and responses.
Moreover, the most important thing that we have an ability to insight the crashed apps through crashed logs for both Manual and Automation test sessions.
Prerequisites
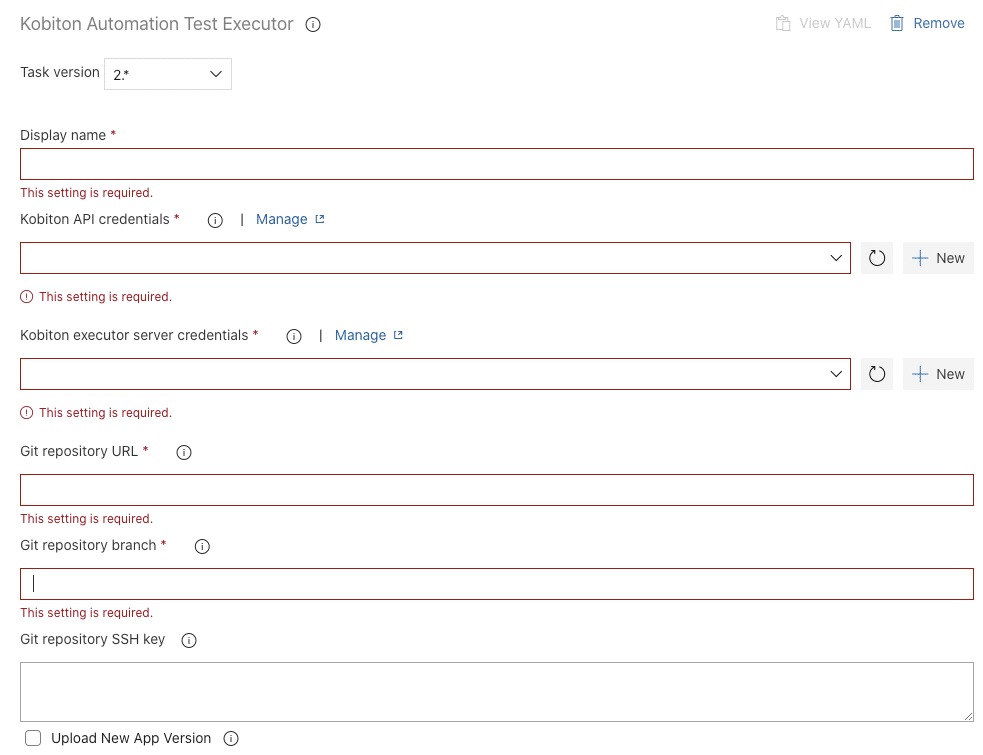
To start using Azure DevOps Services, make sure you have:
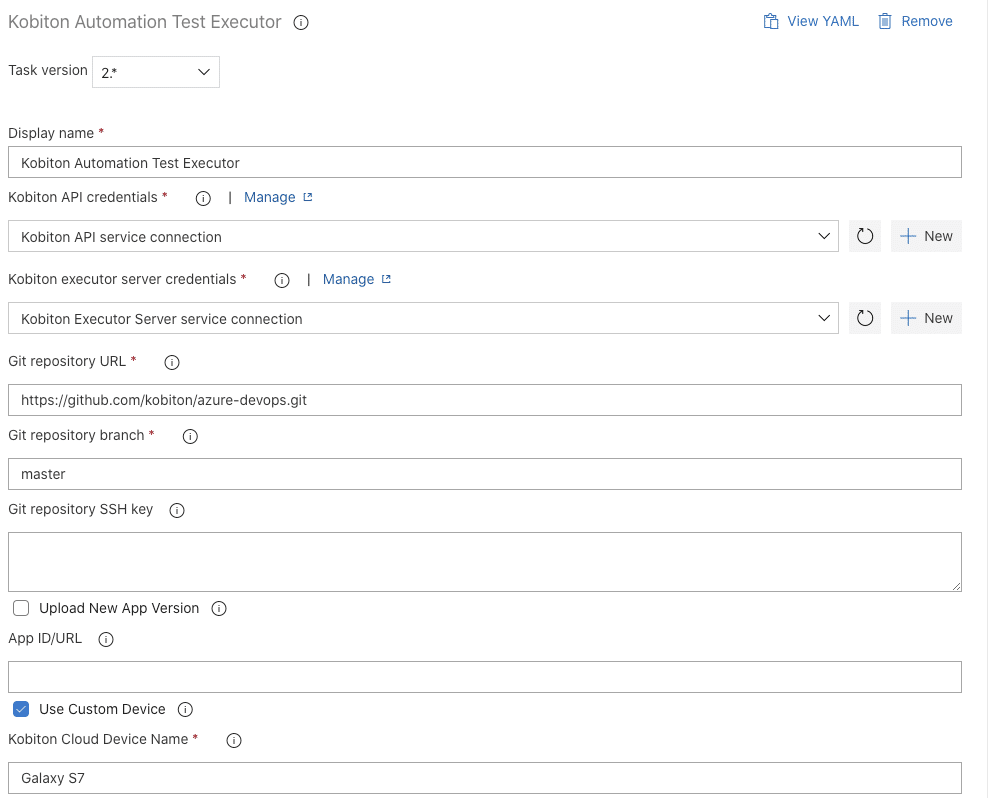
Kobiton Cloud Device Name: Galaxy S7 (You can customize your device name)
Device platform version: Android
Commands: mvn test
Log type: Combined or Separated
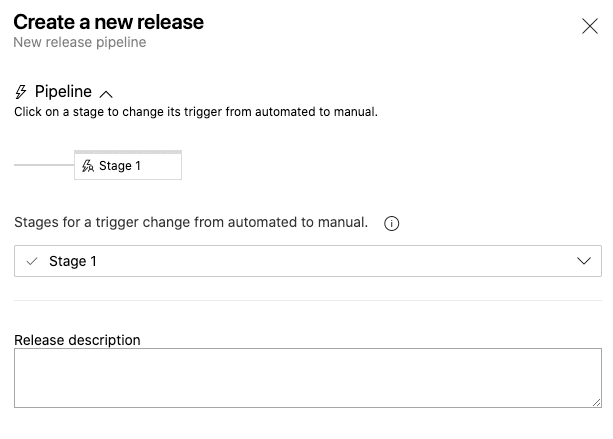
Click Create Release button on the right to create a new release.
A new window will appear, leave everything blank and click Create
A notification will appear, click on Release-1 to view the release status.
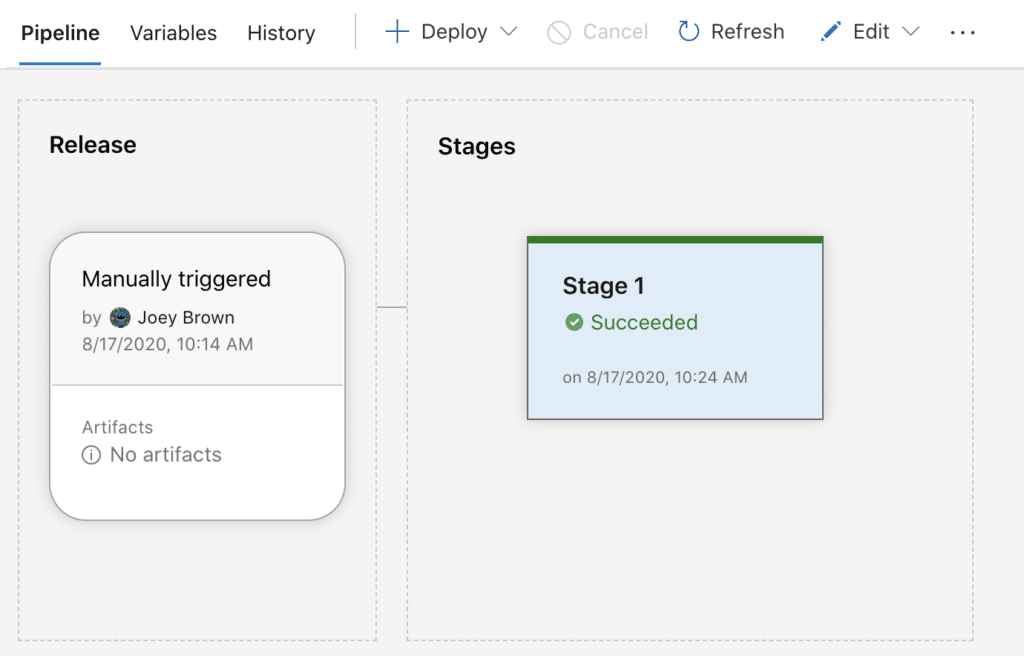
View the Results
When the release in completed, you can check the release log by clicking on the Logs button right below the release Stage.
Click on the Kobiton Automation Test Executor task to view its logs
The Job ID is formatted with prefix “rN” where N is the release ID of your Azure DevOps project.
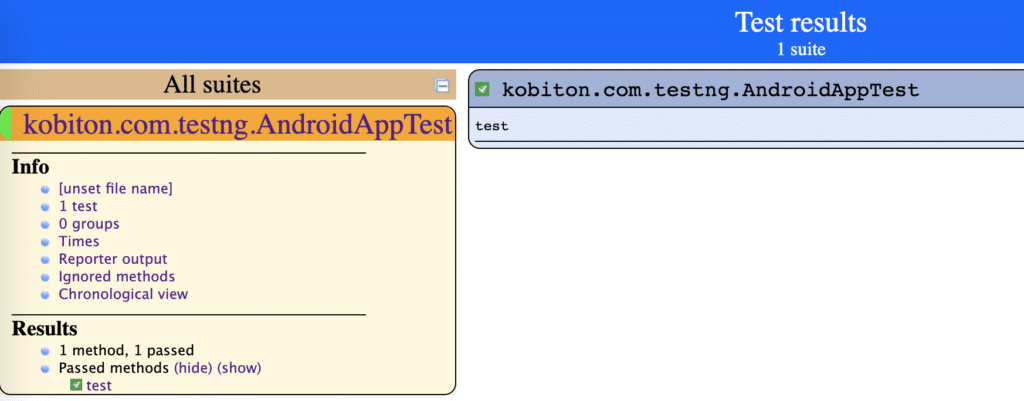
Clicking on the TestNG Report URL will lead you to the TestNG report interface.
In the case, your browser requires Username and Password, type in the username and password of Kobiton Executor Server we previously provided you.
Enter Username
Enter Password
Click OK to access the report web page.
Get KOBITON Session ID
When the Kobiton Automation Test Executor is completed, we can also get the Kobiton Test Session ID on the log file as below. We can access the test session details with the URL look like https://portal.kobiton.com/sessions/1030998
Interested in Learning More?
Subscribe today to stay informed and get regular updates from Kobiton