Mar 21, 2024
Emulators, Simulators, and Real Devices: A Detailed Comparison

Brittney Lawrence
Read More
The introduction of the Image Comparison feature within the Appium framework, a key advancement in test automation, revolutionizes how we approach testing at the UI level. This article delves into the integration of OpenCV, a leading image comparison library, in Appium. This integration facilitates a new Image Locator strategy, enhancing our test scripts’ resilience and effectiveness.
Machine learning and AI are profoundly transforming every industry, including test automation. While most AI solutions in this field are developed by third-party vendors, the Appium community’s direct contribution with this feature is noteworthy. Image Comparison in Appium allows for visually automated testing, driving UI-based testing and making test scripts less brittle.
This innovation is part of a broader application of AI in software testing, which includes:

This article is split into 2 sections:
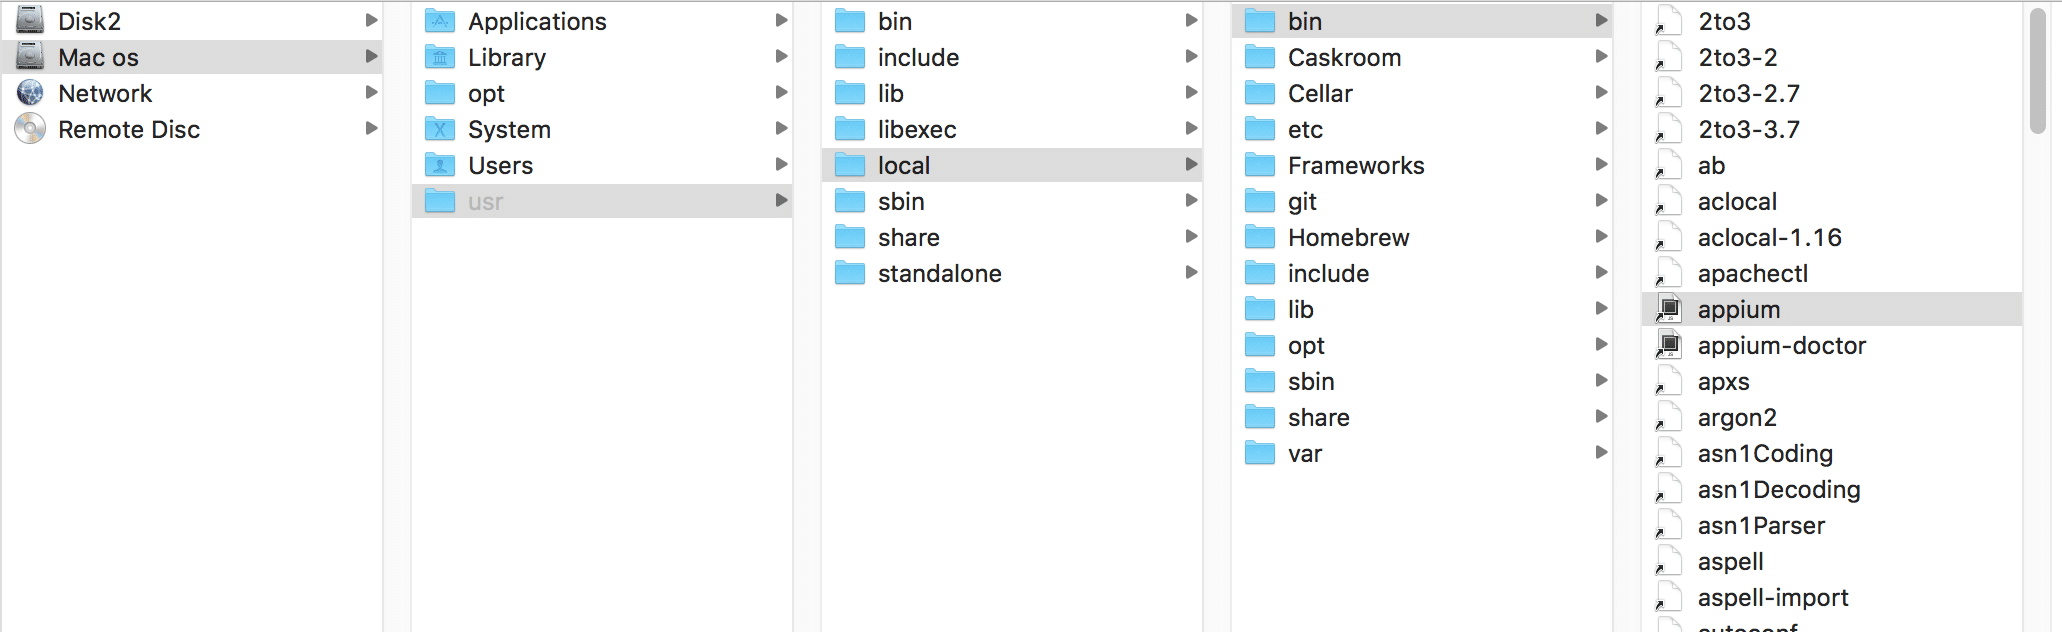
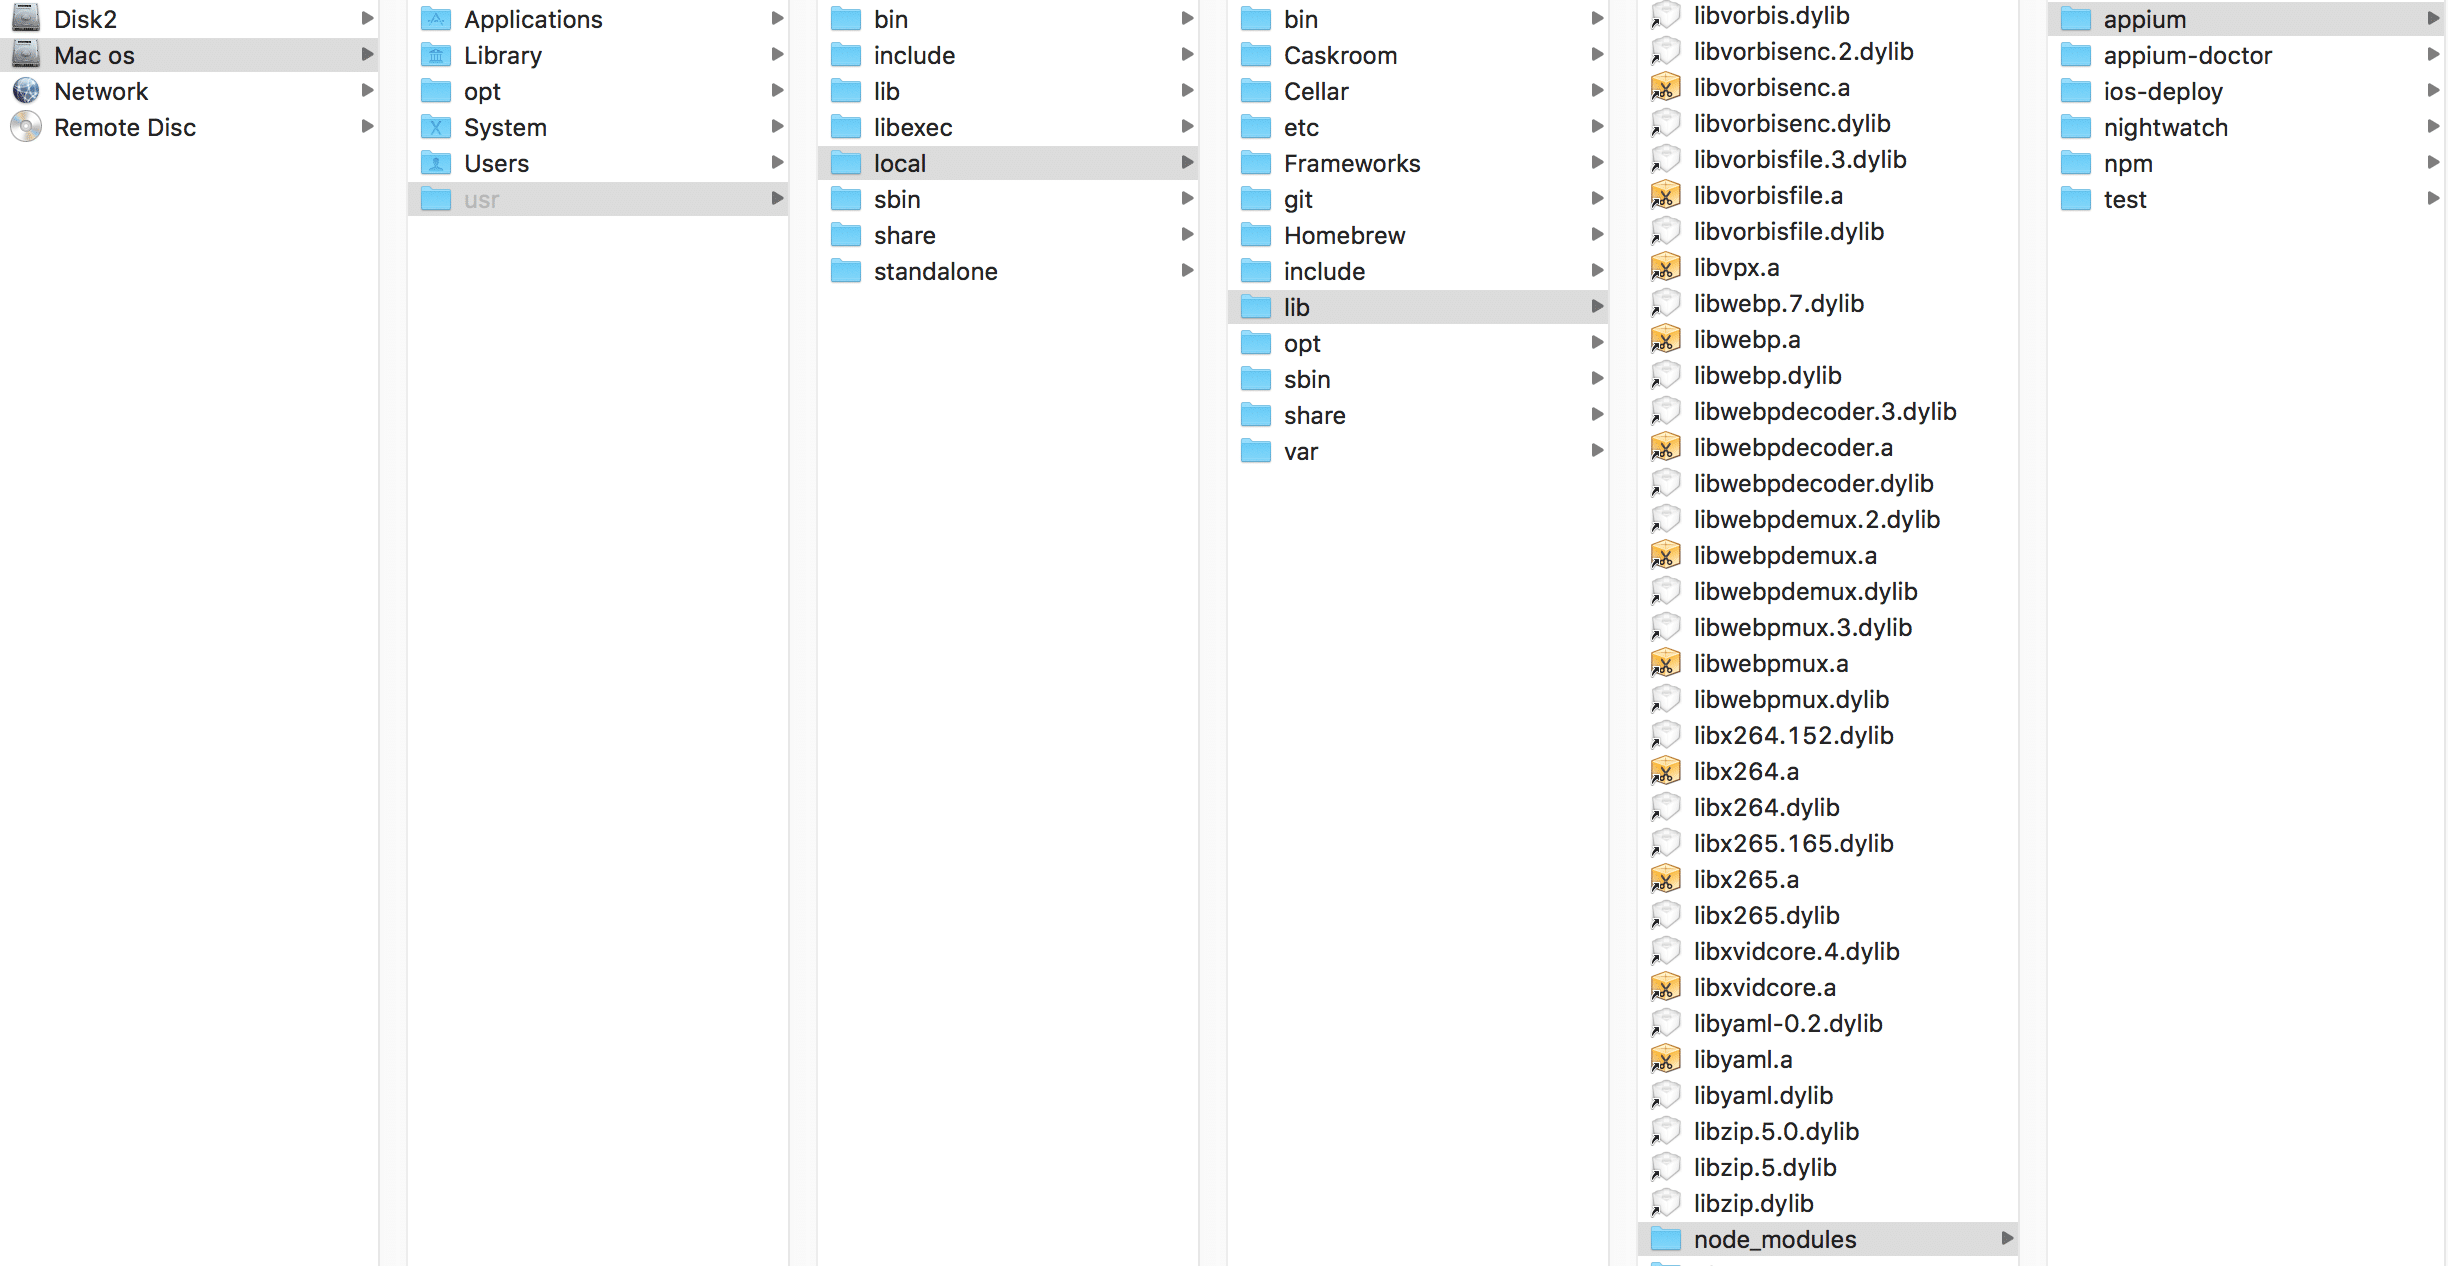
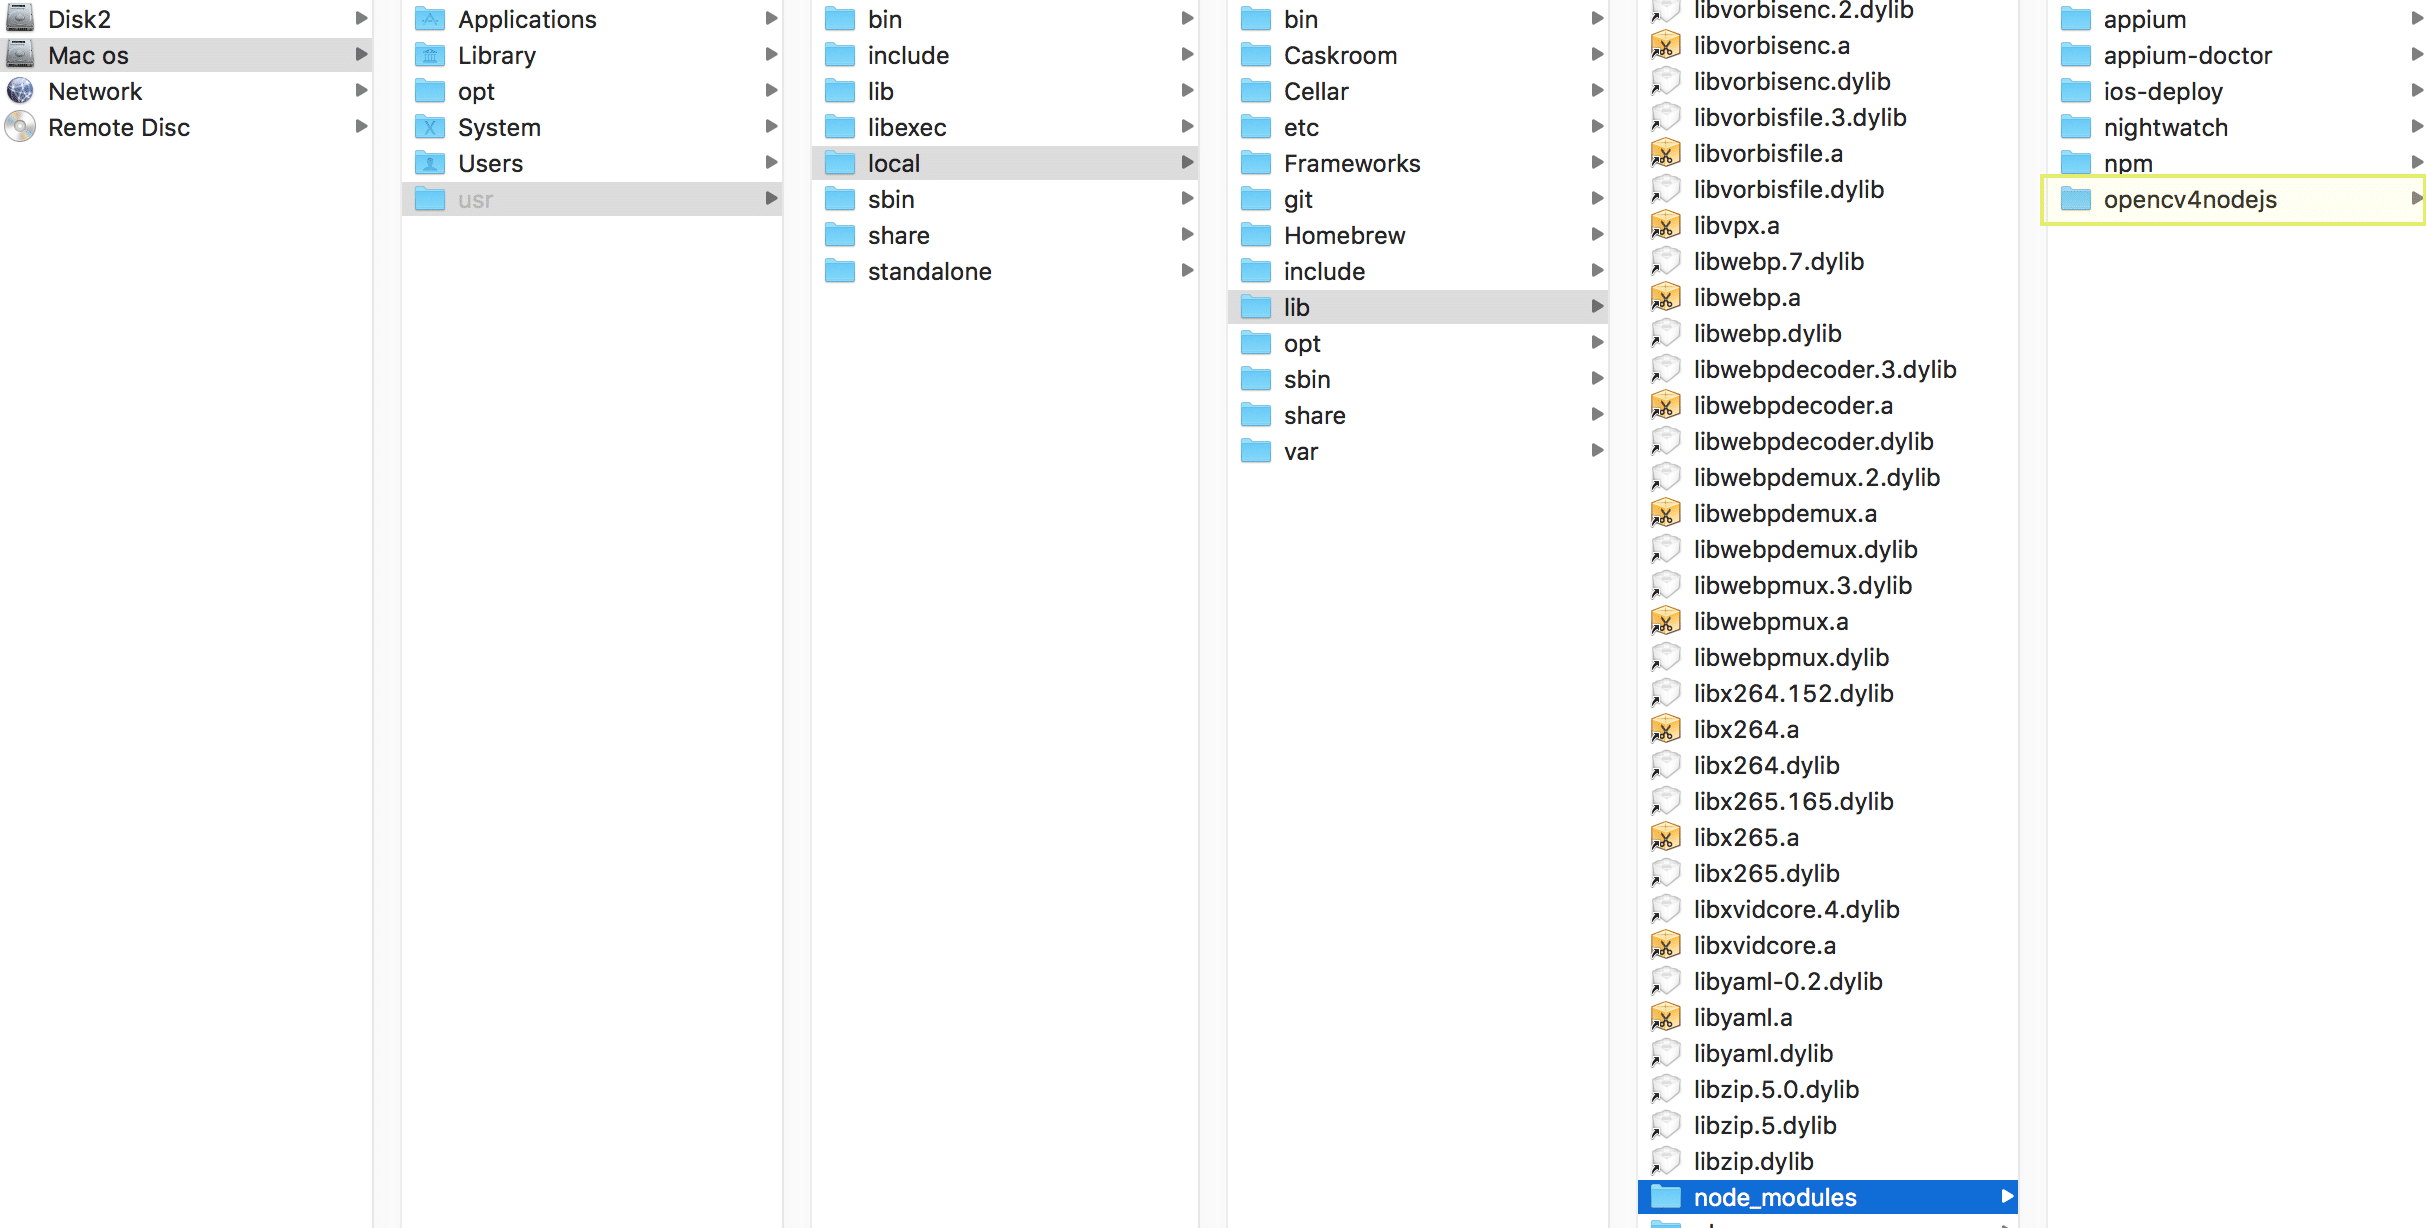
As you can see in the above screenshot all globally defined node modules are present under /usr/local/lib/node_modules location, so you have to install the OpenCV library at this global location
That’s it, now you are ready to use Image comparison feature in Appium.
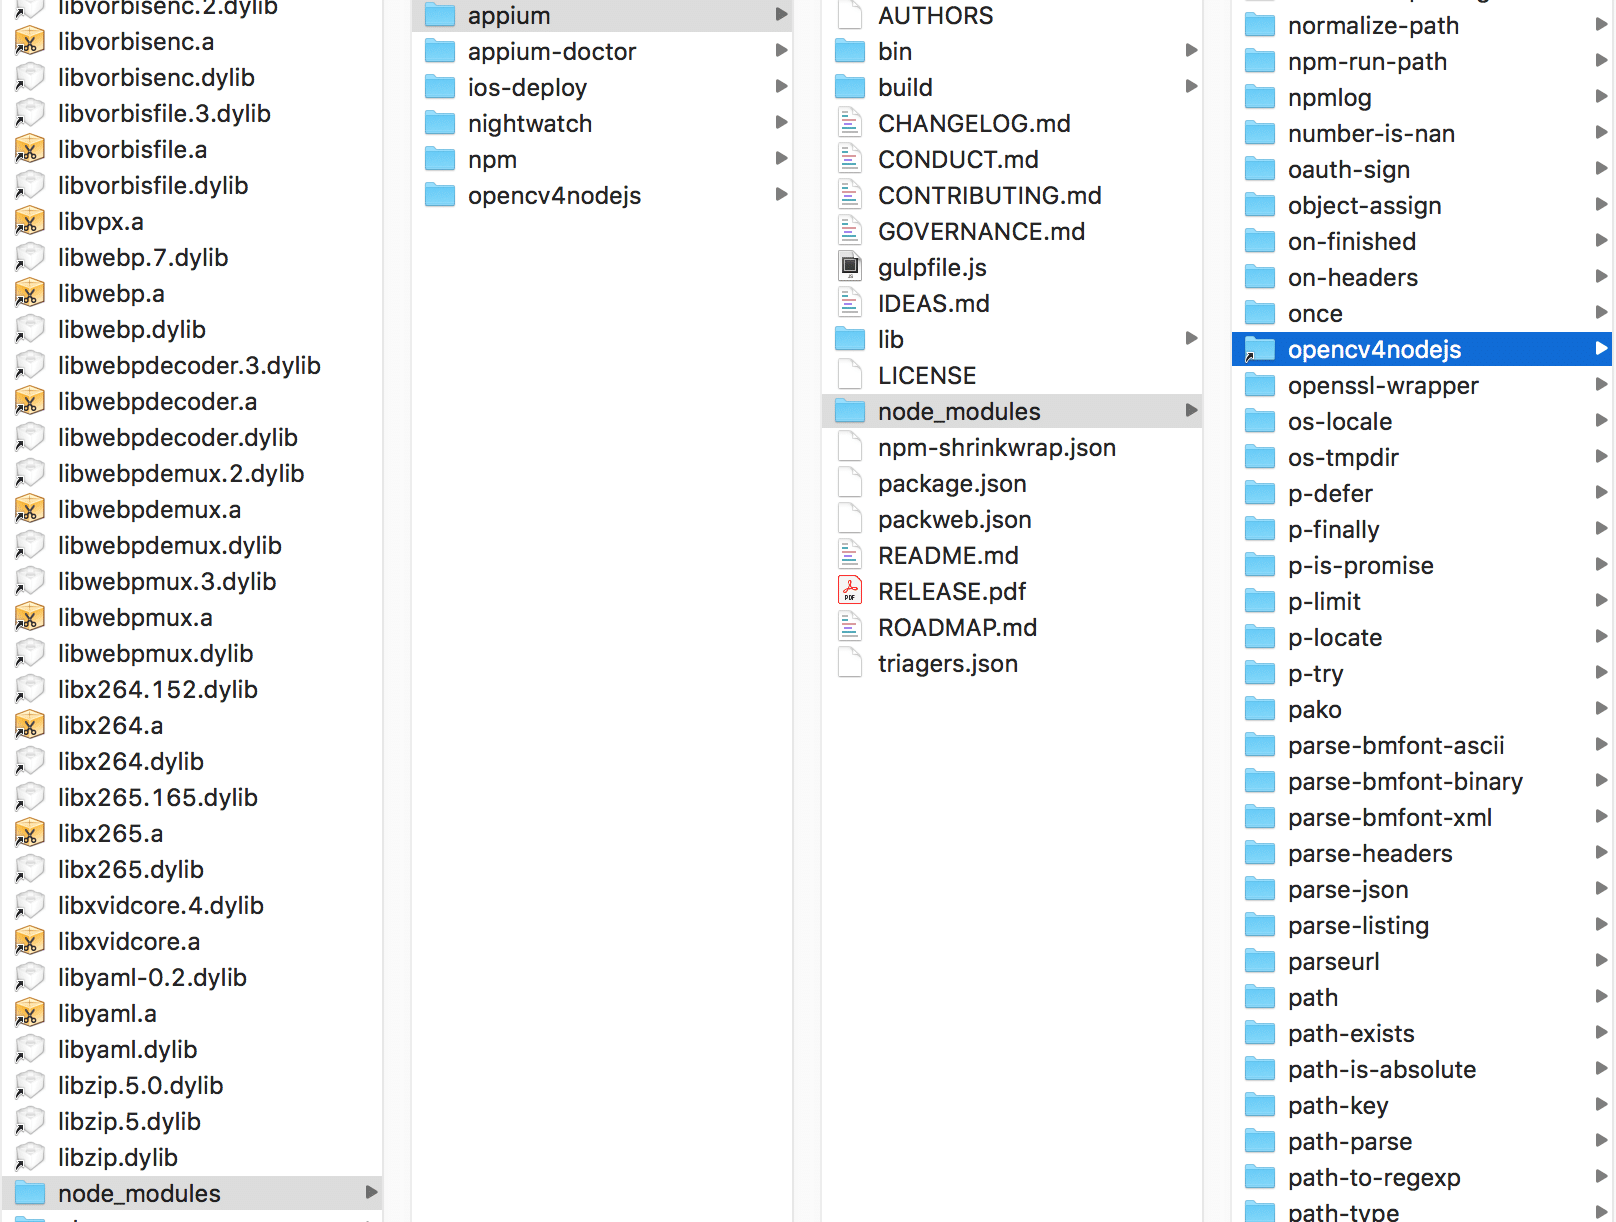
NOTE: You can also directly install the opencv4nodejs node module under Appium node_modules, the steps would be:

Why do we need to image comparison feature in Appium?
There are cases when there is no unique locator present for a particular UI element in the application, and in that case, you can’t do anything except tapping at a particular location, which is a very fragile operation (that is, prone to failure). It is only workable if the location of that UI element is static every time – if the UI element is changing its location every time you open your application or based on the device it’s executing on, then tapping on a particular location isn’t the preferred option. With the new image comparison feature inside Appium, we have an image locator strategy. Using this locator we locate elements based on their image.
With the image locator strategy, instead of typical unique locators, you need to pass the string, which is the Base64 encoded format of the image.
There are many ways to get the Base64 encoded version of the Image, but we use the simplest.
Use this method to convert an image(.png/.jpg file) to Base64 String format.
public String getReferenceImageB64(String imgPath) throws URISyntaxException, IOException {
URL refImgUrl = getClass().getClassLoader().getResource(imgPath);
File refImgFile = Paths.get(refImgUrl.toURI()).toFile();
return
Base64.getEncoder().encodeToString(Files.readAllBytes(refImgFile.toPath()));
}Now that we have the image encoded as Base64, we can locate elements by this image.
Image Locator Strategy:
MobileElement elementByImage = (MobileElement) driver.findElementByImage(refImageBase64);NOTE: Just as with the other locator strategies, we can perform actions like click(), getText(), sendKeys(), etc.
Now, to understand this better, let’s take one practical automation test case which uses the image locator strategy.
We have taken one simple image application into consideration in order to understand the image comparison feature of Appium. That application will display the image from the given image URL.
The main problem is that the DOM structure contains no details for the image view, so we won’t be able to verify whether image view is visible or not after clicking on submit. Moreover, even if we verify that image view is visible, it won’t give us confidence that the displayed images are being fetched from given image URL. So, in order to check this use case, we need to use Appium’s image comparison functionality.
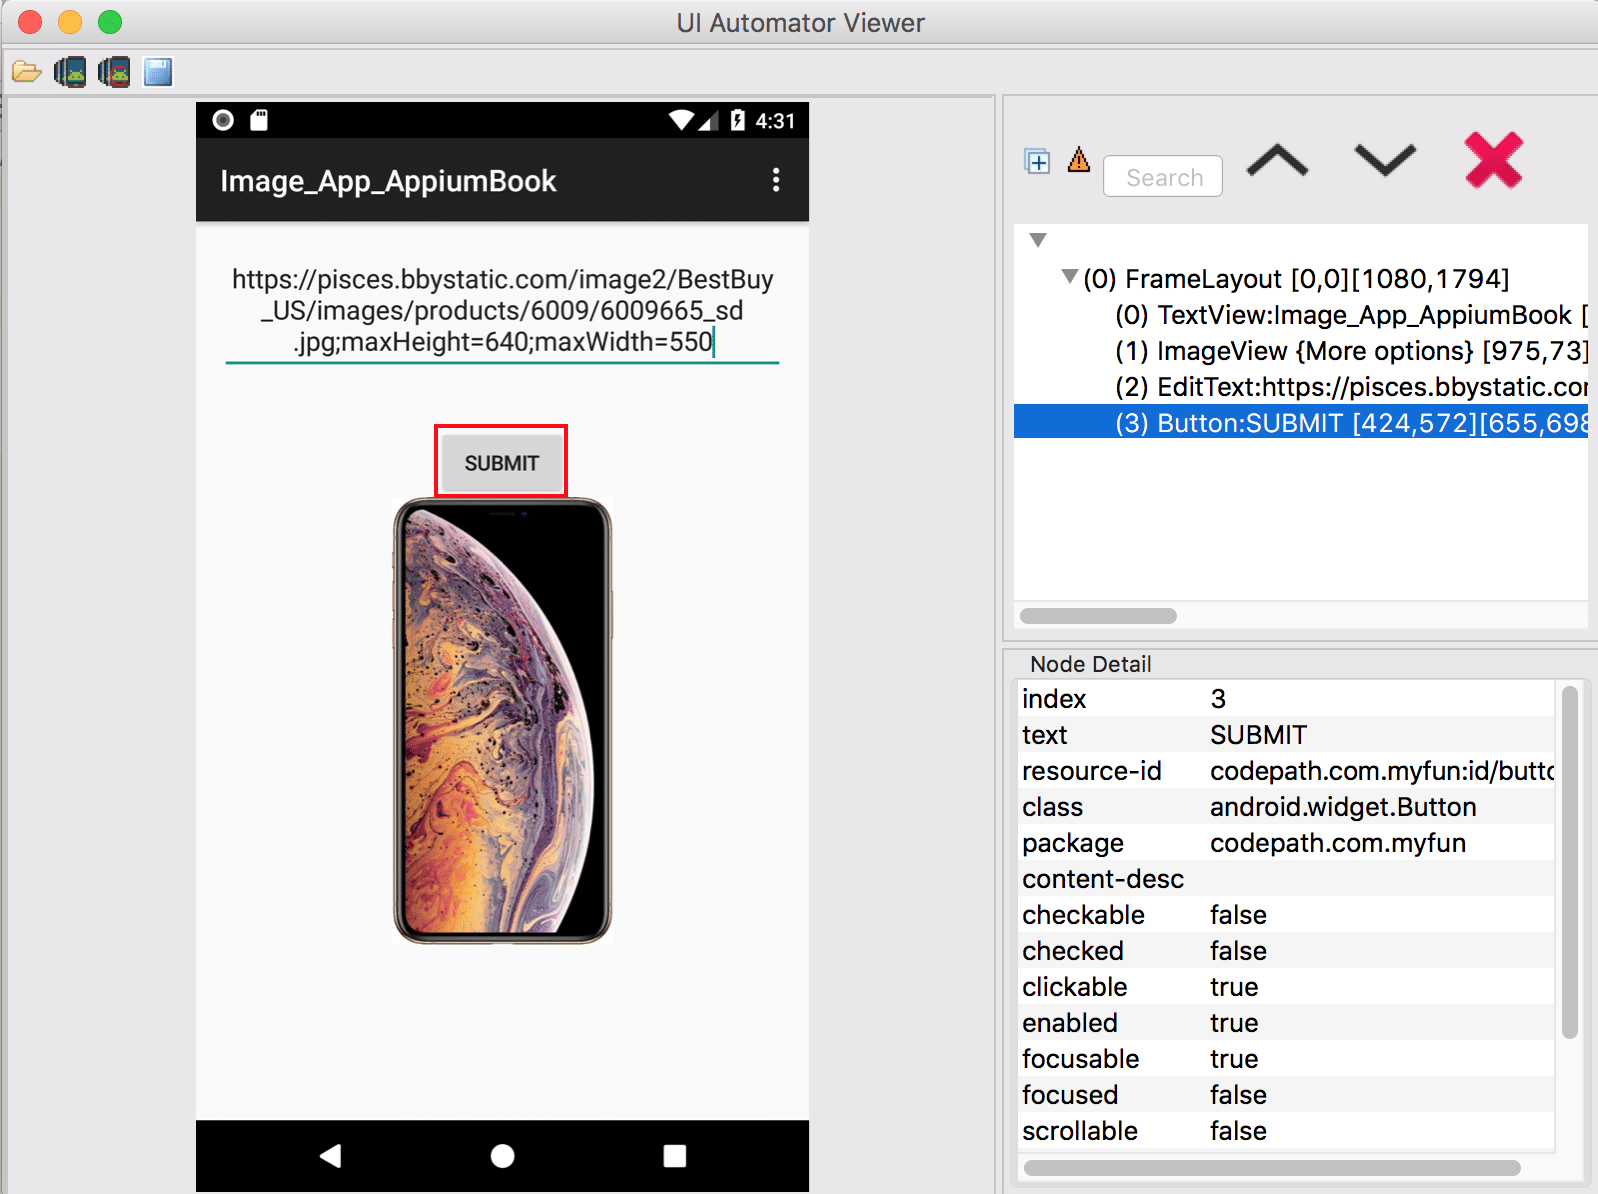
Here we will download the image from the given URL and will check that the downloaded image is present on the application (after clicking the submit button).
So it is a 2 step process:
But before moving to the business logic part we need to integrate the latest version of the Appium java-client(7.0.0), which supports the new image locator strategy.
build.gradle
...
dependencies {
...
testCompile group: 'io.appium', name: 'java-client', version: '7.0.0'
}
...After defining the dependency, we can proceed further and continue on famous page object model in order to automate the scenario.
In the image locator strategy, we are dealing with the base64-encoded format of the image, so downloading the image is not sufficient. We need to convert it to base64-encoded format. The method below will convert any image from it’s URL to base64-encoded format.
public String getBase64FormatOfImageFromURL(String imageURL) throws IOException, URISyntaxException { URL url = new URL(imageURL); try { InputStream is = url.openStream(); byte[] bytes = org.apache.commons.io.IOUtils.toByteArray(is); return org.apache.commons.codec.binary.Base64.encodeBase64String(bytes); } catch (Exception e) { throw new RuntimeException(“Please check the network on your server! It seems disconnected.”); } }
Please find the below code for reference:
public void isImageAppearOnApplication(String base64FormatImage) throws IOException, URISyntaxException {									    waitUtils.staticWait(5000);
try {									        Assert.assertTrue(AppiumUtils.isElementDisplayed((AndroidElement) driver.findElementByImage(base64FormatImage)), "Expected Image did not appear on dashboard Screen.");								    } catch (NoSuchElementException e) {
throw new RuntimeException("Expected image didn't display on Application!"); } }
In the above code, notice how we have put a static wait of 5 seconds – this is because as soon as the SUBMIT button is tapped, it will take some time to fetch and display the image on the app from the image URL.
NOTE: Here we could have put the dynamic wait instead of static if Image view was present in DOM for the displayed image.
This feature opens the door to new possibilities because there were cases when the traditional locator strategy could not help us. But now, by using the Image locator strategy you can literally find any UI element and apply an action upon it.
You can find this complete example on our GitHub page: Github page