Jun 10, 2021
How to Use iOS Devices With Passcode on KOBITON System

Adam Creamer
Read More
XebiaLabs is an independent software company specializing in DevOps and continuous delivery for large enterprise organizations. XebiaLabs offers the XebiaLabs DevOps Platform, a solution for Application Release Automation.
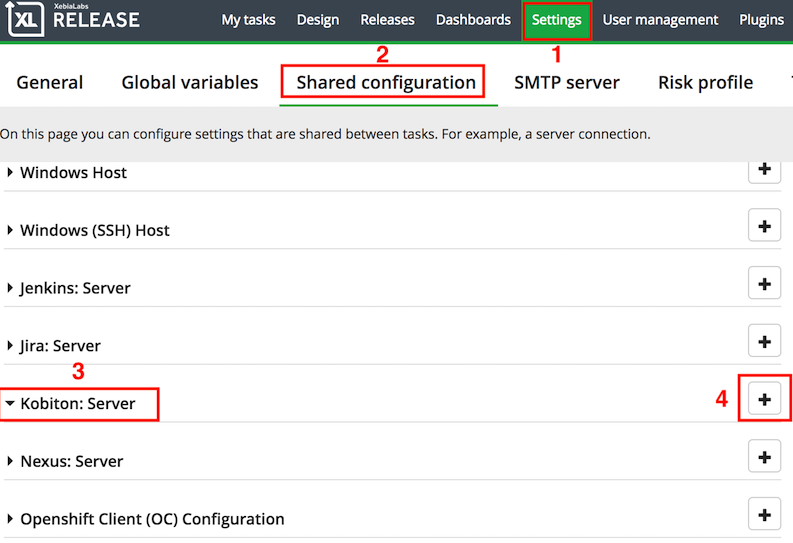
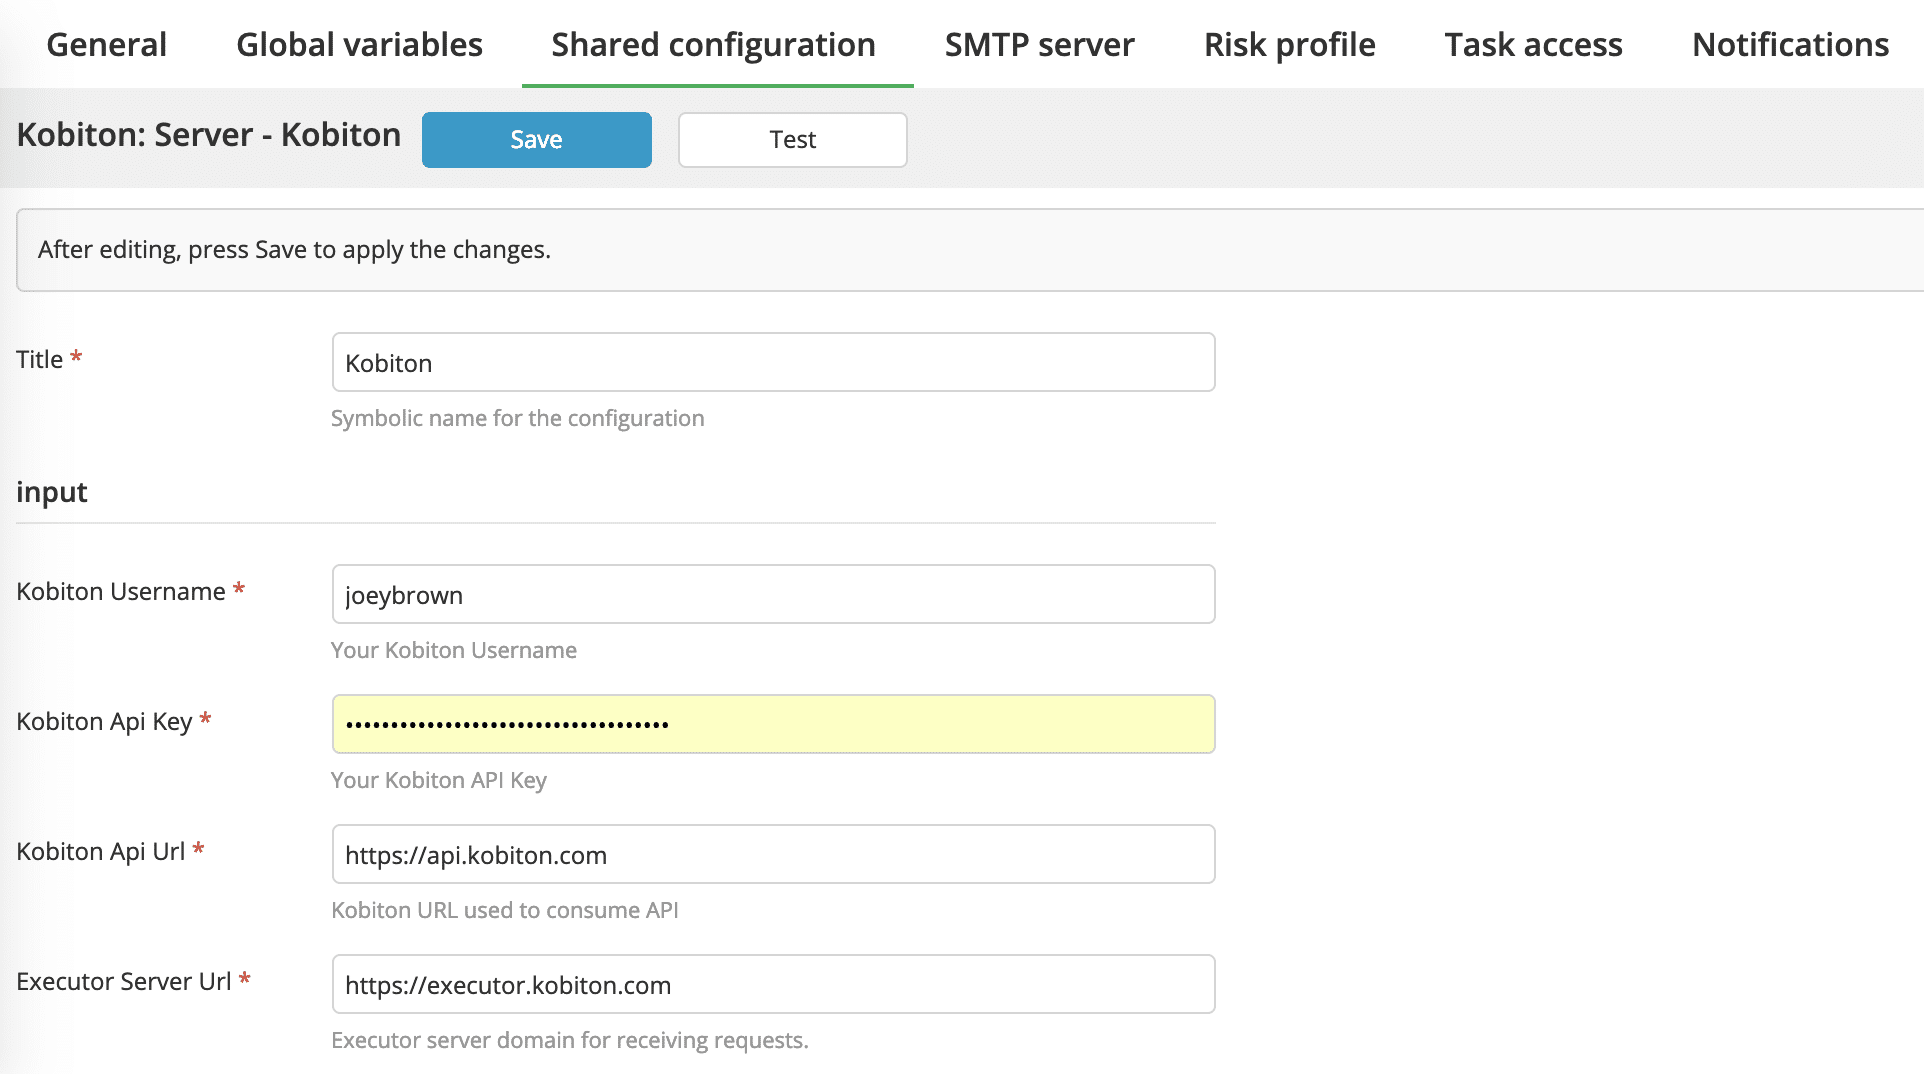
Kobiton integrates real-device mobile testing into your DevOps process, with support for over 350 mobile devices and the ability to connect to local on-premises devices. The Kobiton integration for XebiaLabs allows you to plan, automate, and optimize mobile device testing as part of your release pipelines.
The Kobiton integration for XebiaLabs can:
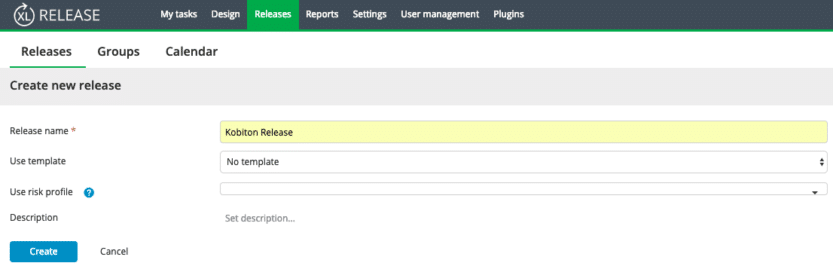
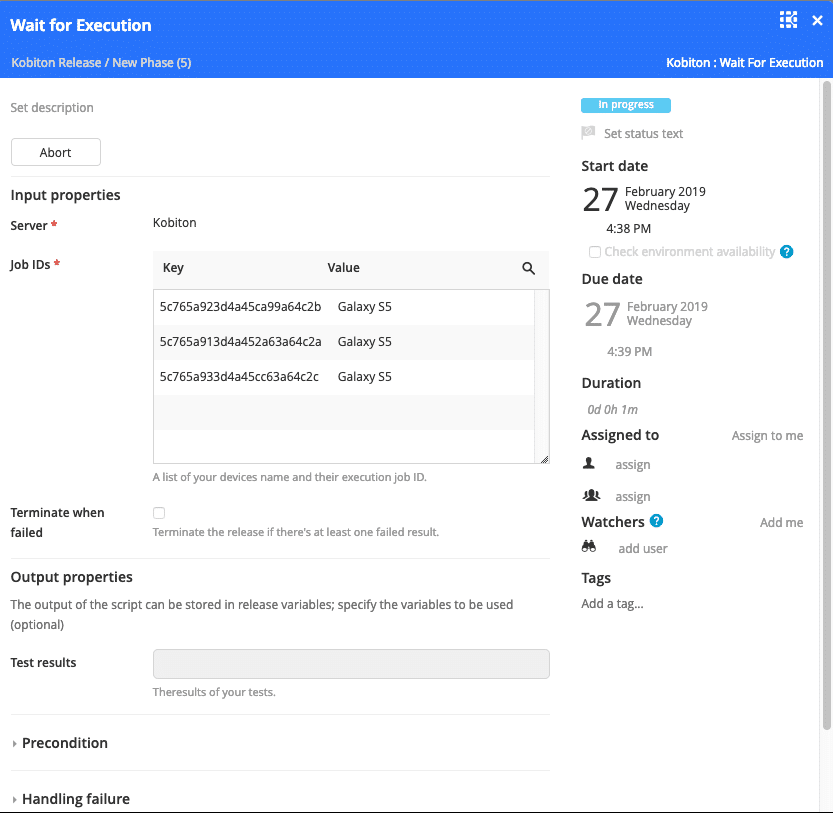
Kobiton Plugin now supports 3 tasks on XL Release environment. We will define a list of tasks on the Phase widget. They are:
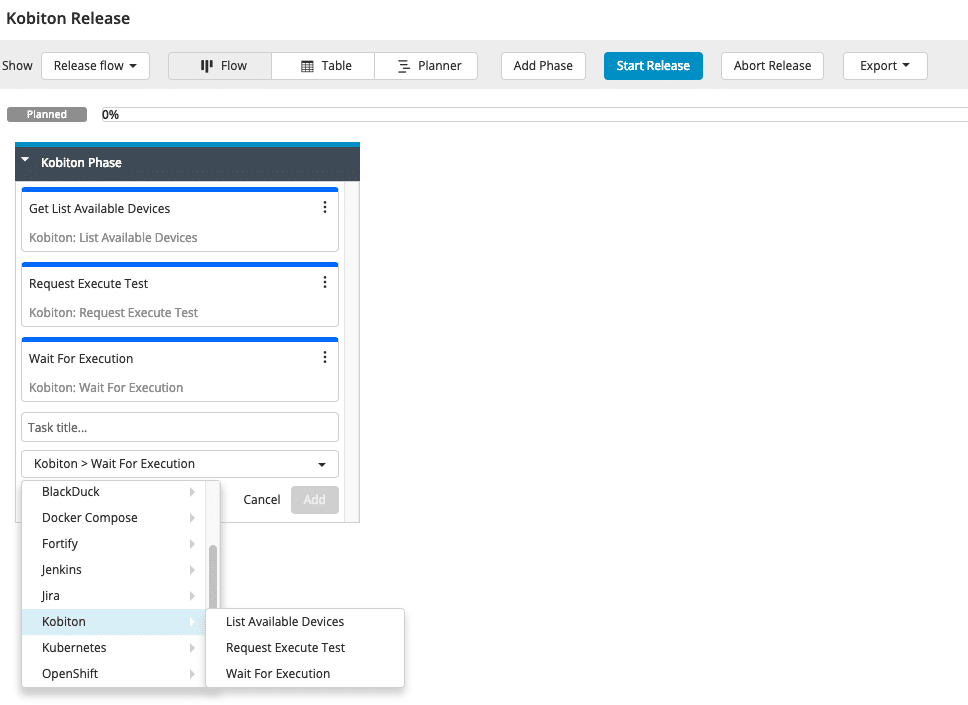
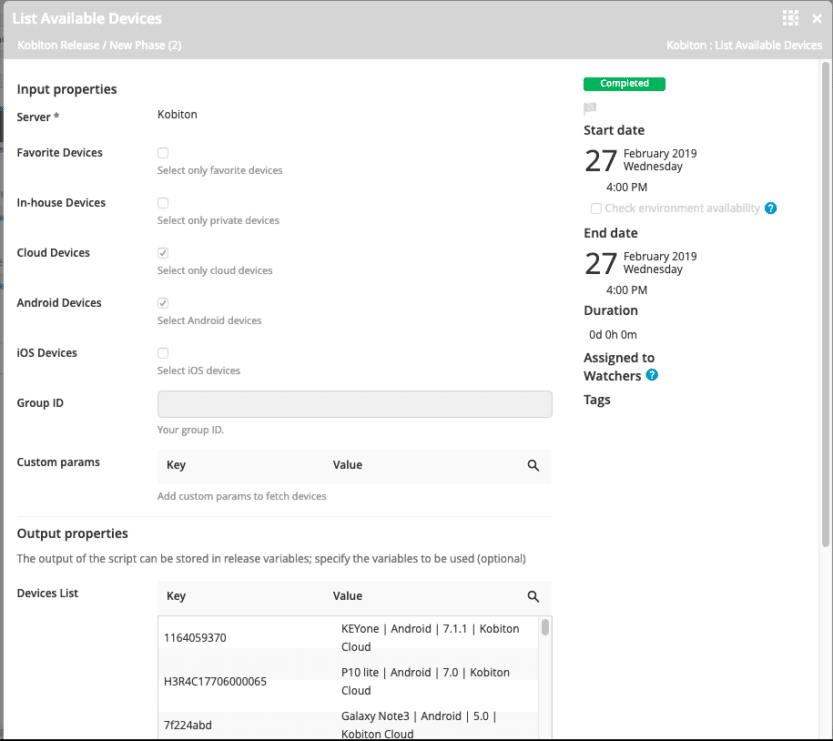
This task will help to fetch all online devices that you can use for your automation scripts. It contains multiple properties to filter online devices that depend on your expectations. You can run your automation test with Kobiton Cloud devices or your In-house devices or your mixed-up devices in Favorite devices group.
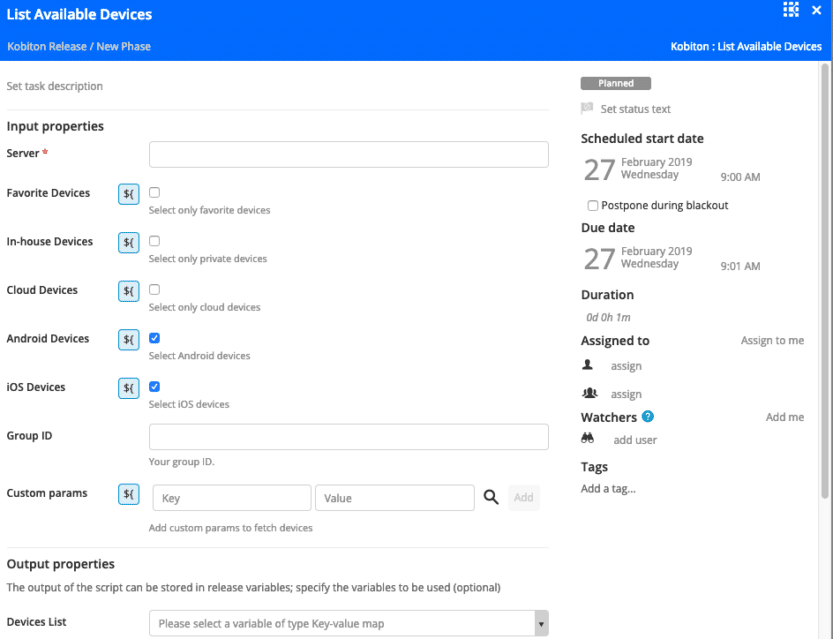
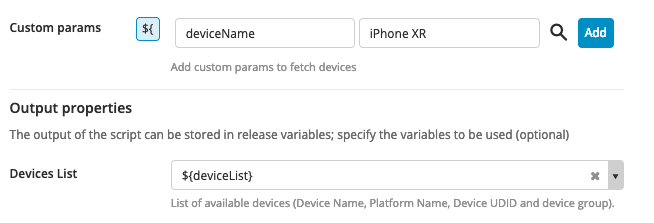
In addition, you can add more Custom params such as deviceName, platformVersion, UDID, etc… We can store the results into the defined global variables. This variable will be reused on other tasks.
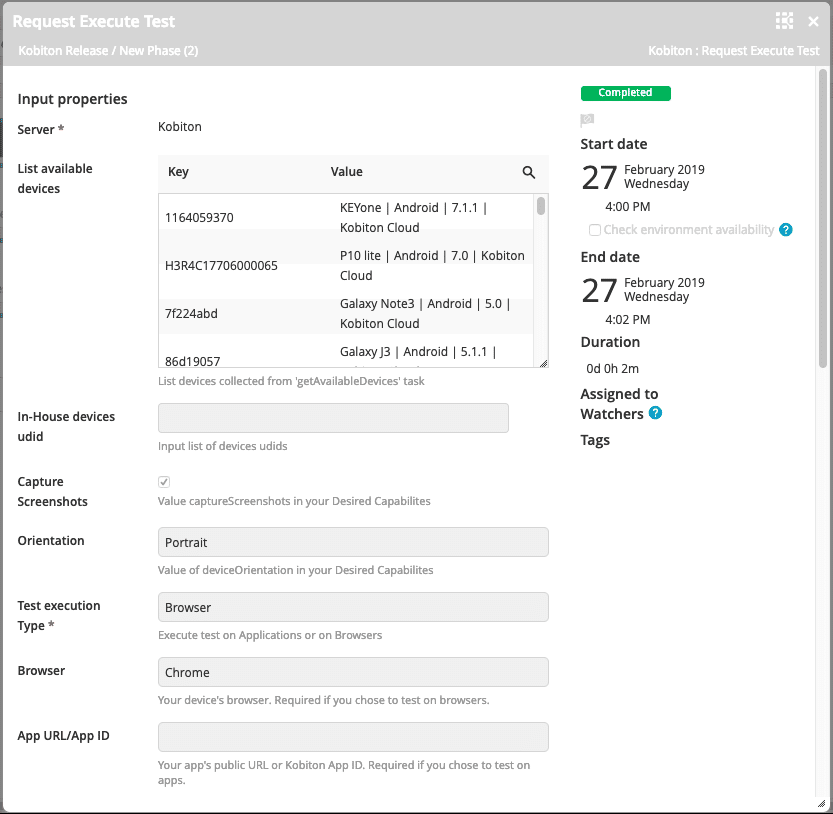
We will use this task to execute the automation test with Kobiton server.
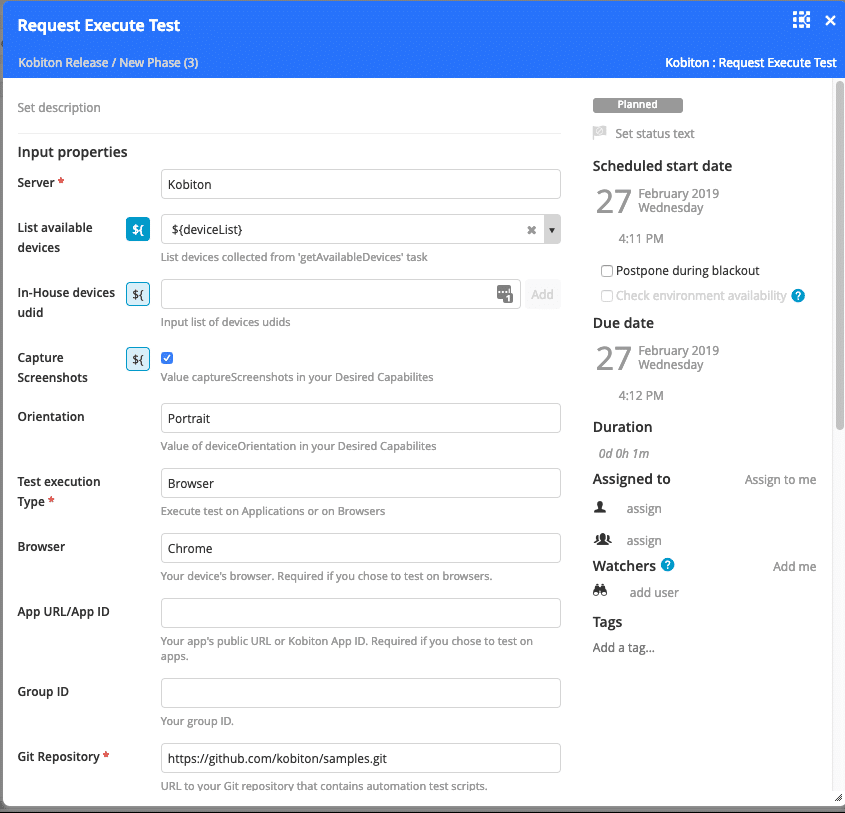
commands:
– cd javascript
– npm install
– npm run android-web-test
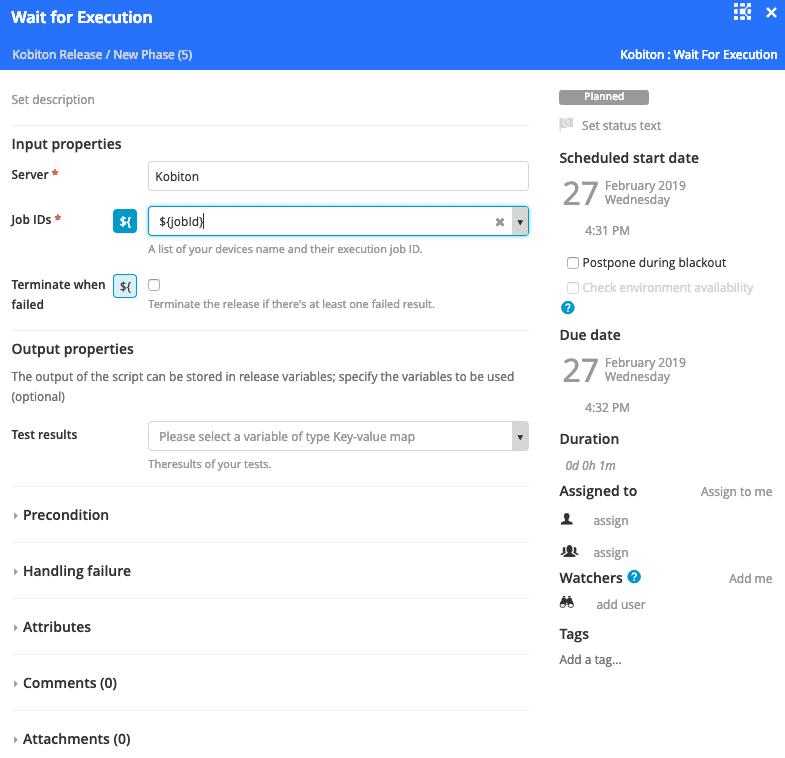
This task will collect the result from “Request Execute test” task to let you know the automated test is pass or fail.
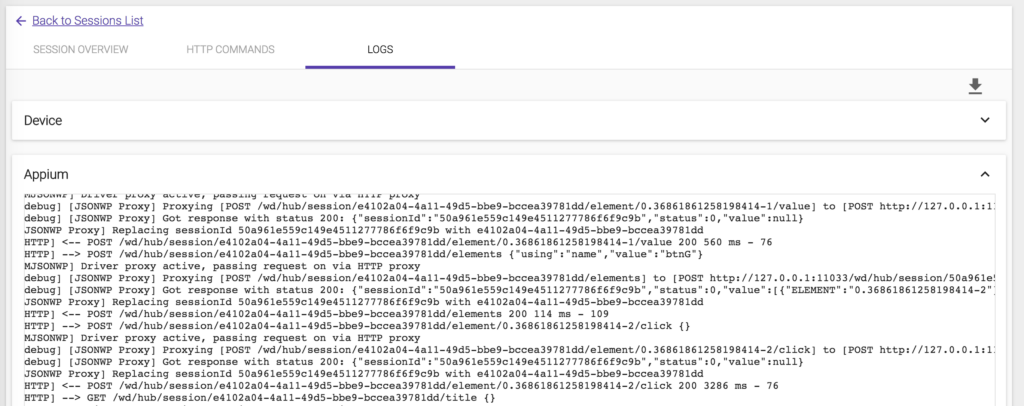
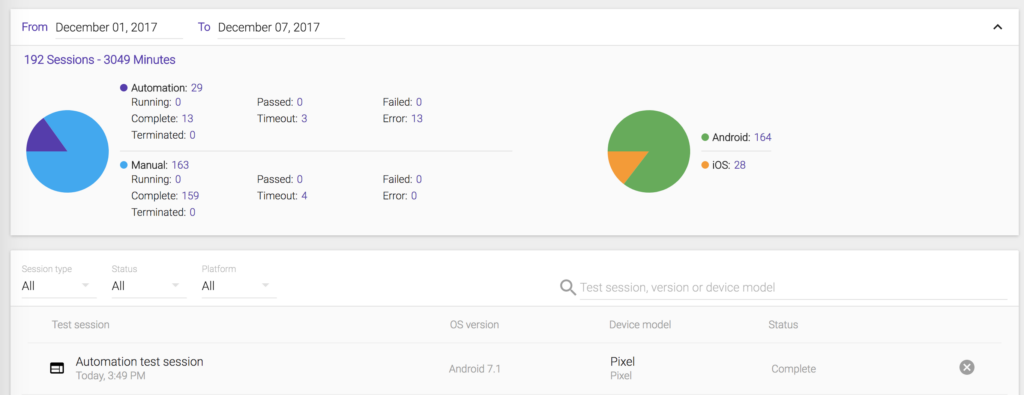
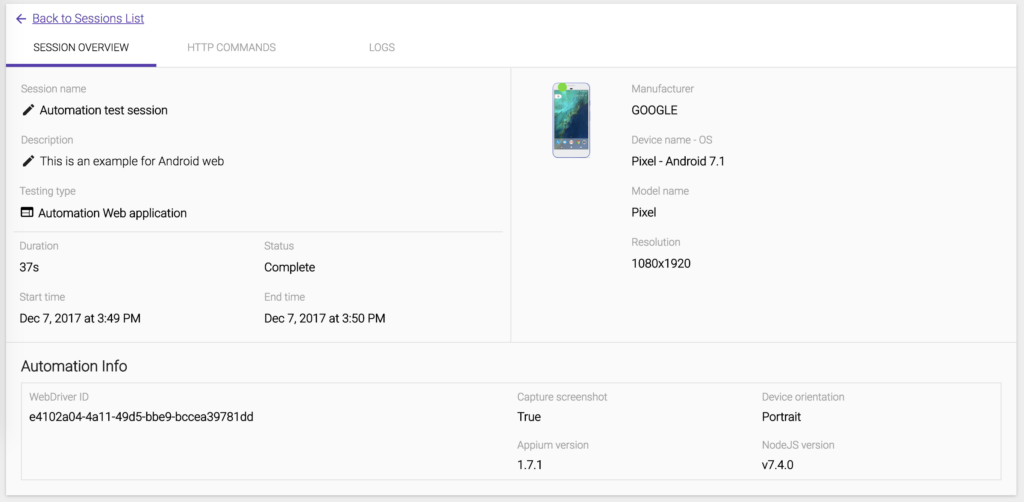
After executing a release, we can see the result by clicking on each task.
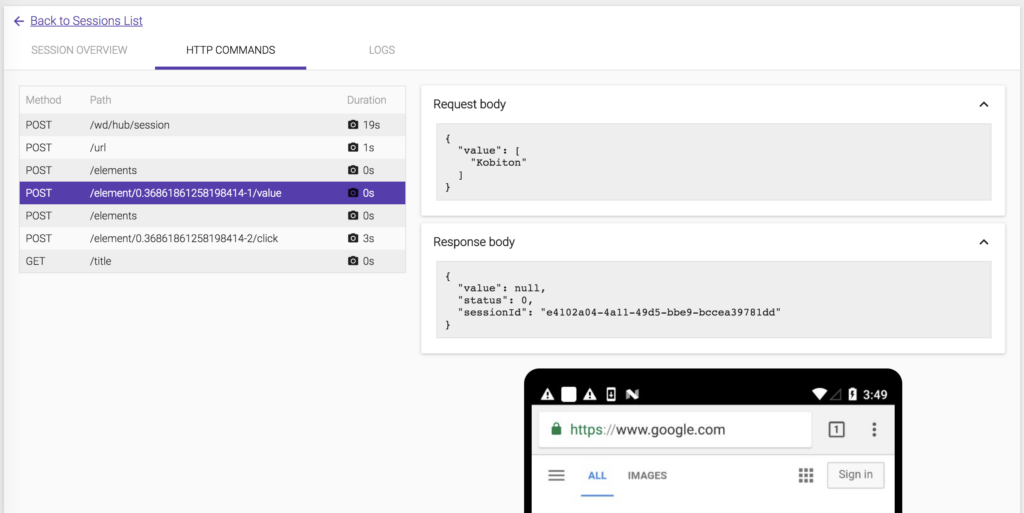
The log report includes device log and Appium log as well.