The lock screen is an important feature in Android, and keeping it secure is important for all Android users. However, setting up a secured lock screen is an annoying necessity for most testers because it takes longer to unlock your device. So, how can we bypass it during executing manual tests or automation tests? In this tutorial, I would like to guide you to set up Android devices with a PIN code that can work with the Kobiton system.
Set up a PIN code for Android Versions 4, 5, 6, and 7
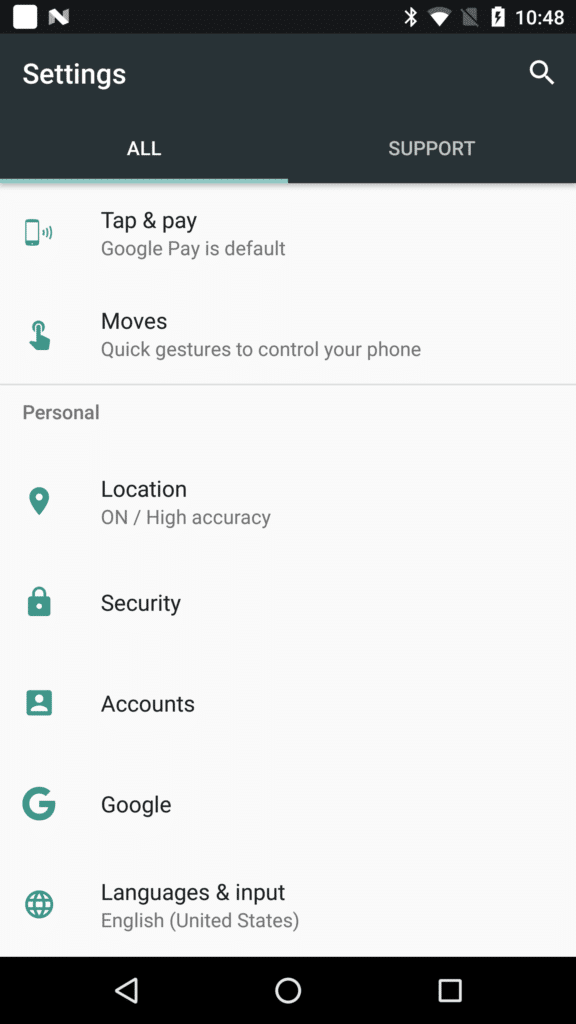
Go into the Settings menu > Lock screen and security or Settings > Lock Screen or Settings > Security
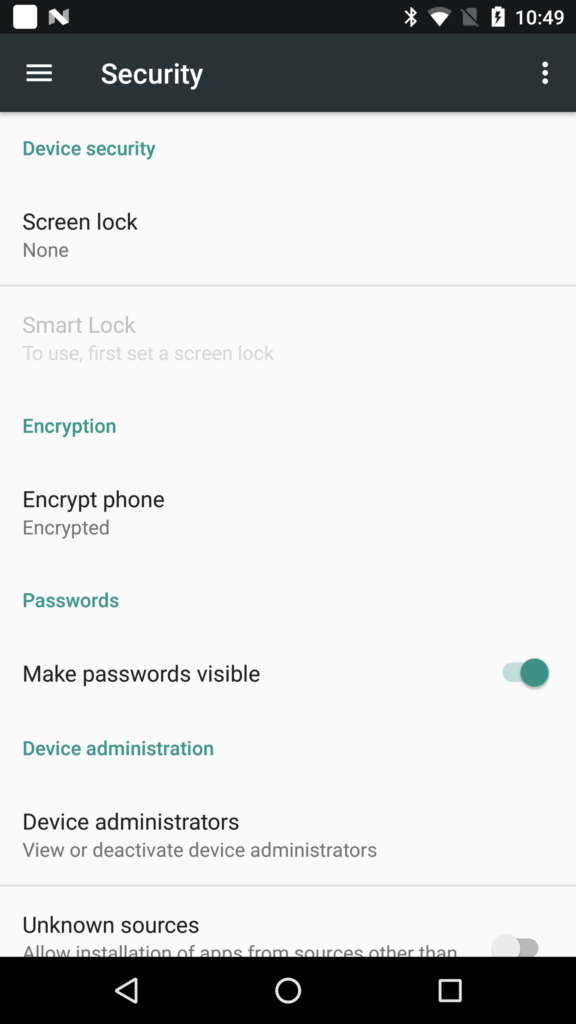
Tap on the Screen lock
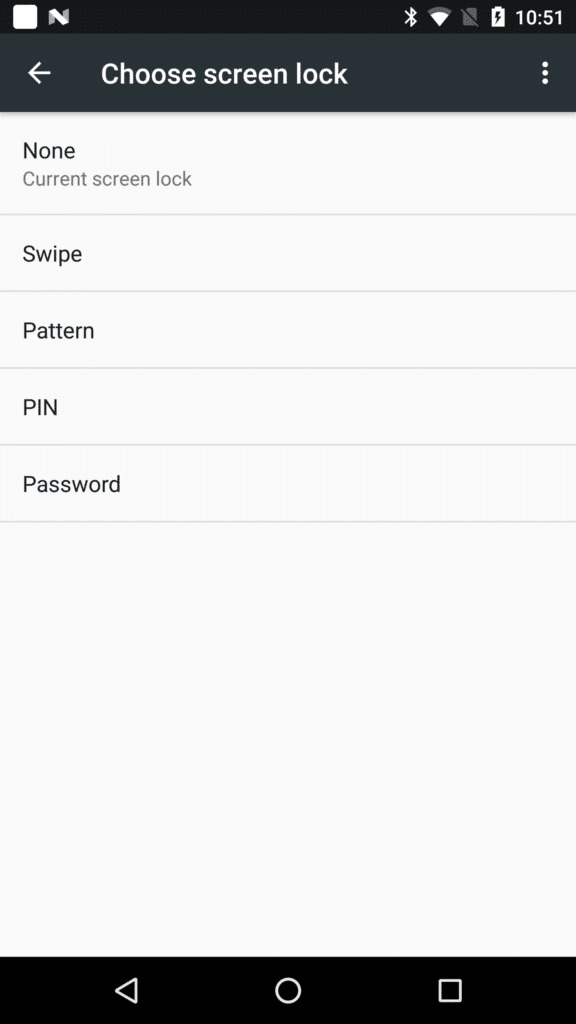
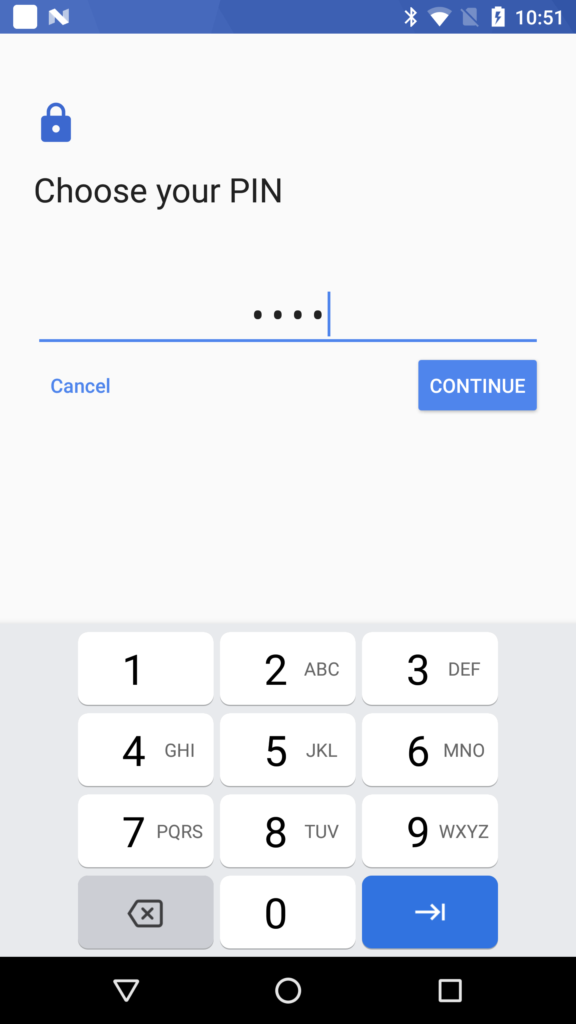
Select the Screen lock type = PIN
Enter the PIN code = 0000 and confirm your PIN again to continue
Configure Passcode function on Kobiton Desktop app
If Android versions 8, 9, and 10 don’t have a passcode file, Kobiton will automatically generate PIN code for these devices.
If you want to change the default passcode (“0000”) by another one, you must change the PIN code on the device and the data in the passcode file too. The length of the PIN code should be 4-10 numbers.
If we have several Android devices with the range of version 4 -10. that plugged into a Mac, the structure of configuration files looks like that:
├── udid
│   ├── config
│   └── passcode
After configuring the devices successfully, unplug & plug the device again
Register the device and start your testing
Interested in Learning More?
Subscribe today to stay informed and get regular updates from Kobiton