Oct 22, 2018
Develop, Deploy and Test Flutter Apps

Erin Bailey
Read More
Expo is a set of tools, libraries, and services which let you build native iOS and Android apps by writing JavaScript.
Expo apps are React Native apps which contain the Expo SDK. The SDK is a native-and-JS library which provides access to the device’s system functionality (things like the camera, contacts, local storage, and other hardware). That means you don’t need to use Xcode or Android Studio, or write any native code, and it also makes your pure-JS project very portable because it can run in any native environment containing the Expo SDK.
There are two tools that you need to develop apps with Expo: a local development tool and a mobile client to open your app.
Expo CLI is a tool for developing apps with Expo. In addition, the command-line interface (CLI) it also has a graphical UI, Expo Developer Tools, that pops up in your web browser. With Expo Dev Tools you can quickly set up your test devices, view logs and more.
You’ll need to have Node.js (version 6 or newer) installed on your computer. Download the latest version of Node.js.
You can install Expo CLI by running:
npm install -g expo-cliIf you haven’t created an Expo account before, you’ll be asked to create one when running the build command.
Expo Development Client helps view your projects while you’re developing them. When you serve your project with Expo CLI, it generates a development URL that you can open in Expo Development Client to preview your app. On Android, Expo Development Client can also be used to view others’ projects on expo.io. Expo Development Client works on devices, simulators, and emulators.
Run expo init to create a project. You'll be asked to name your project. The project will be created in a new directory with that name in the current working directory. I'll call mine AwesomeProject, and press Enter.
Next you can choose which project template to use. Choose the tabs option since that will give us a good starting point.
Expo CLI is now initializing a new project: it copies a basic template and installs react, react-native and expo.
When the project is initialized and ready to go, the command will exit.
{
  "expo": {
  "name": "Your App Name",
  "icon": "./path/to/your/app-icon.png",
  "version": "1.0.0",
  "slug": "your-app-slug",
  "sdkVersion": "XX.0.0",
  "ios": {
    "bundleIdentifier": "com.yourcompany.yourappname"
  },
  "android": {
    "package": "com.yourcompany.yourappname"
    }
  }
}
bundleIdentifier and Android package fields use reverse DNS notation, but don't have to be related to a domain. Replace "com.yourcompany.yourappname" with whatever makes sense for your app.name, icon and version are required.slug is the url name that your app's JavaScript is published to. For example: expo.io/@community/native-component-list, where community is my username and native-component-list is the slug.sdkVersion tells Expo what Expo runtime version to use, which corresponds to a React Native version. Although "XX.0.0" is listed in the example, you already have an sdkVersion in your app.json and should not change it except when you want to update to a new version of Expo.Navigate to your project folder and type npm start to start the local development server of Expo CLI.
cd AwesomeProject
expo start
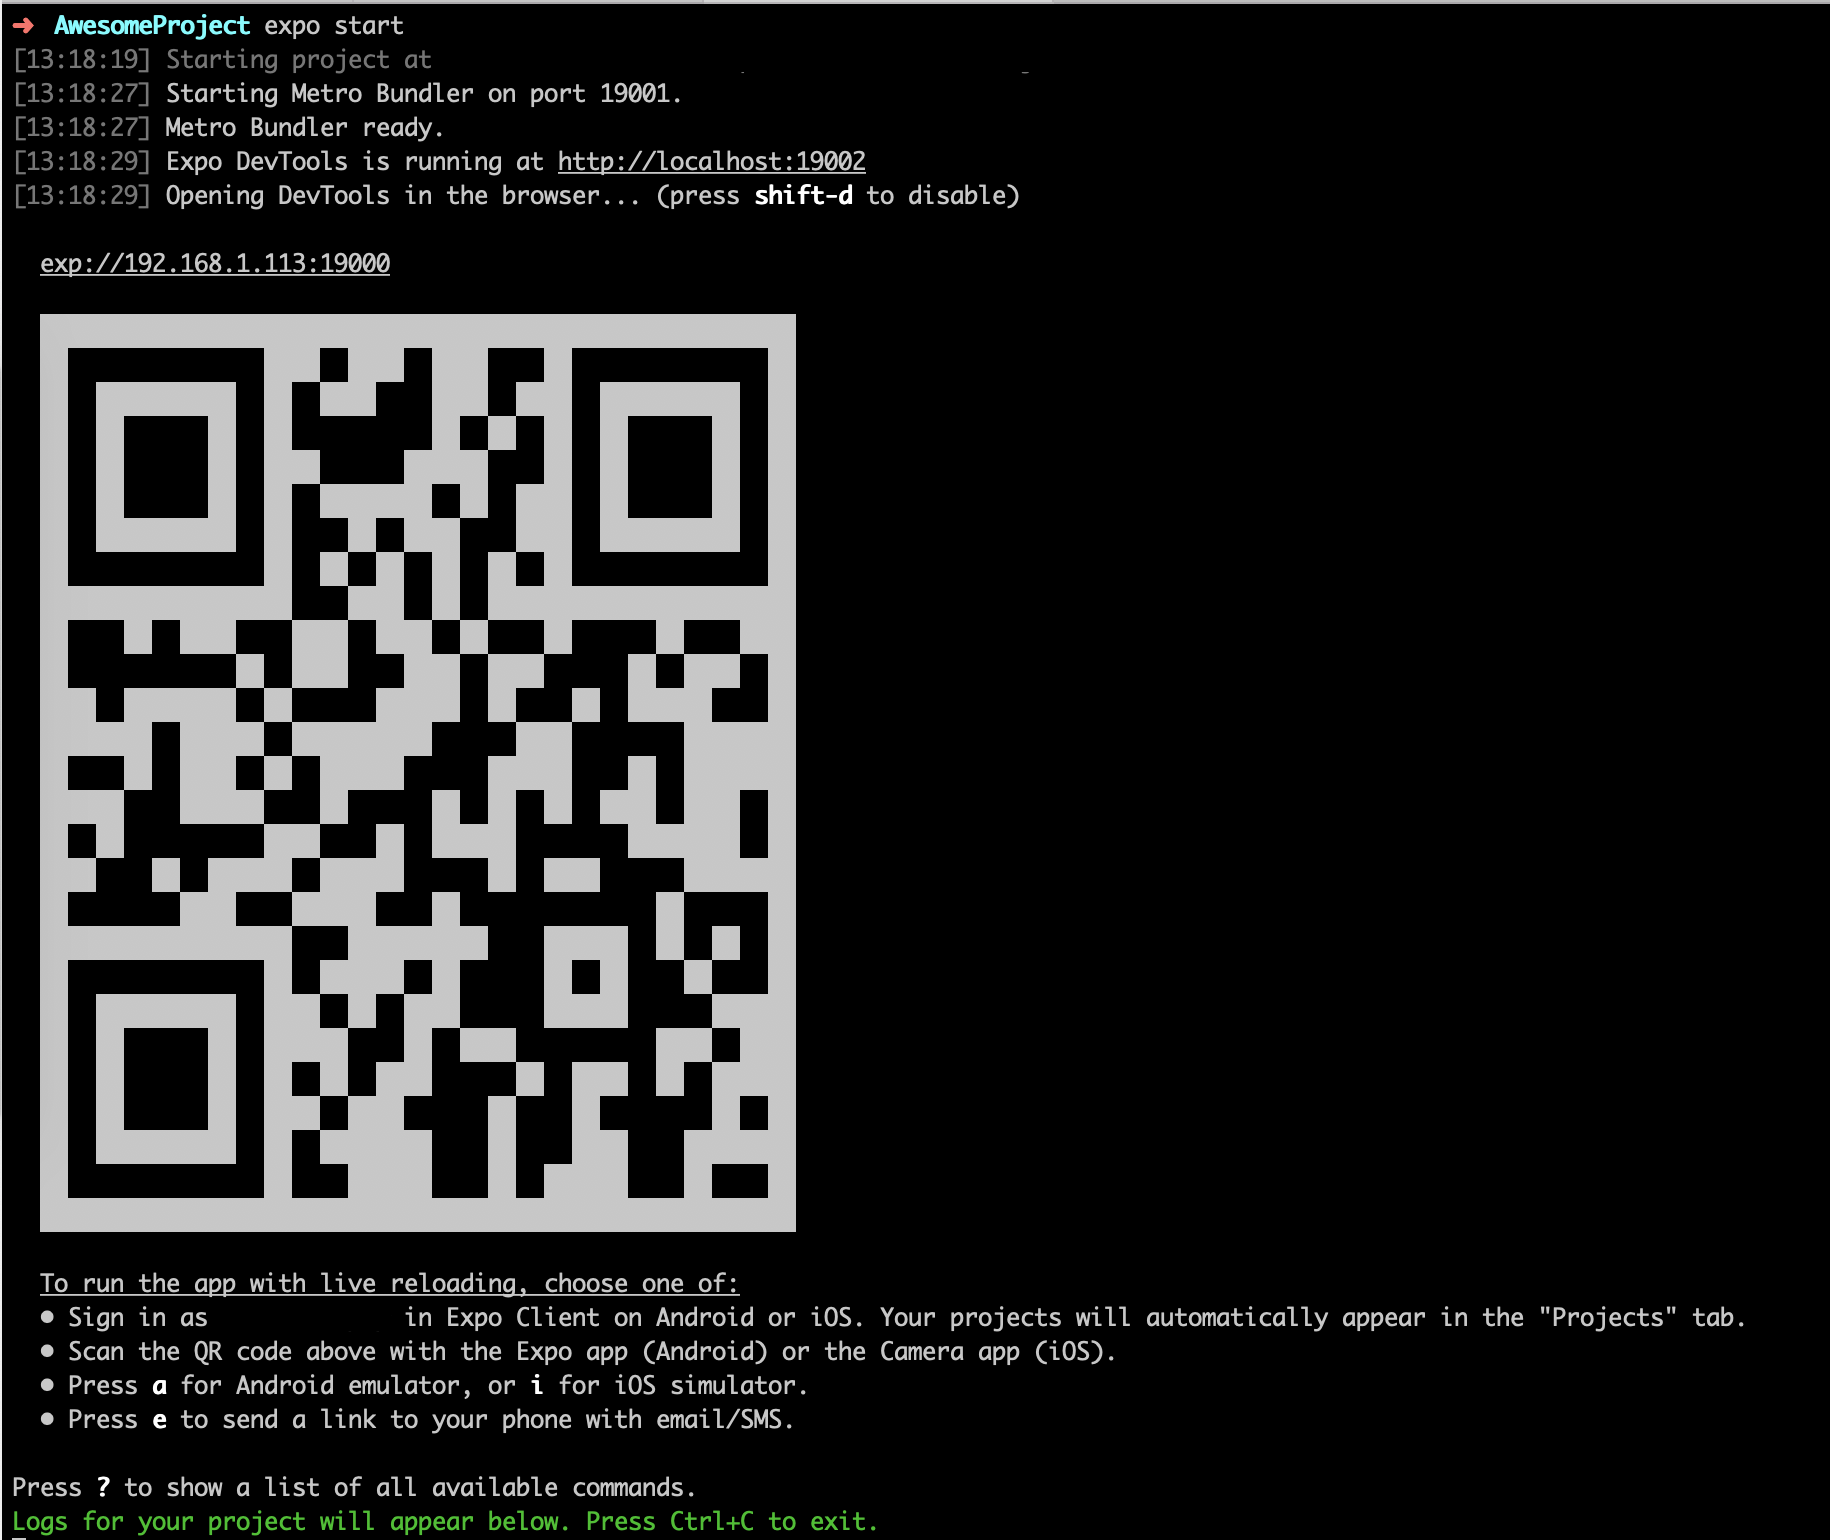
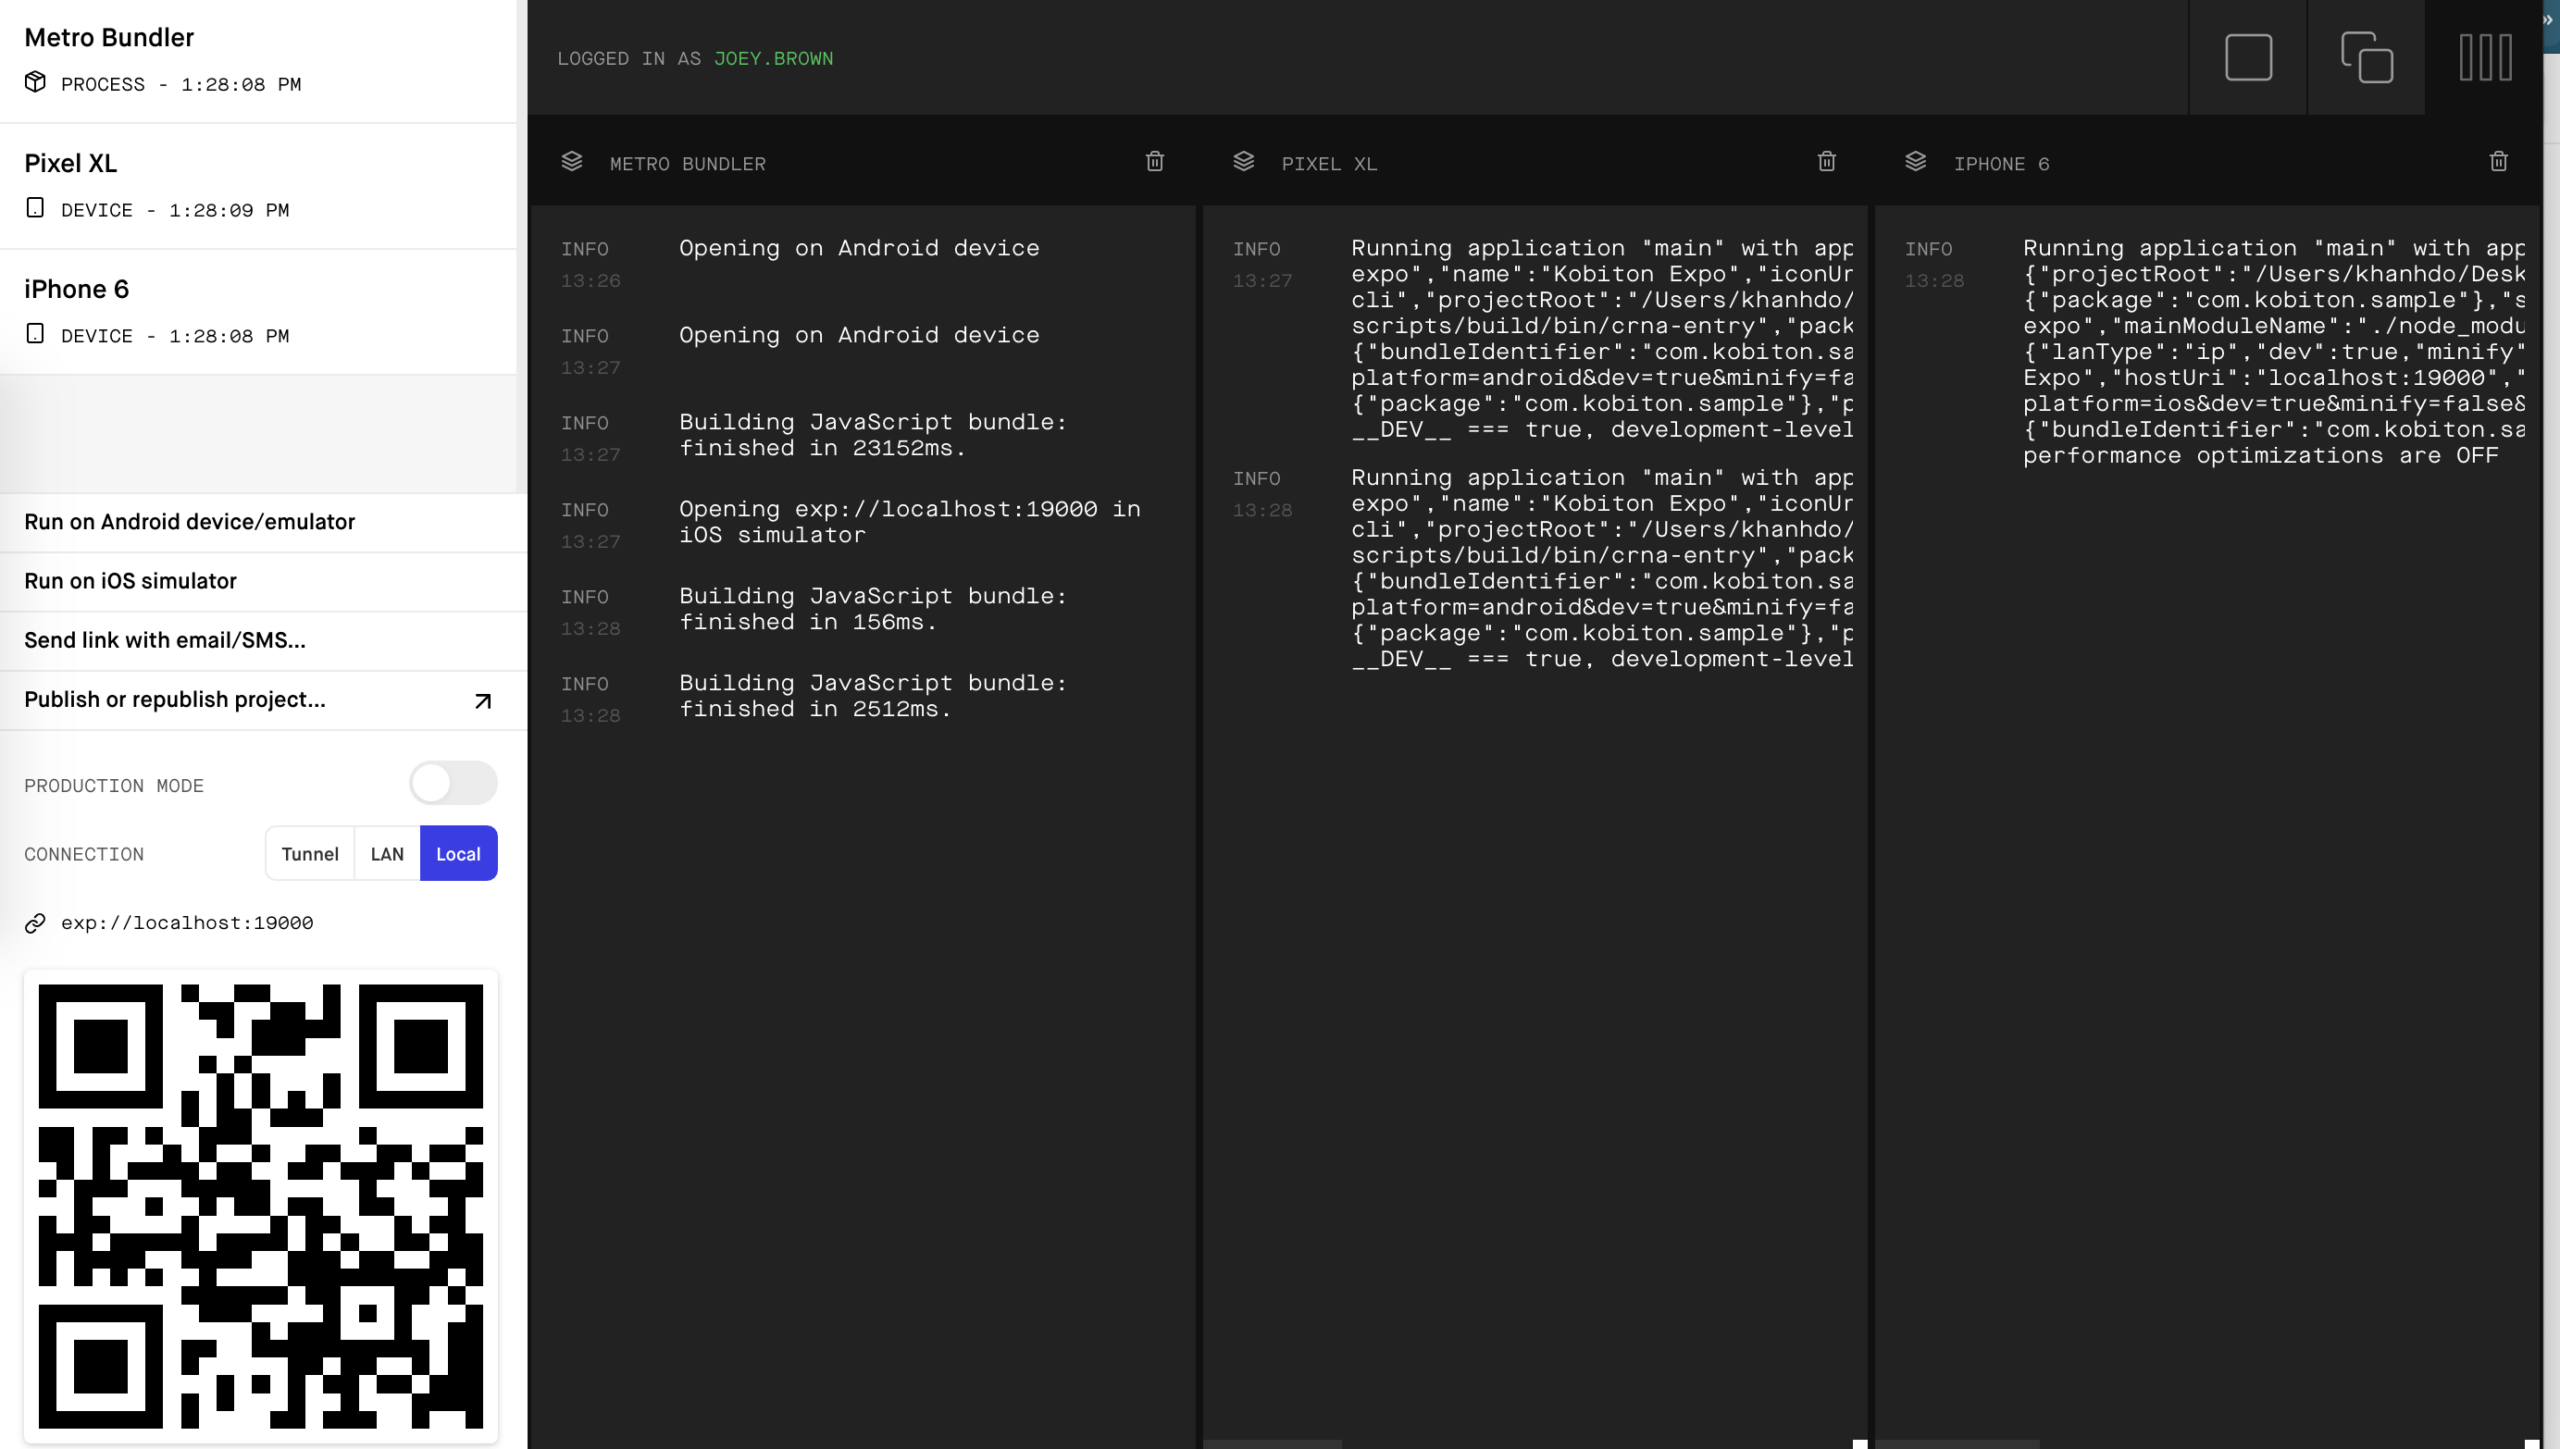
On Expo Dev Tools, we can run on Android device/ emulator or iOS simulator. Here is a brief breakdown of the new browser experience:
Here’s how to deploy an Expo React Native app.
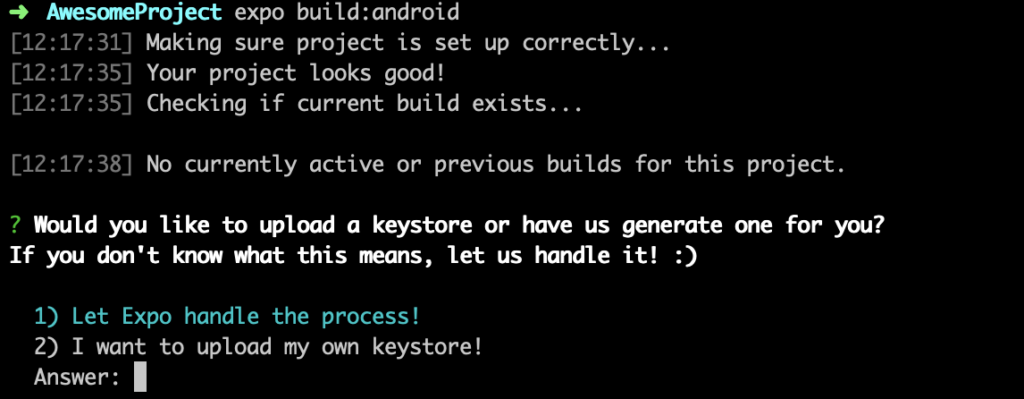
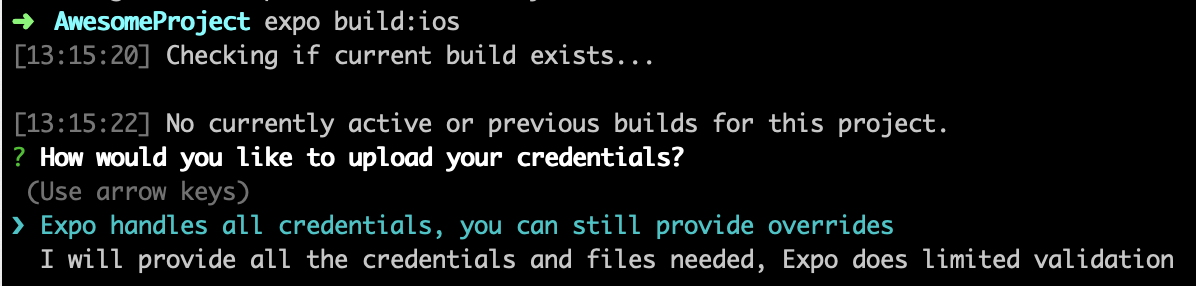
Run expo build:android or expo build:ios. If you don't already have a packager running for this project, exp will start one for you.
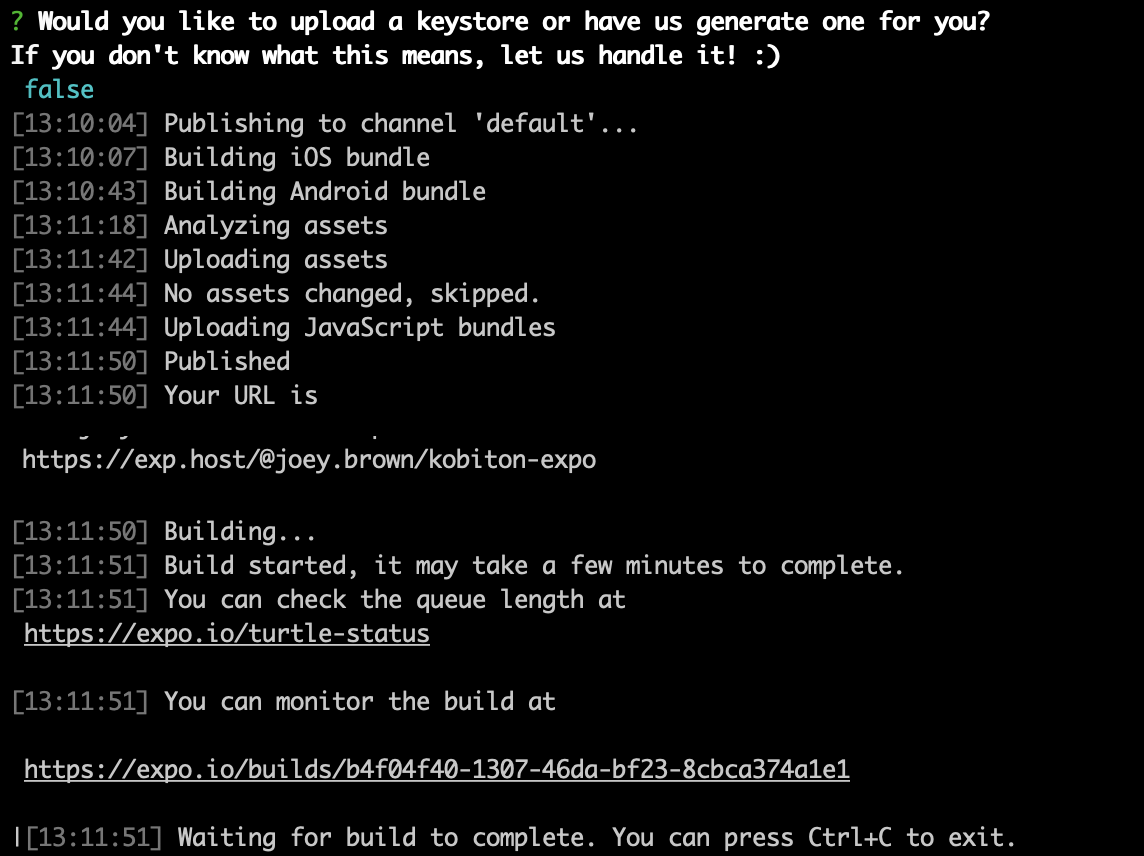
The first time you build the project you will be asked whether you’d like to upload a keystore or have us handle it for you. If you don’t know what a keystore is, just leave it to us. Otherwise, feel free to upload your own.
Note: If you choose the first option and later decide to upload your own keystore, we currently offer an option to clear your current Android keystore from our build servers by running
expo build:android --clear-credentials.This is irreversible, so only run this command if you know what you are doing!You can download a backup copy of the keystore by running expo fetch:android:keystore. If you do not have a local copy of your keystore , you will be unable to publish new versions of your app to the Play Store. Your only option would be to generate a new keystore and re-upload your application as a new application. You can learn more about how code signing and keystores workin the Android documentation.
You are given a choice of letting the exp client create the necessary credentials for you, while still having a chance to provide your own overrides. Your Apple ID and password is used locally and never saved on Expo's servers. In this blog, I will skip the build part for iOS.
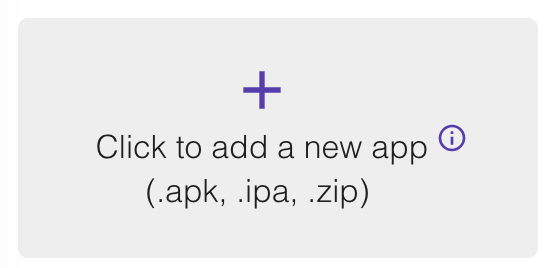
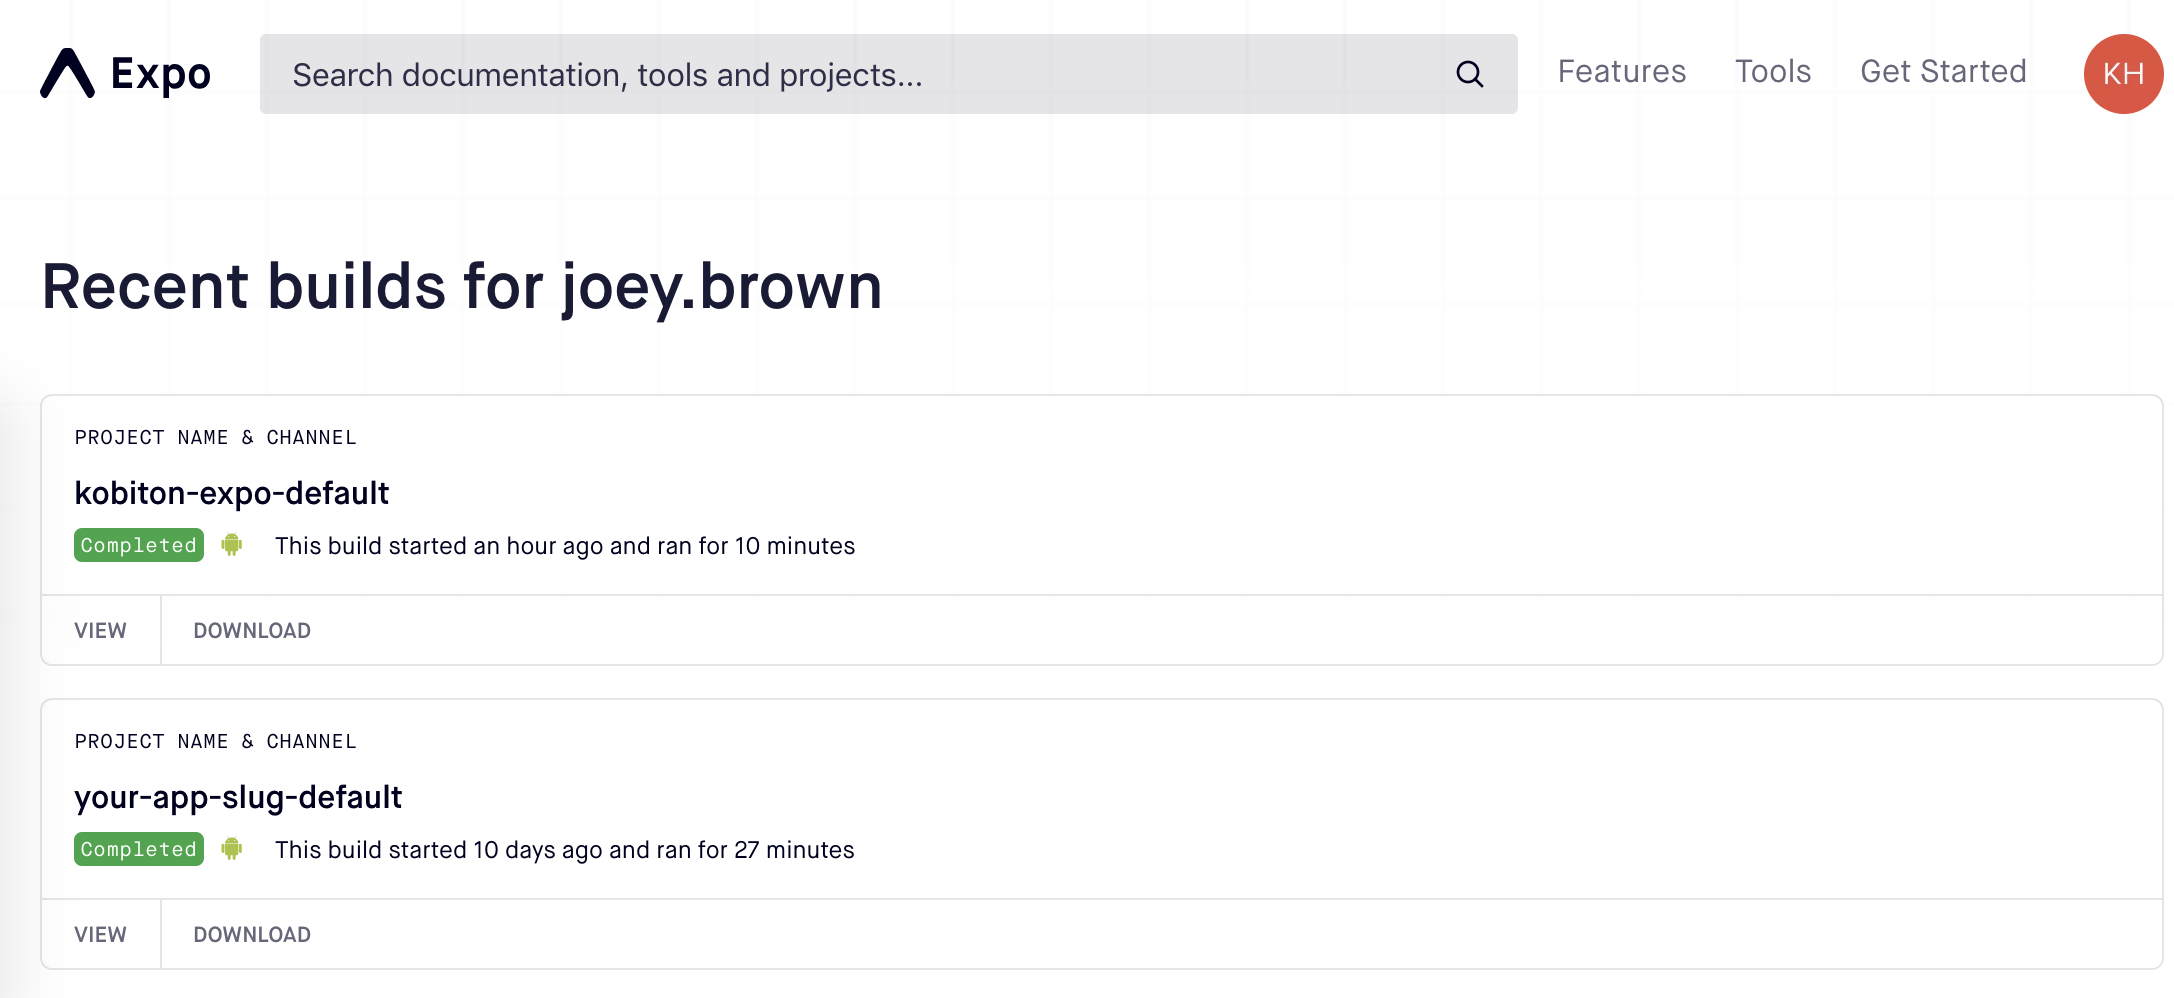
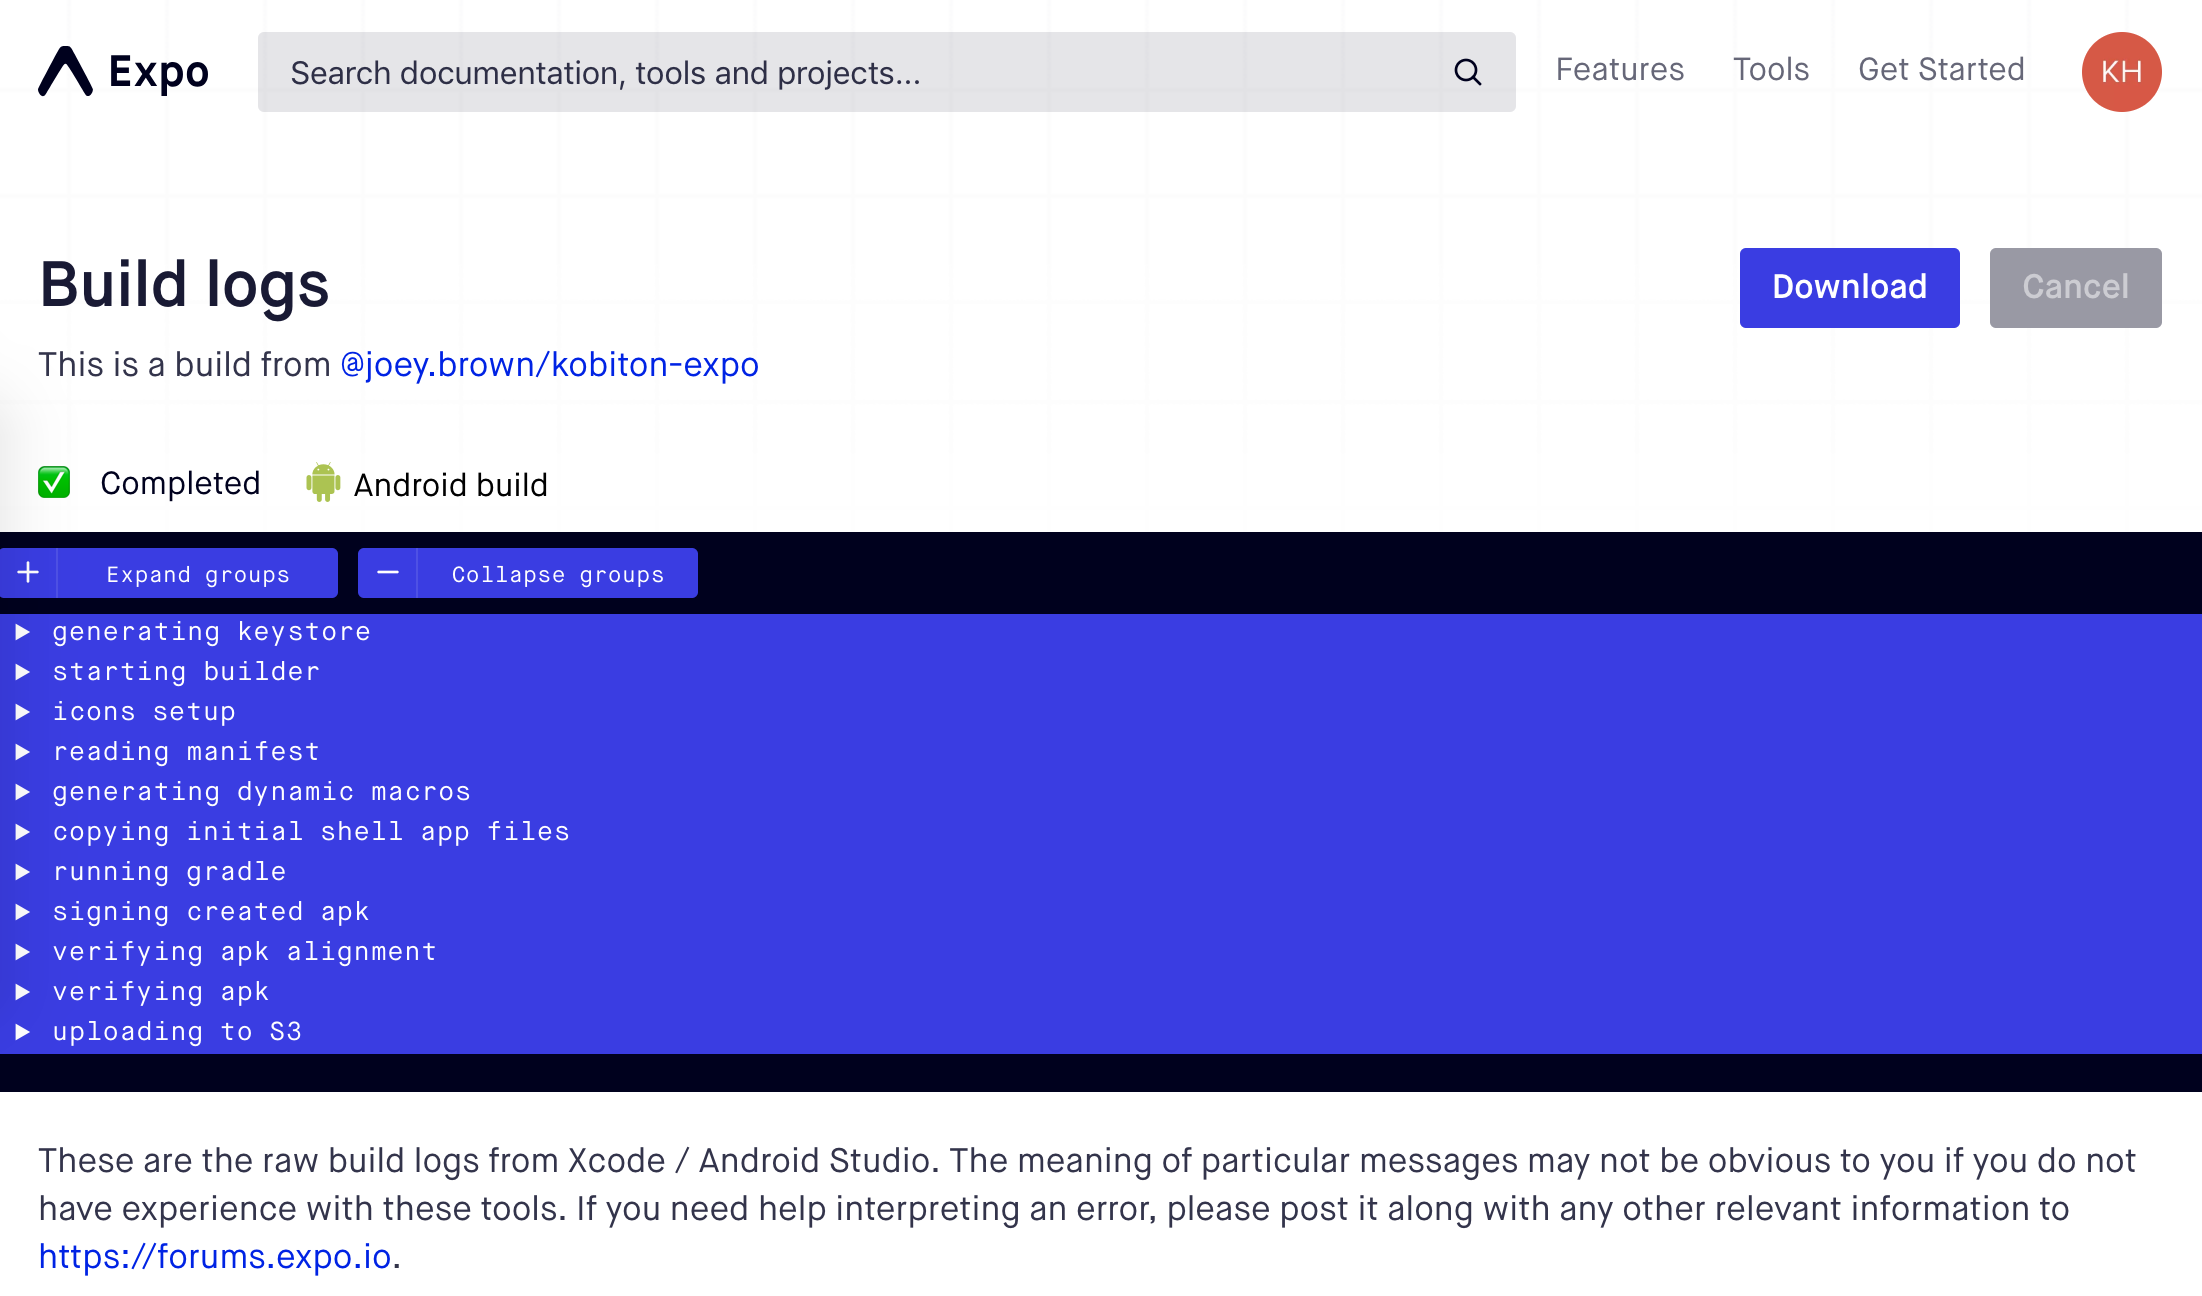
After building apps successfully, we can access https://expo.io/builds get ipa or apk file.
There are several ways to get the client app into a test environment.
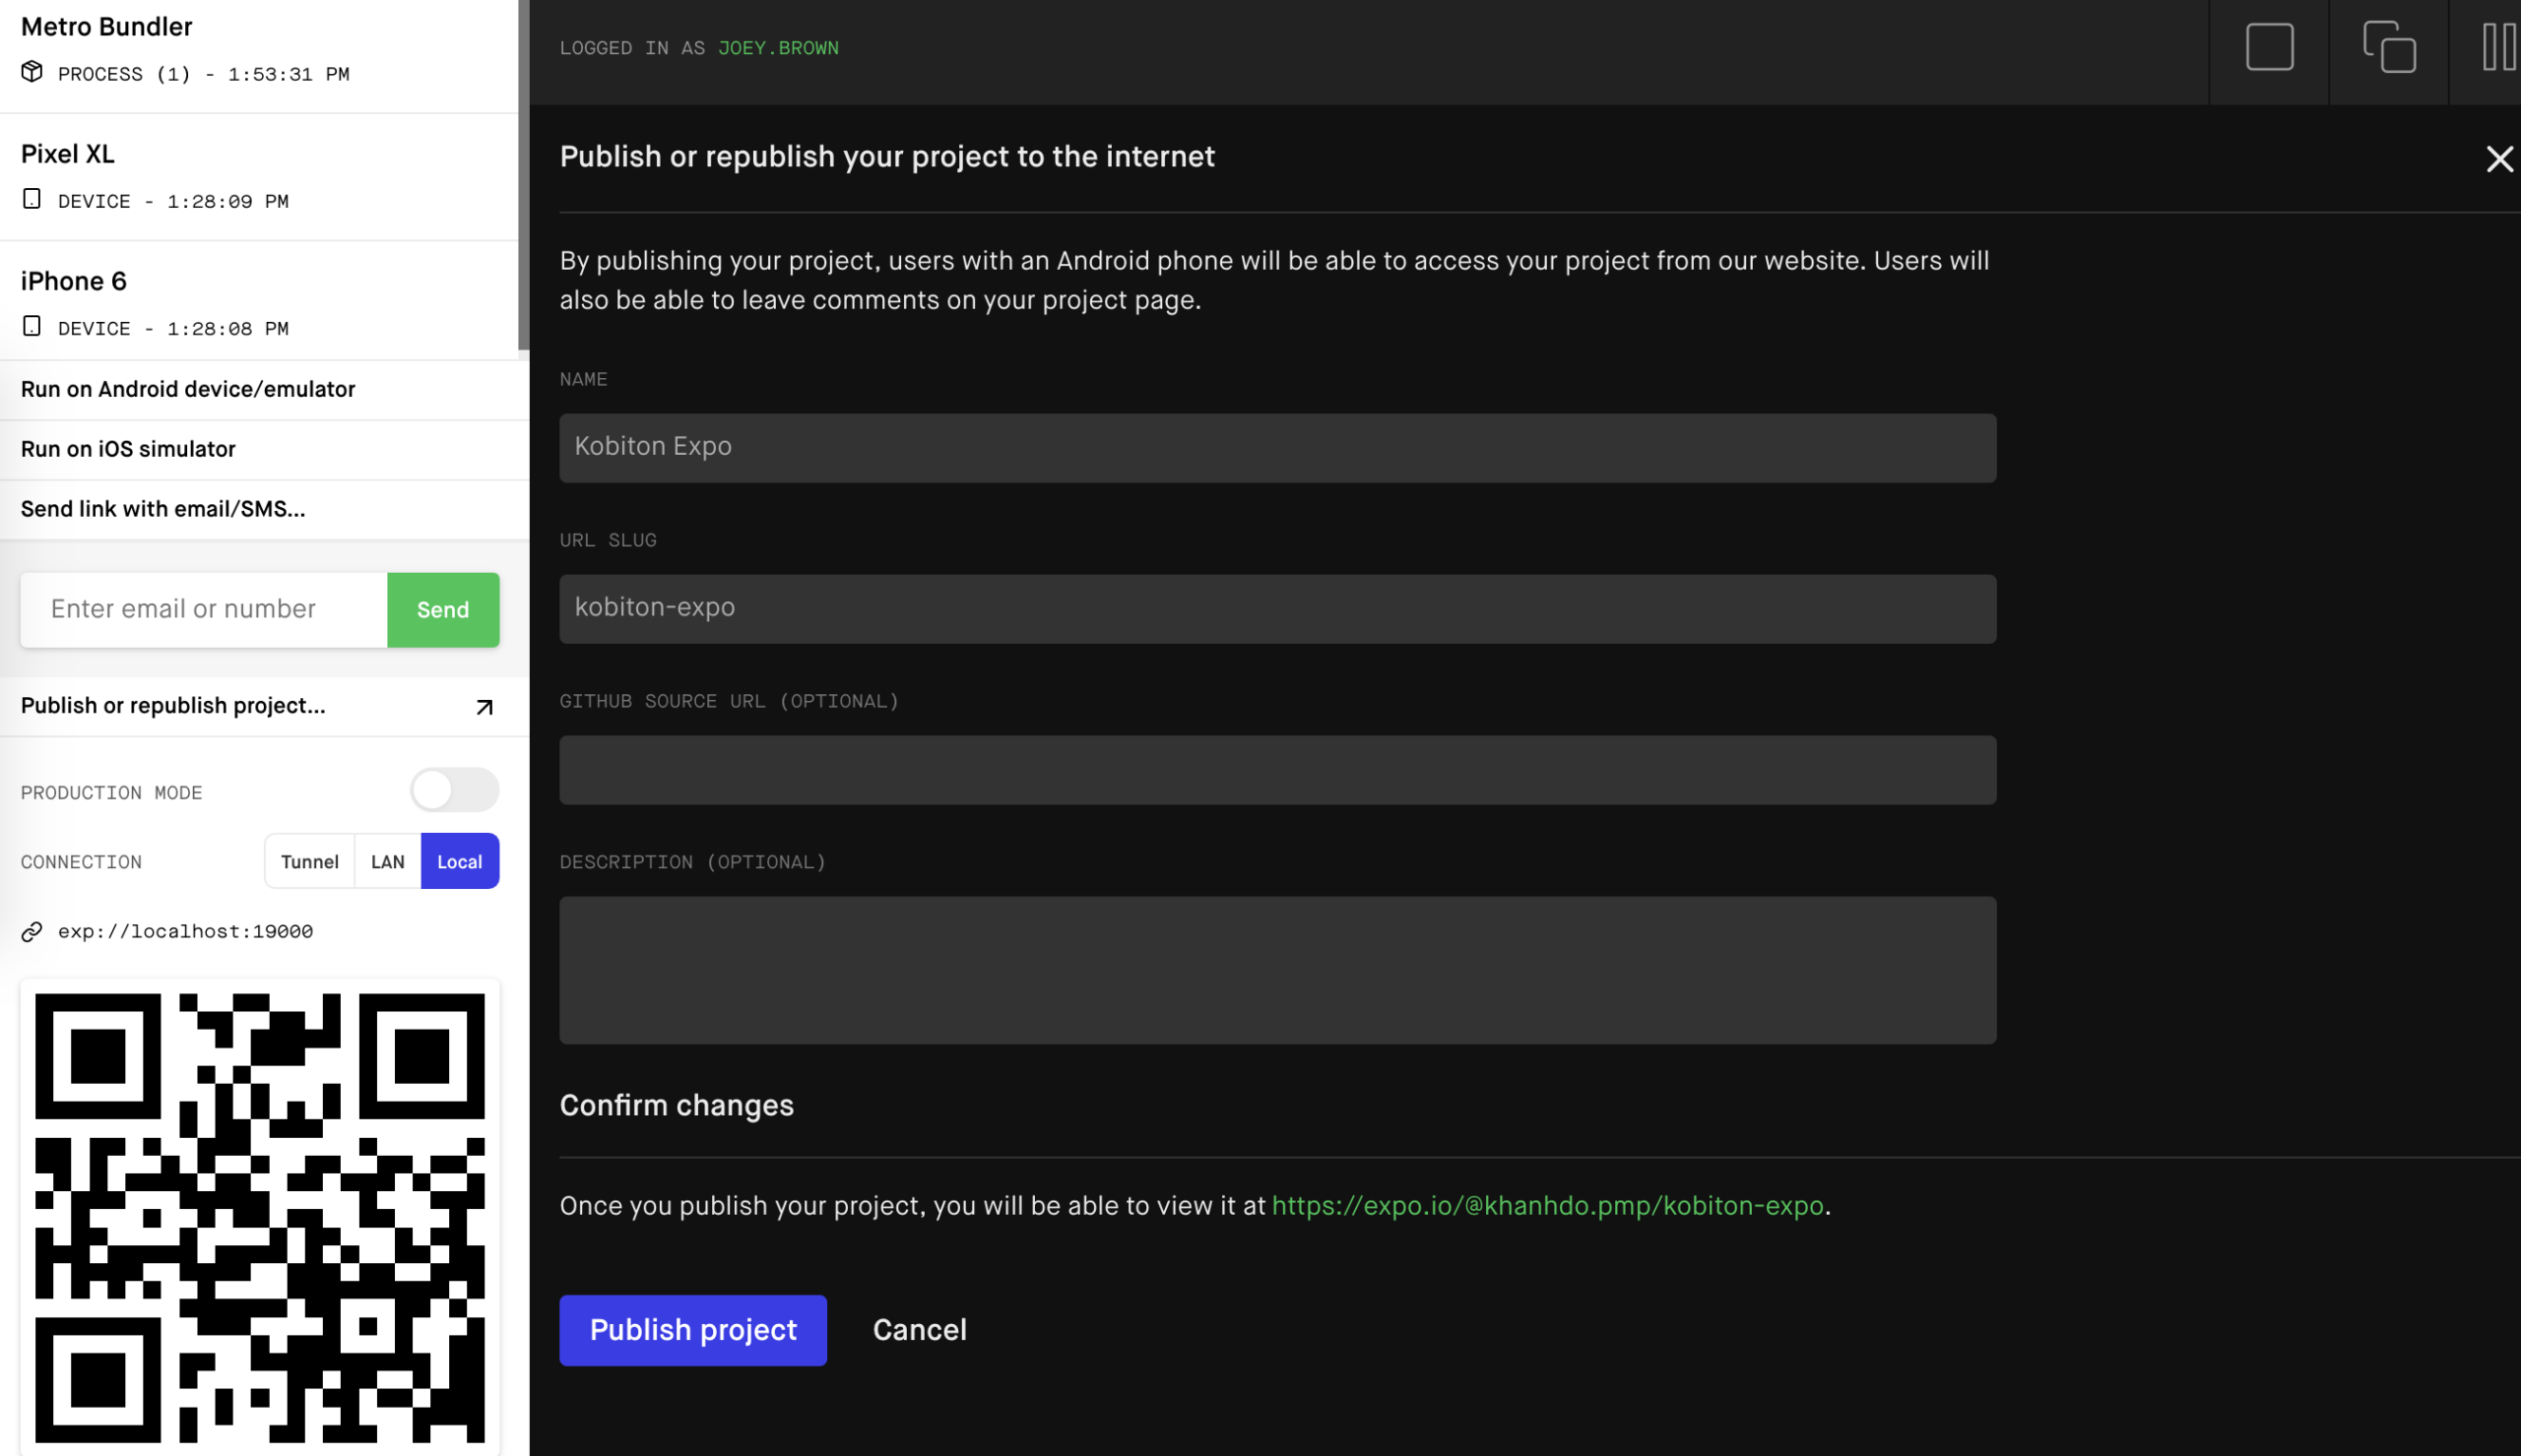
To publish a project, click the Publish button in Expo Dev Tools. (It’s in the left sidebar.) If you’re using the command line, runexpo publish. No setup is required, go ahead and create a new project and publish it without any changes and you will see that it works.
When you do this, the packager will minify all your code and generate two versions of your code (one for iOS, one for Android) and then upload those to a CDN. You’ll get a link like https://exp.host/@ccheever/an-examplethat anyone can load your project from.
Any time you want to deploy an update, hit publish again and a new version will be available immediately to your users the next time they open it.
In this section, you will learn how to deploy an Expo React Native app to the App Store and the Play Store. When you’re ready to distribute your app to end-users, you can create a standalone app binary (an ipa or apk file) and put it in the iOS App Store and the Google Play Store. See Distributing Your App.
The standalone app knows to look for updates at your app’s published url, and if you publish an update then the next time a user opens your app they will automatically download the new version. These are commonly referred to as “Over the Air” (OTA) updates, the functionality is similar to CodePush, but it is built into Expo so you don’t need to install anything.
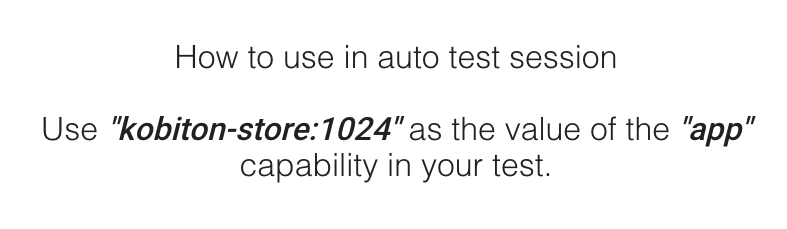
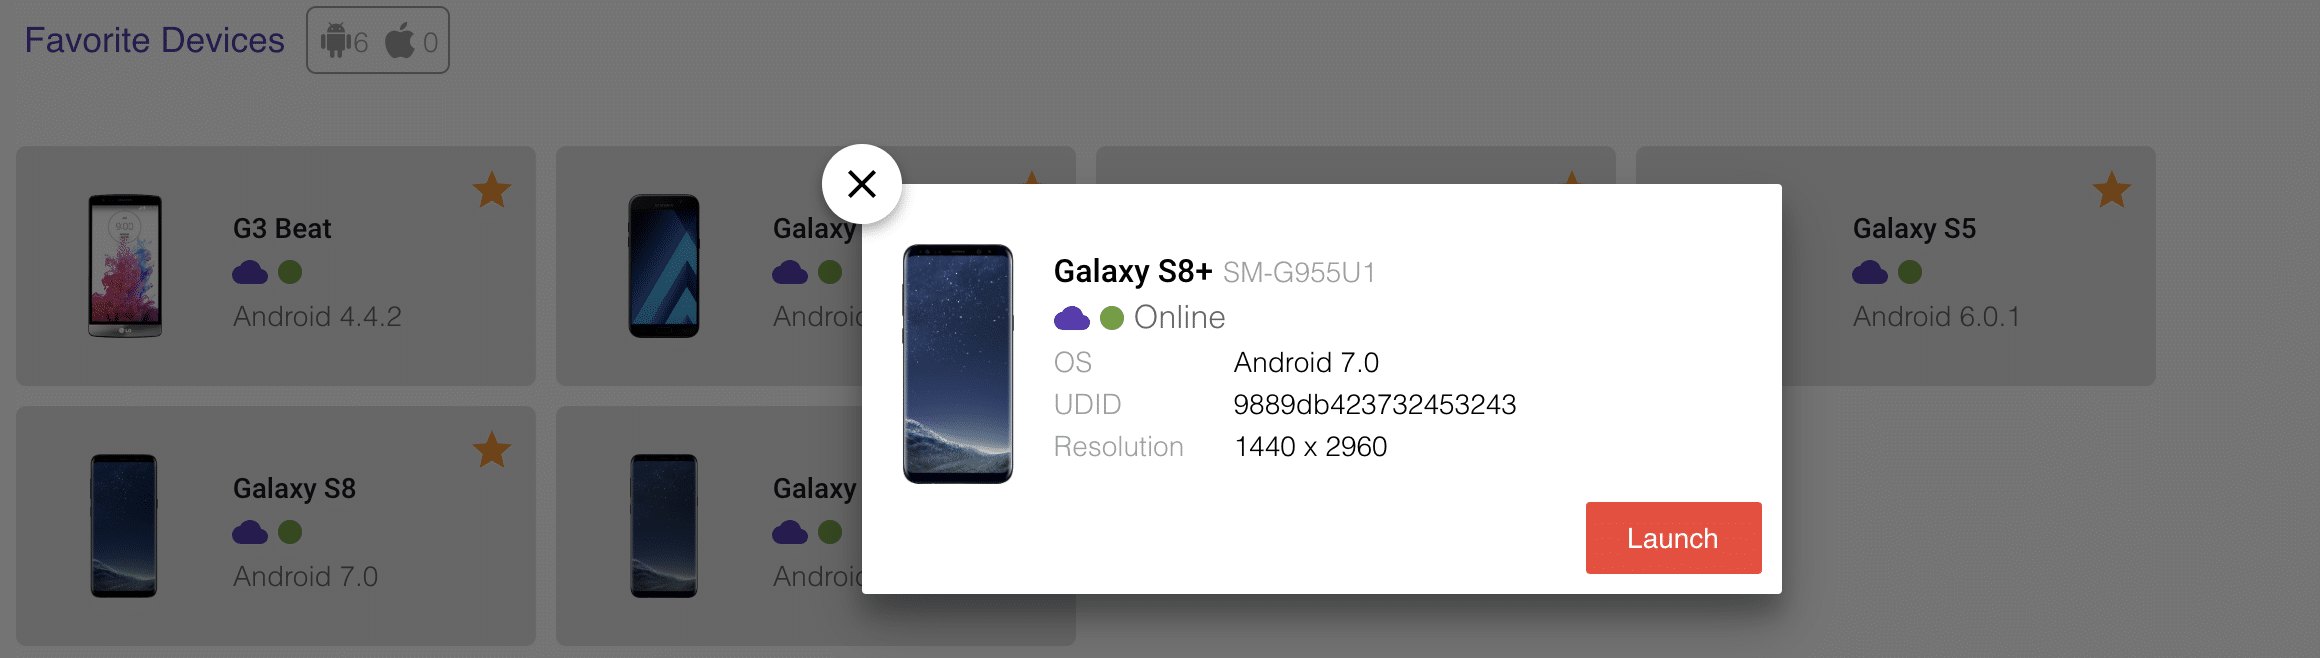
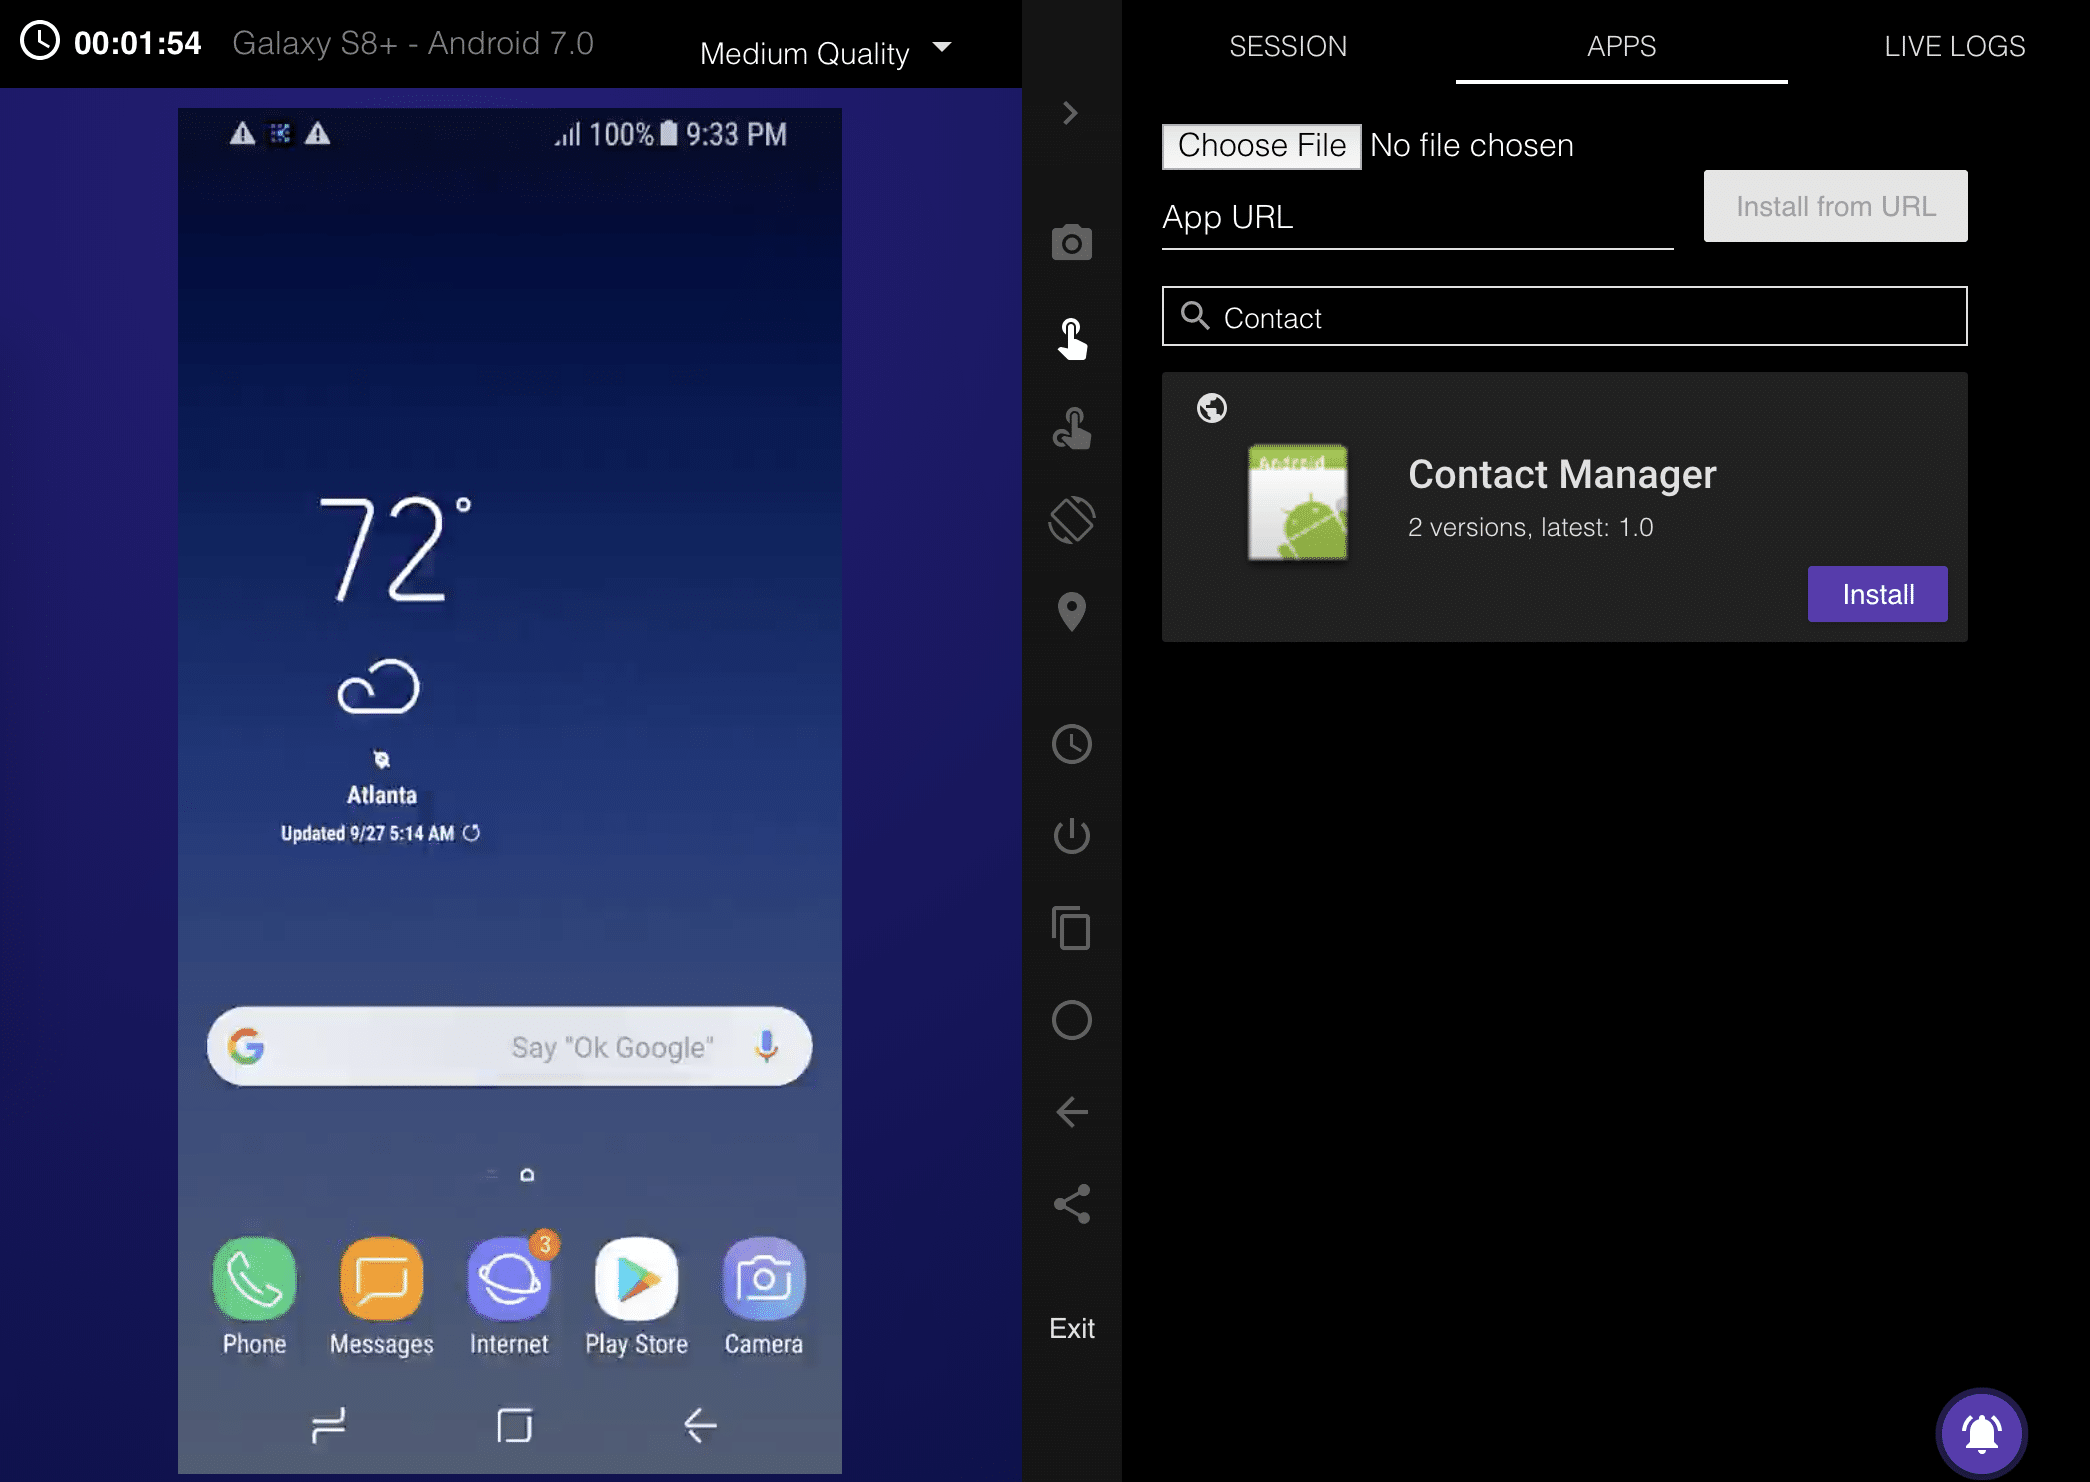
In this part, I will guide you how to use Kobiton Cloud to test your apps. A Kobiton account is required to access Kobiton system. If you do not have a Kobiton account yet, go ahead to create a free trial account and sign in. It takes just a few moments.