


")
Oct 8, 2018
Develop, Deploy, and Test Apps with Expo Development Client

Erin Bailey
Read More
A challenge faced by many mobile app developers is needing to have specialized skills for each platform. iOS and Android each have completely different development environments. Thankfully, today we have the ability to use cross-platform development environments which lets you write an app once and publish it to any mobile platform. The framework we will be looking at is the Ionic App framework. Please follow our step-by-step guide to installing and setting up your system to build Ionic Framework apps.
Ionic apps makes it easy to build high-performance mobile and Progressive Web Apps (or PWAs) that look and feel beautiful on any platform or device.
Ionic’s open source Framework and developer-friendly tools and services power apps for some of the world’s best-known brands – from highly successful consumer apps like Sworkit, Untappd, and Dow Jones MarketWatch, to mission-critical apps supporting Nationwide, Amtrak, and NASA.
The open-source Ionic App Framework features a rich library of front-end building blocks and UI components that make it easy to design beautiful, high-performance mobile and Progressive Web Apps (or PWAs) using web technologies like HTML, CSS, and JavaScript.
To build Ionic Framework apps, the only requirement is a Node & npm environment. Go to Node’s download page to select and download the LTS version to ensure the best compatibility.
Node is bundled with npm, the package manager for JavaScript. To verify the installation, open a new terminal window and run:
|
1 2 3 |
<em>node --version npm --version </em> |
Now that Node.js and npm are installed, install the Ionic CLI globally with npm:
|
1 |
<em>npm install -g ionic</em> |
Note: If you have an issue with the permission for installation with ionic, please run the command with sudo.
Make sure you have an account on Ionic. If you don’t have once, access to https://ionicframework.com/ and create an account.
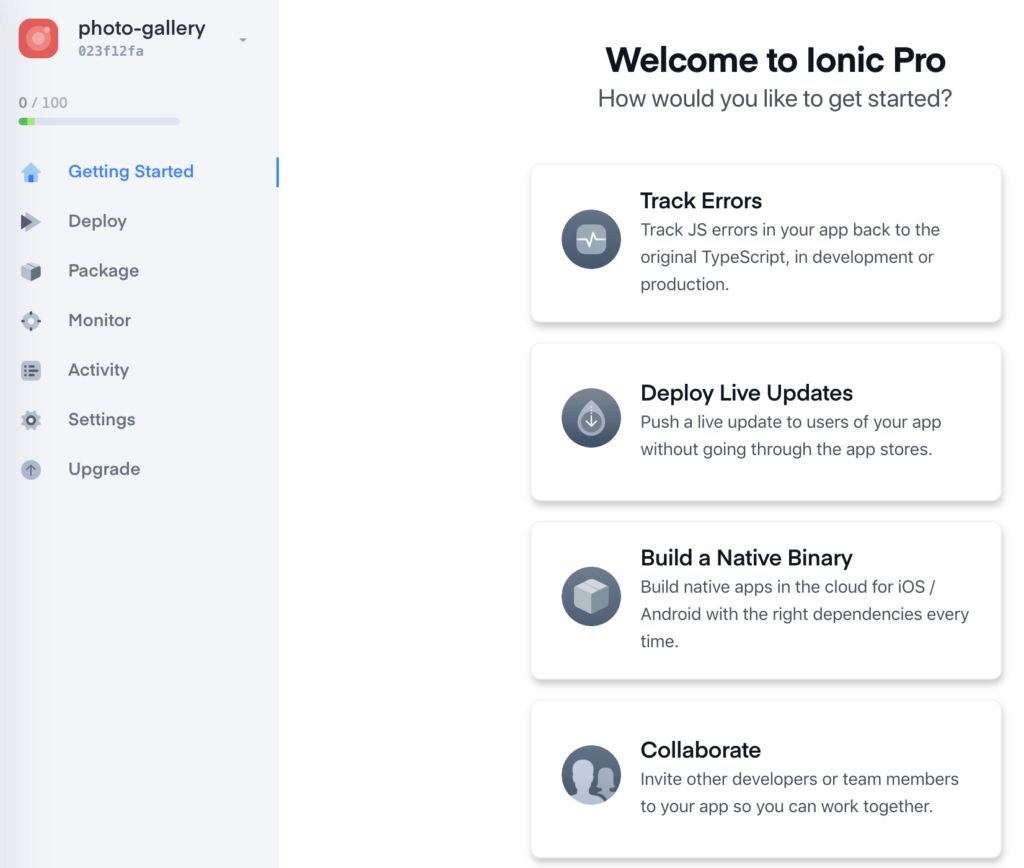
In order to take advantage of the additional services provided by Ionic Pro you’ll want to login.
|
1 |
ionic login |
If you have already logged in ionic, the console will show:
|
1 |
[WARN] You are already logged in as joeybrown@kobiton.com! Prompting for new credentials. |
Create an Ionic app using one of our pre-made app templates. The three most common starters are the blank starter, tabs starter, and sidemenu starter.
In this tutorial, I will create an Ionic app using our “Tabs” app template. To begin the installation, open a new terminal window and run:
|
1 |
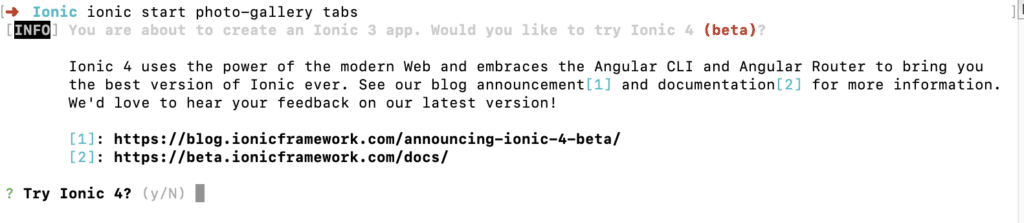
ionic start photo-gallery tabs |
Type “y” and press Enter. Project setup may take a few moments.
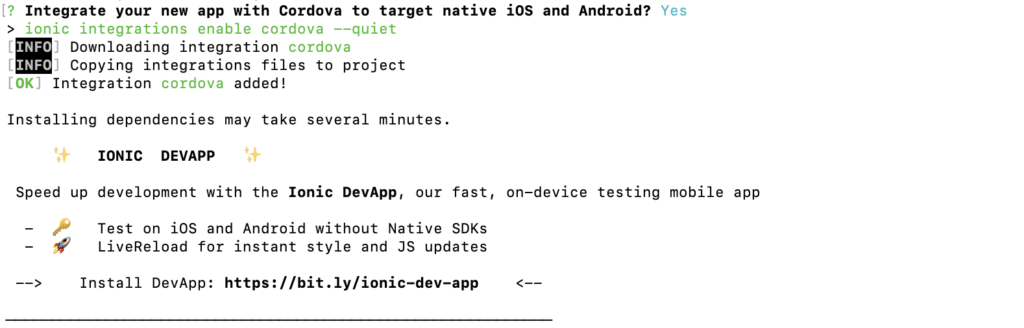
Would you like to integrate your new app with Cordova to target native iOS and Android?
Enter Y during the prompt if you’re intending to target iOS & Android.
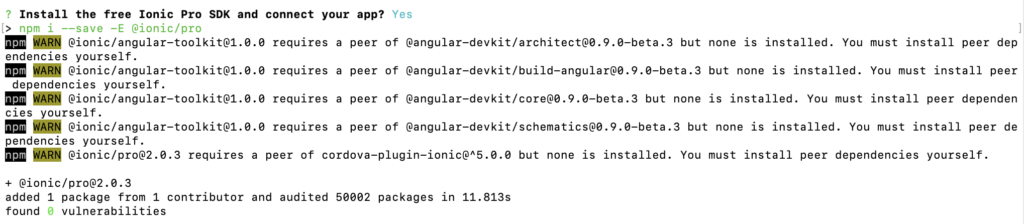
Install the free Ionic Pro SDK and connect your app?
Ionic Pro is a set of tools that help you manage the lifecycle of your Ionic apps, including runtime error monitoring and troubleshooting, building and distribution native binaries, and deploying live updates and bug fixes right from the Ionic dashboard. It’s completely free to get started and comes with your Ionic account.
Enter Y during the prompt to connect your app to Ionic Pro.
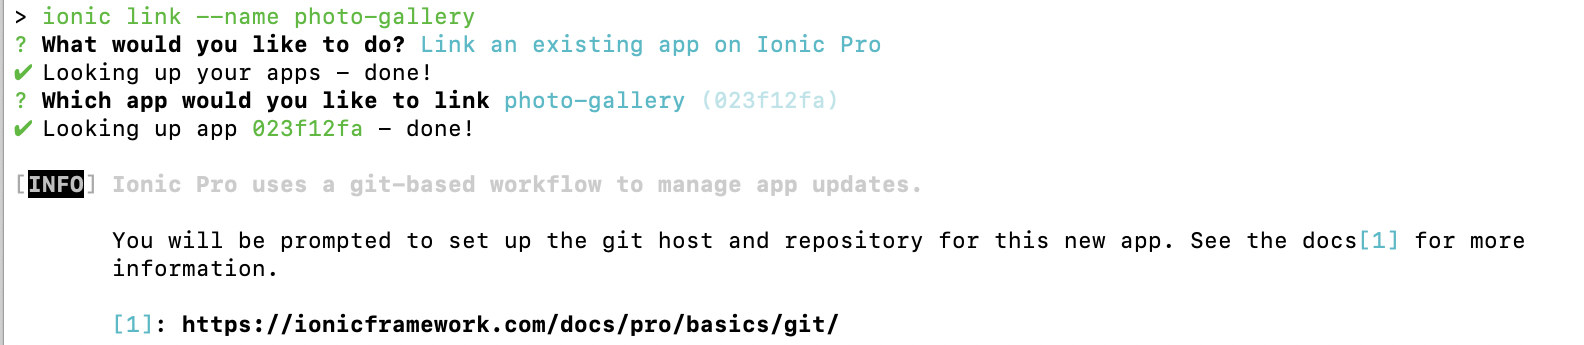
Which app would you like to link?
Select Create a new app and give it a name when prompted. Note: I created a new app, so I will link an existing app on Ionic Pro
Which git host would you like to use?
You can push you code directly to Ionic via our git host over SSH or you can link your app to GitHub or other supported third party git hosts and we can access your changes from there.
If you are not using GitHub you can push your source code directly to Ionic Pro using Git. Simply choose Ionic Pro as your git remote during the prompt.
That’s it! Now, you have created your own app.
Next, go to your newly created project:
|
1 |
cd photo-gallery |
Run this command next:
|
1 |
ionic serve |
Your Ionic app is now running in a web browser. Most of your app can be built right in the browser, greatly increase development speed.
To end ionic serve use Control + C.
You can access https://dashboard.ionicframework.com/apps to see more guide.
However, I will focus on how to build an debug file on the Terminal window.
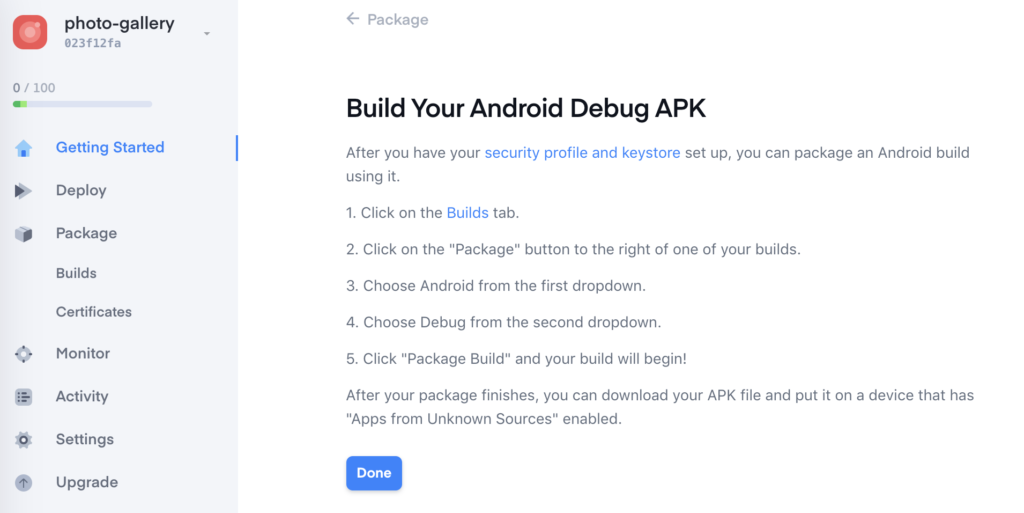
To generate an APK file, run:
|
1 |
<em>ionic cordova build android --verbose</em> |
The output looks like:
|
1 2 |
<em>Built the following apk(s): ~/Ionic/photo-gallery/platforms/android/app/build/outputs/apk/debug/app-debug.apk</em> |
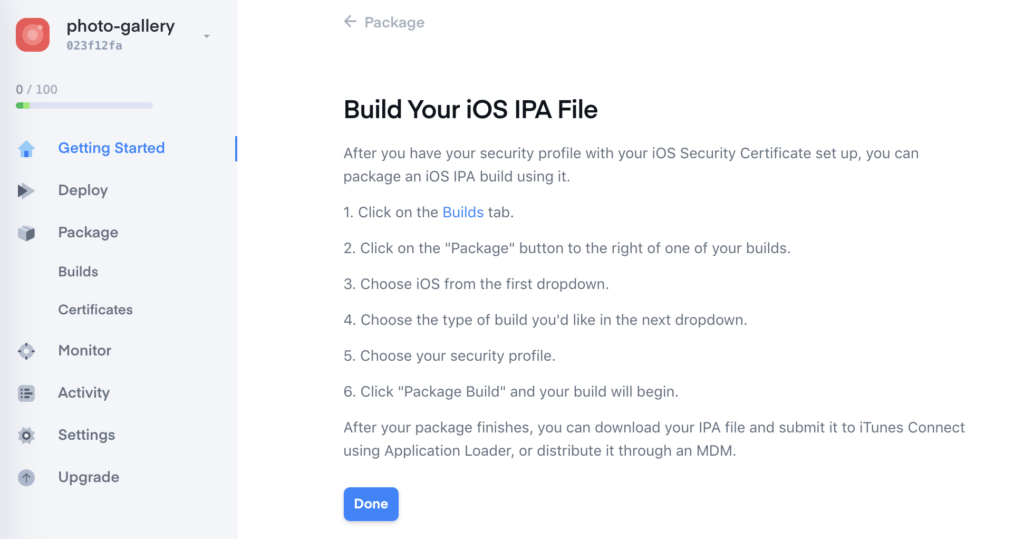
To generate an IPA file, run:
|
1 |
<em>ionic cordova build ios --device --verbose</em> |
The output looks like:
|
1 |
<em>~/Ionic/photo-gallery/platforms/ios/build/device/photo-gallery.ipa</em> |
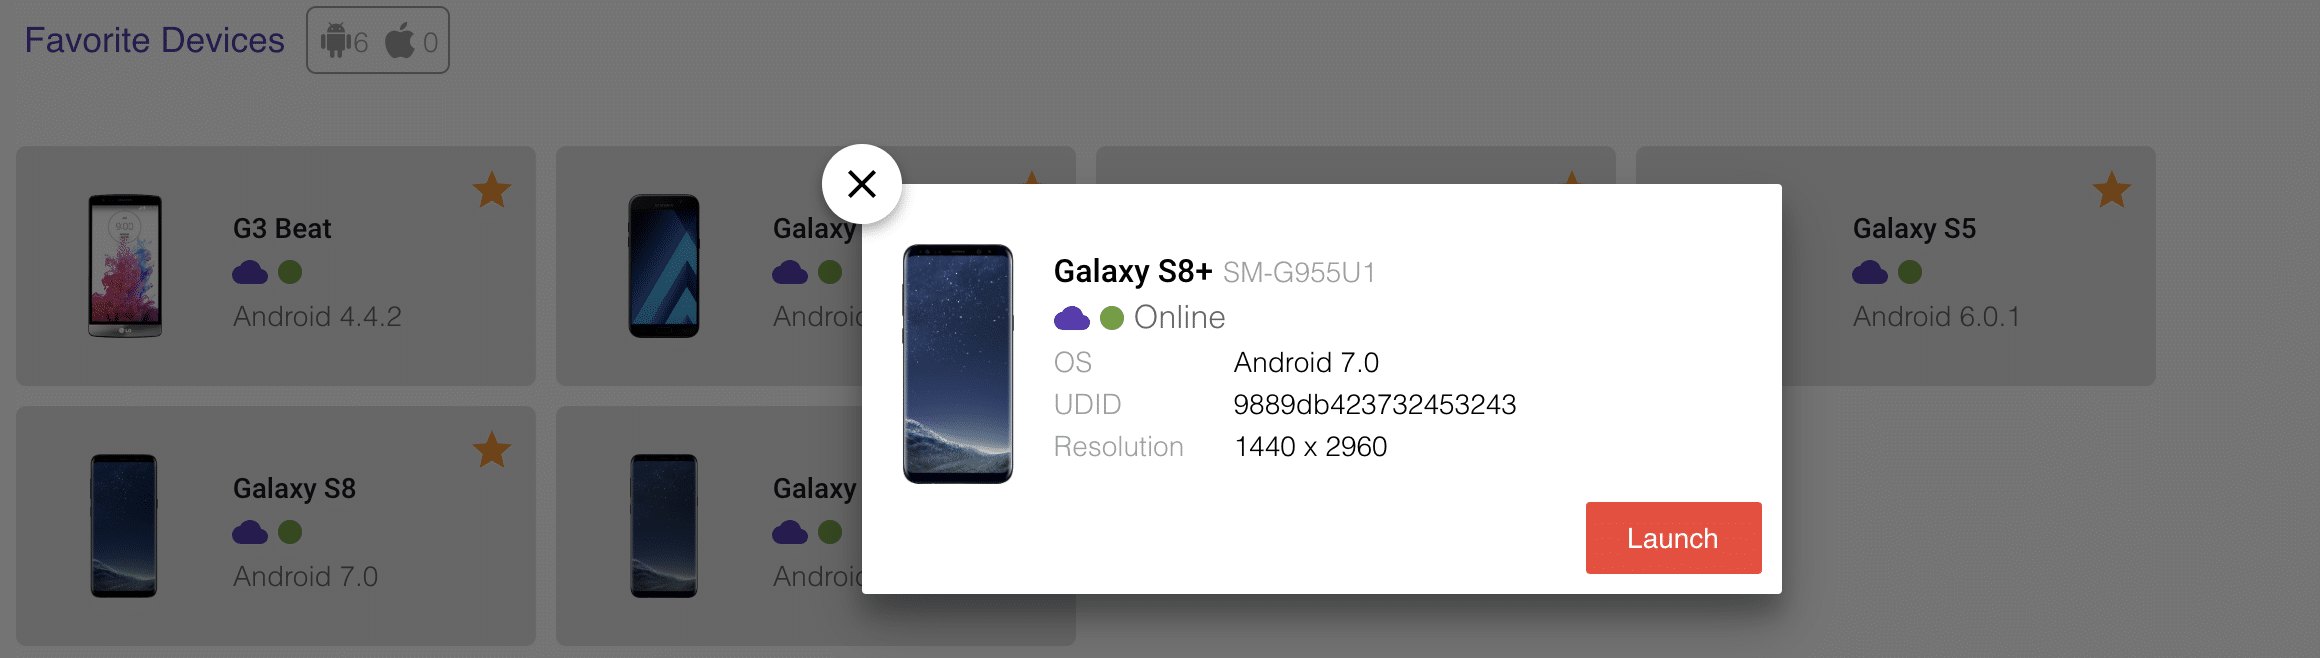
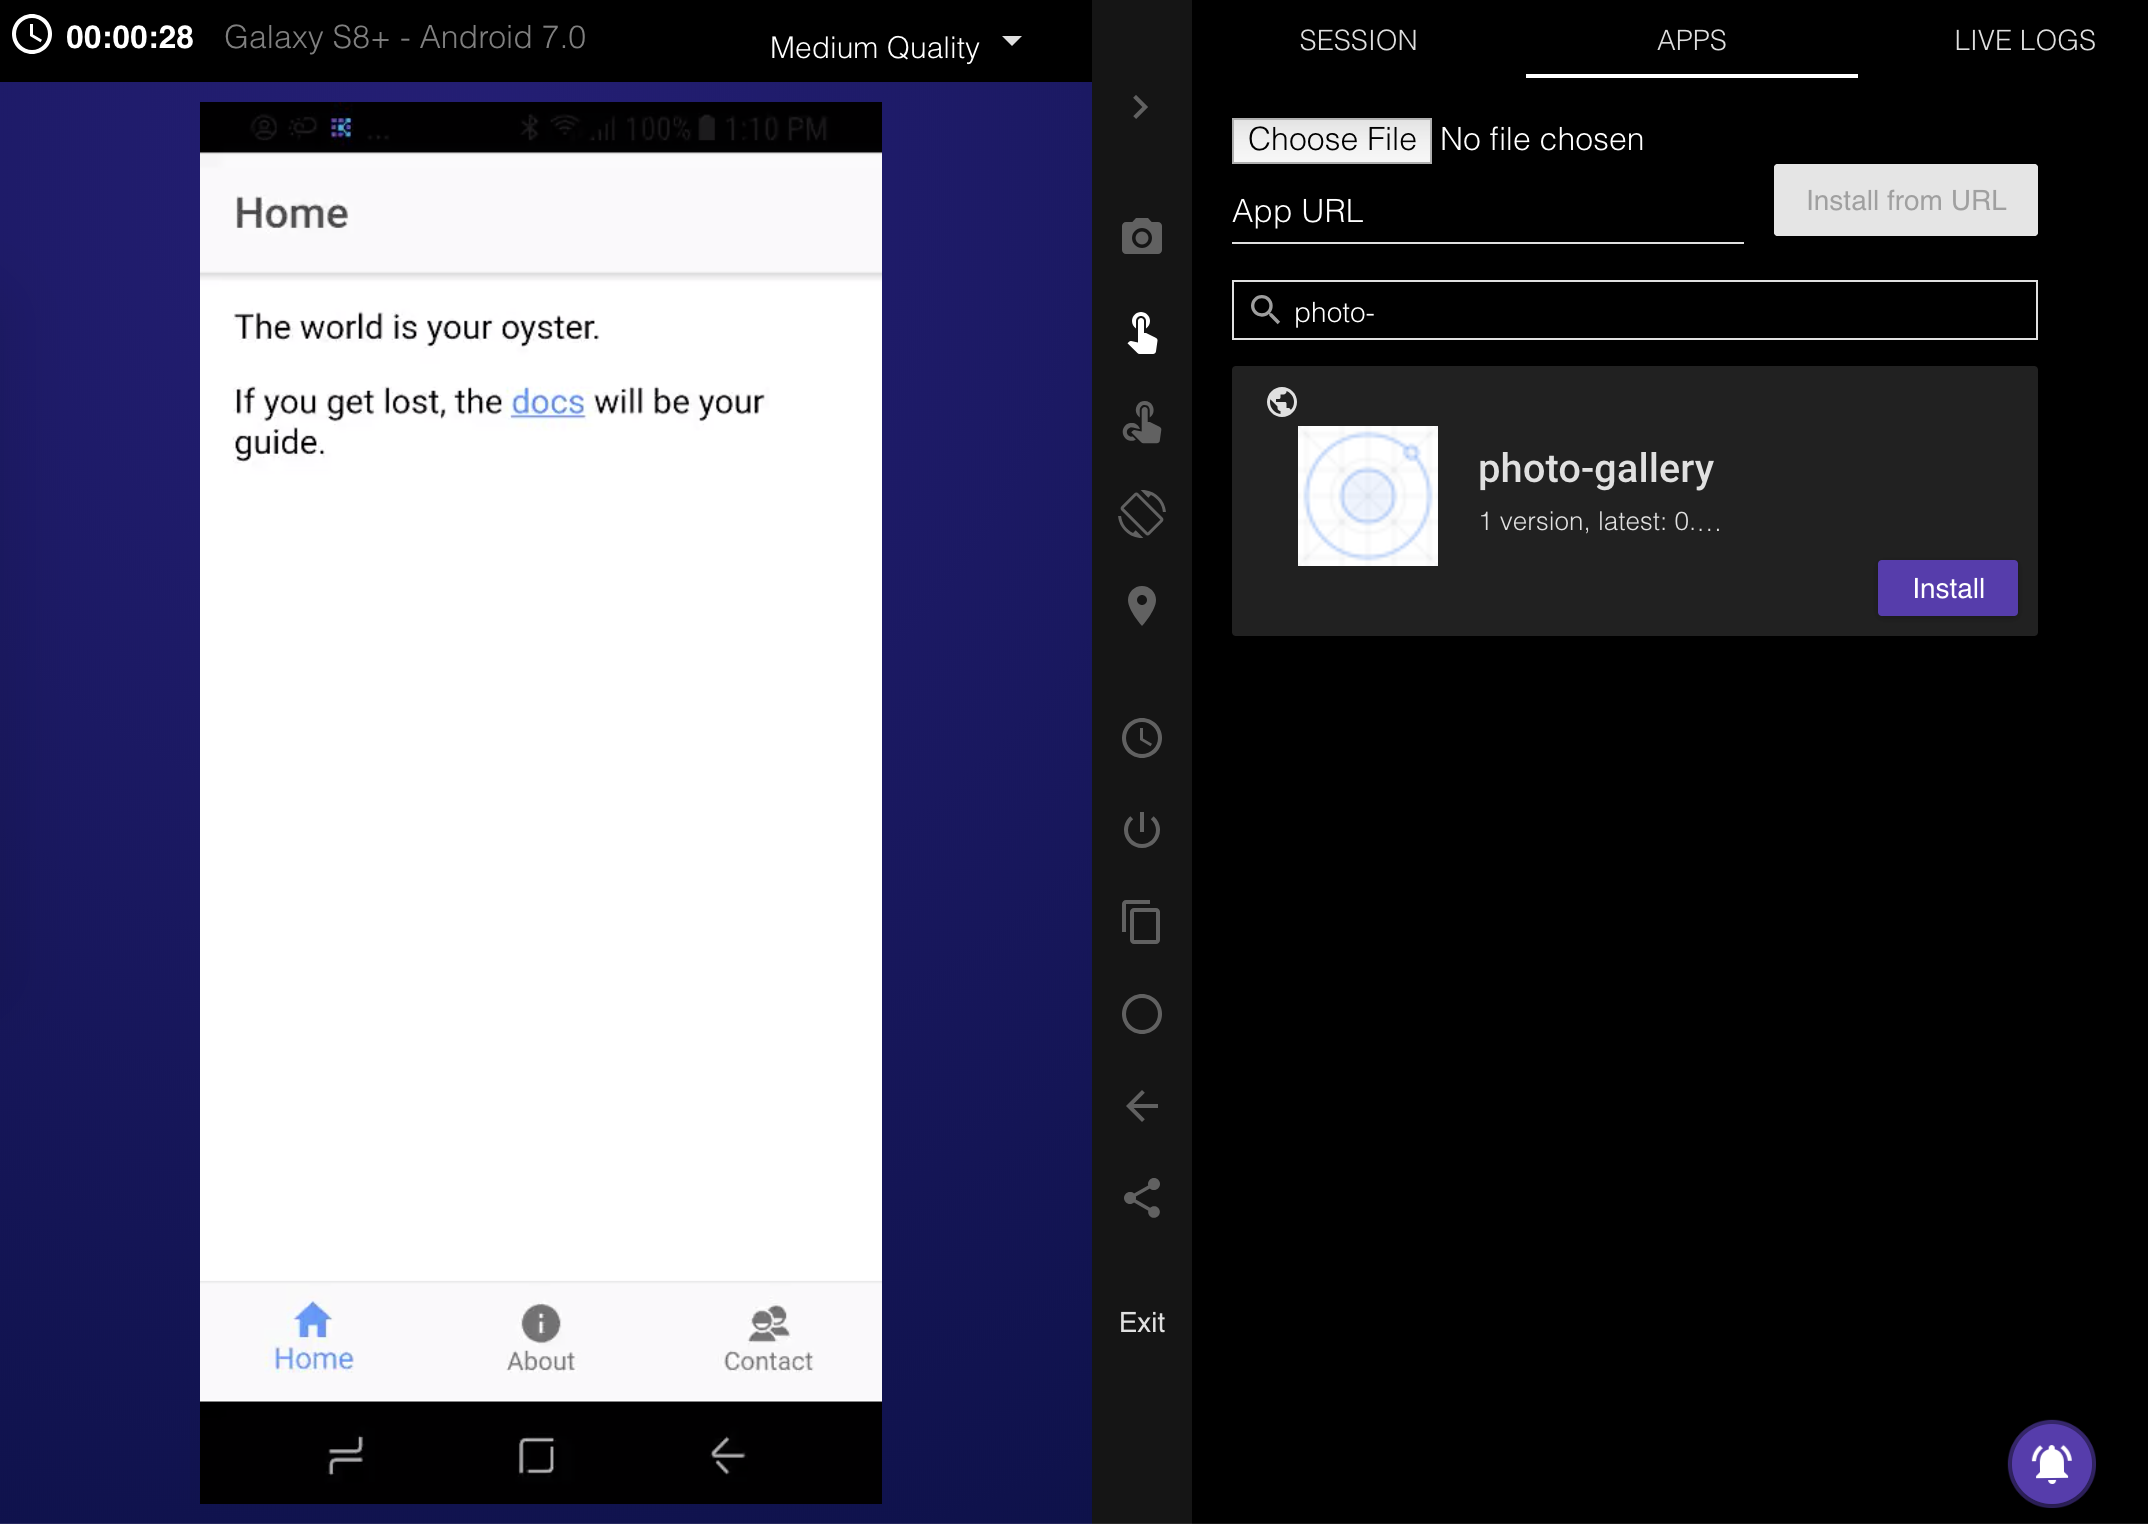
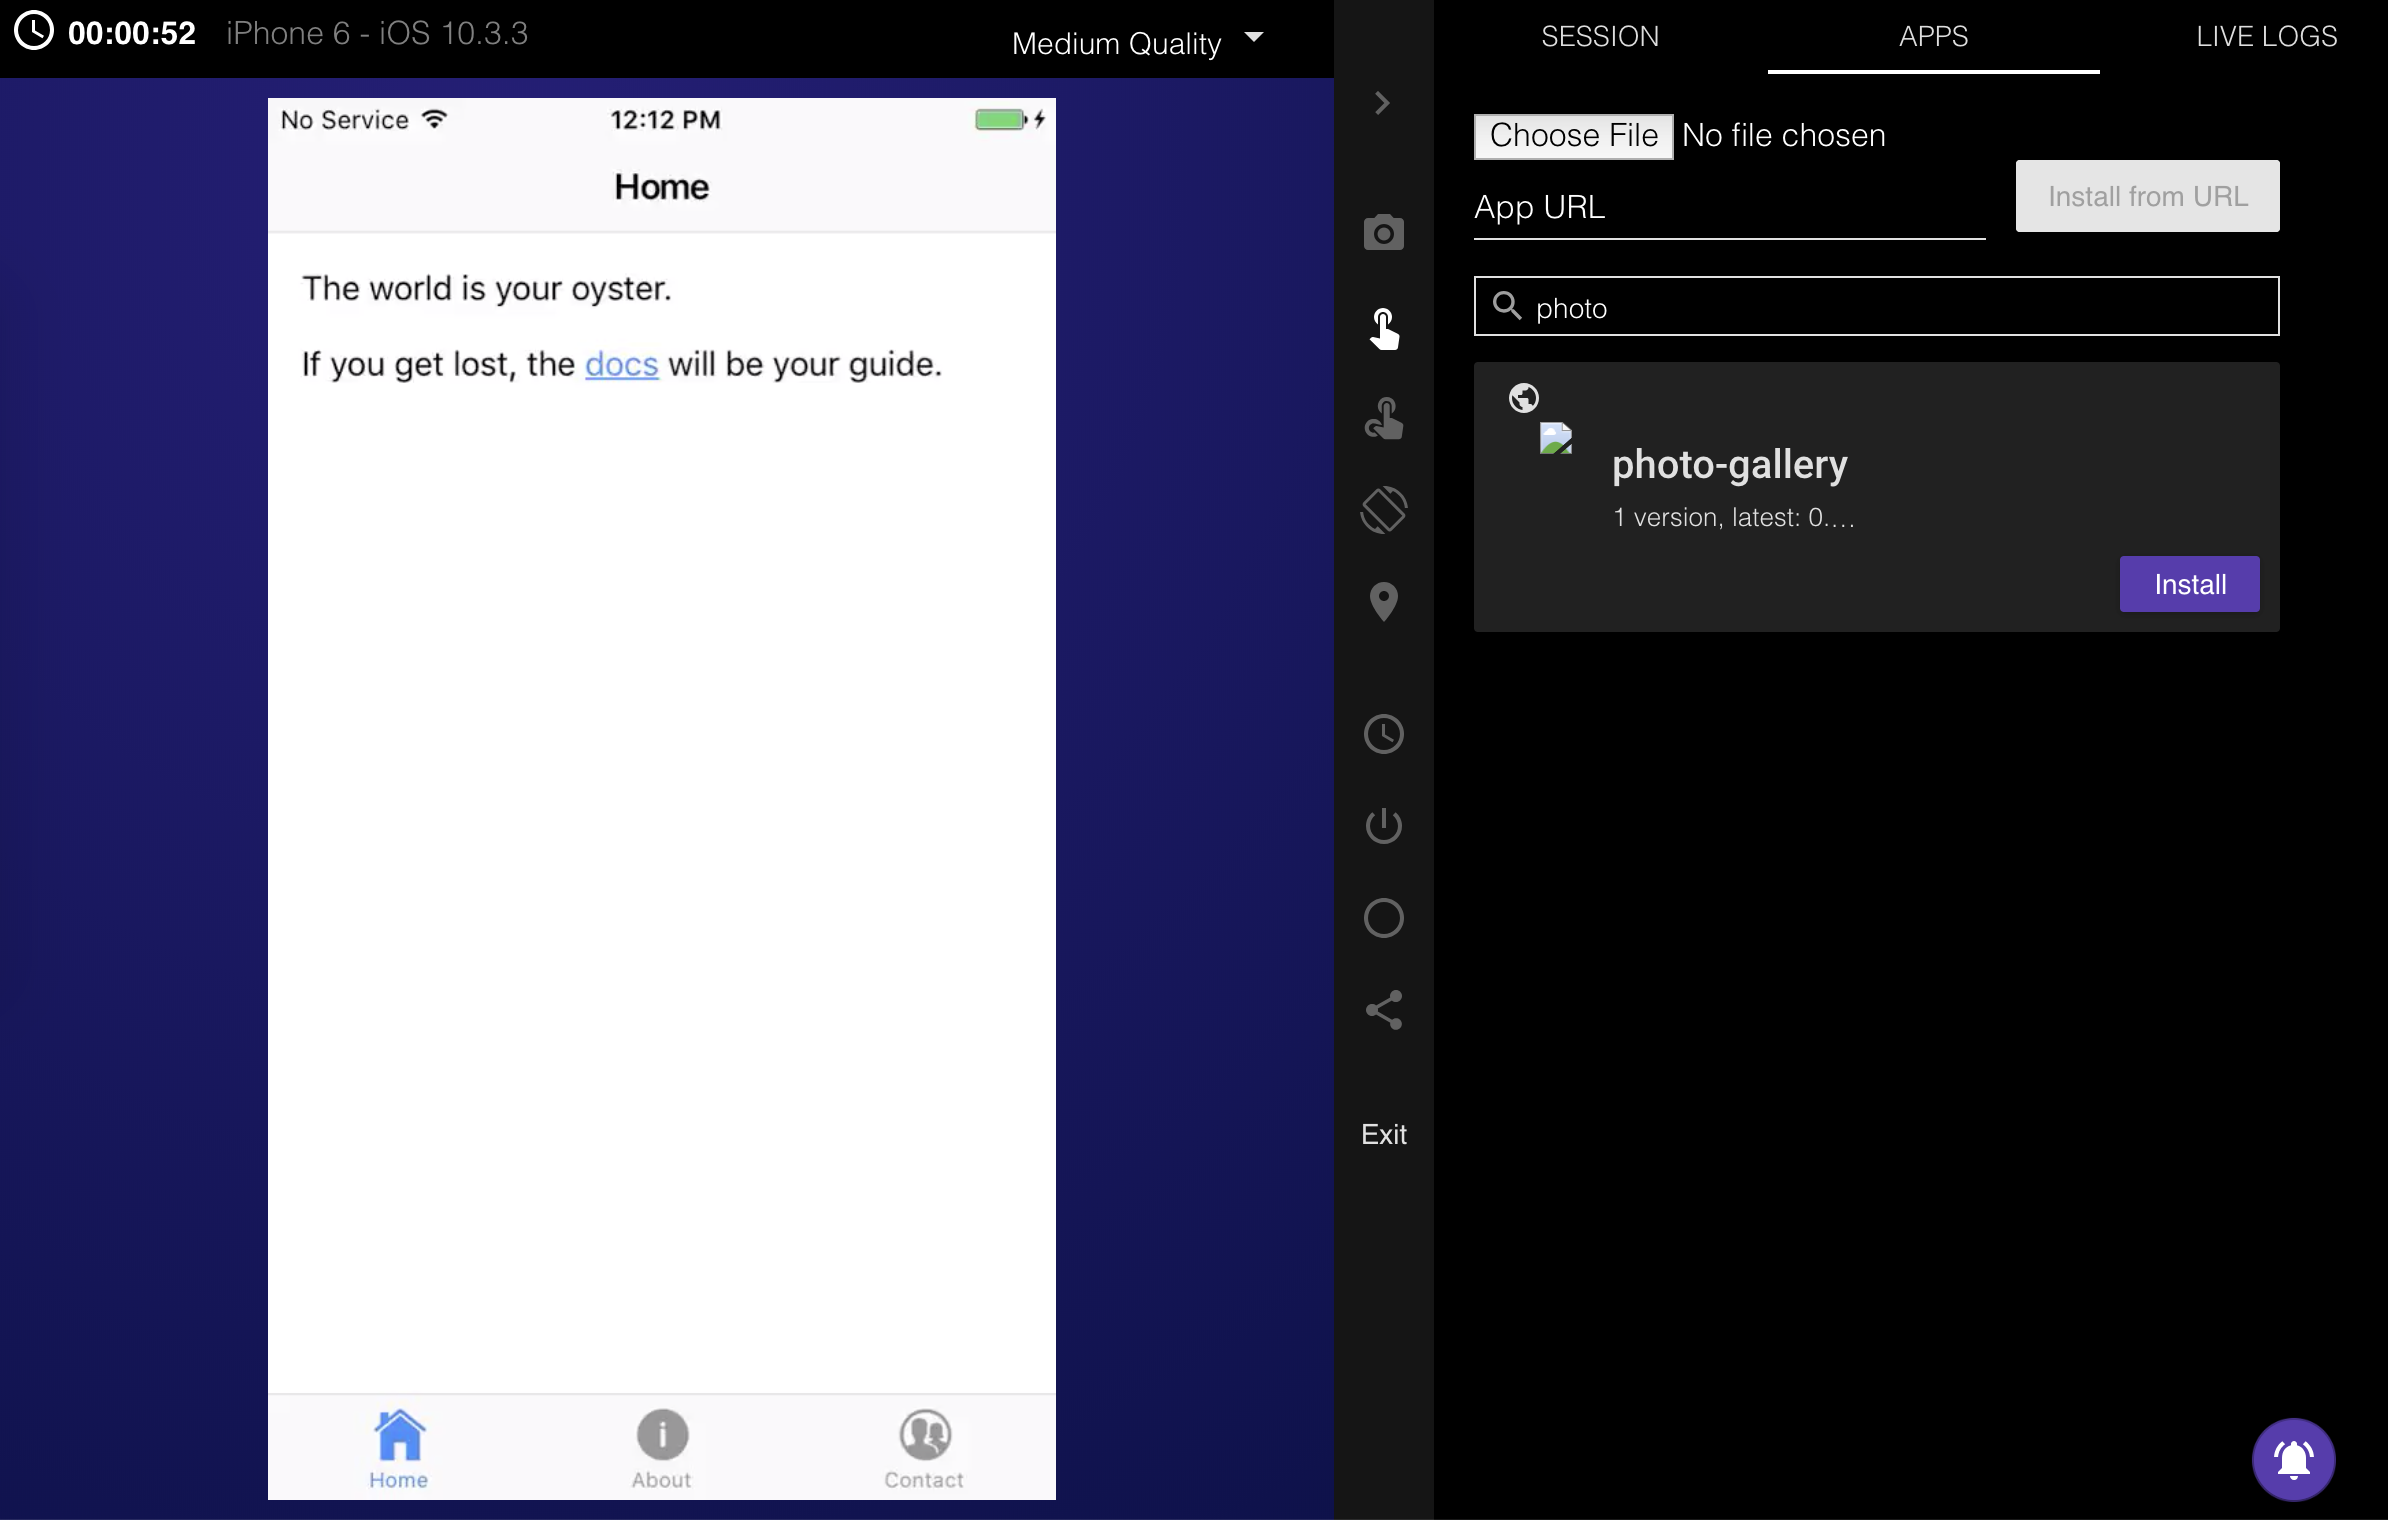
In this part, I will guide you how to use Kobiton Cloud to test your apps. A Kobiton account is required to access Kobiton system. If you do not have a Kobiton account yet, go ahead to create a free trial account and sign in. It takes just a few moments.

|
1 2 3 4 5 6 7 |
<em>DesiredCapabilities capabilities = new DesiredCapabilities(); capabilities.setCapability("app", "kobiton-store:1024"); capabilities.setCapability("deviceGroup", "KOBITON"); capabilities.setCapability("deviceName", "Galaxy S8+"); capabilities.setCapability("platformVersion", "7.0"); capabilities.setCapability("platformName", "Android"); </em> |
|
1 2 3 4 5 6 |
<em>DesiredCapabilities capabilities = new DesiredCapabilities(); capabilities.setCapability("app", "kobiton-store:1024"); capabilities.setCapability("deviceGroup", "KOBITON"); capabilities.setCapability("deviceName", "iPhone 6"); capabilities.setCapability("platformVersion", "10.3.3"); capabilities.setCapability("platformName", "iOS");</em> |


