

Mar 21, 2024
Emulators, Simulators, and Real Devices: A Detailed Comparison

Cara Suarez
Read More

Parallel test execution on simulators and emulators are ideal for testing early in the dev cycle for basic functional testing. Depending on your use case, this can be a useful asset to understand.
One thing to keep in mind is that in today’s fast moving world, teams who are testing for usability and performance will find that real device testing is going to be the game-changer. It aids in the limitations emulators and simulators have, exposing unknown bugs earlier and applying real user conditions for more realistic testing.
In this article, we are going to discuss how you can leverage parallel test execution in TestING on simulators and emulators. We will be using Java + TestNG, a great combination in the world of Automation Testing allowing us to run tests on parallel.
Before going to deep into parallelization details, we will go through basics of TestNG.
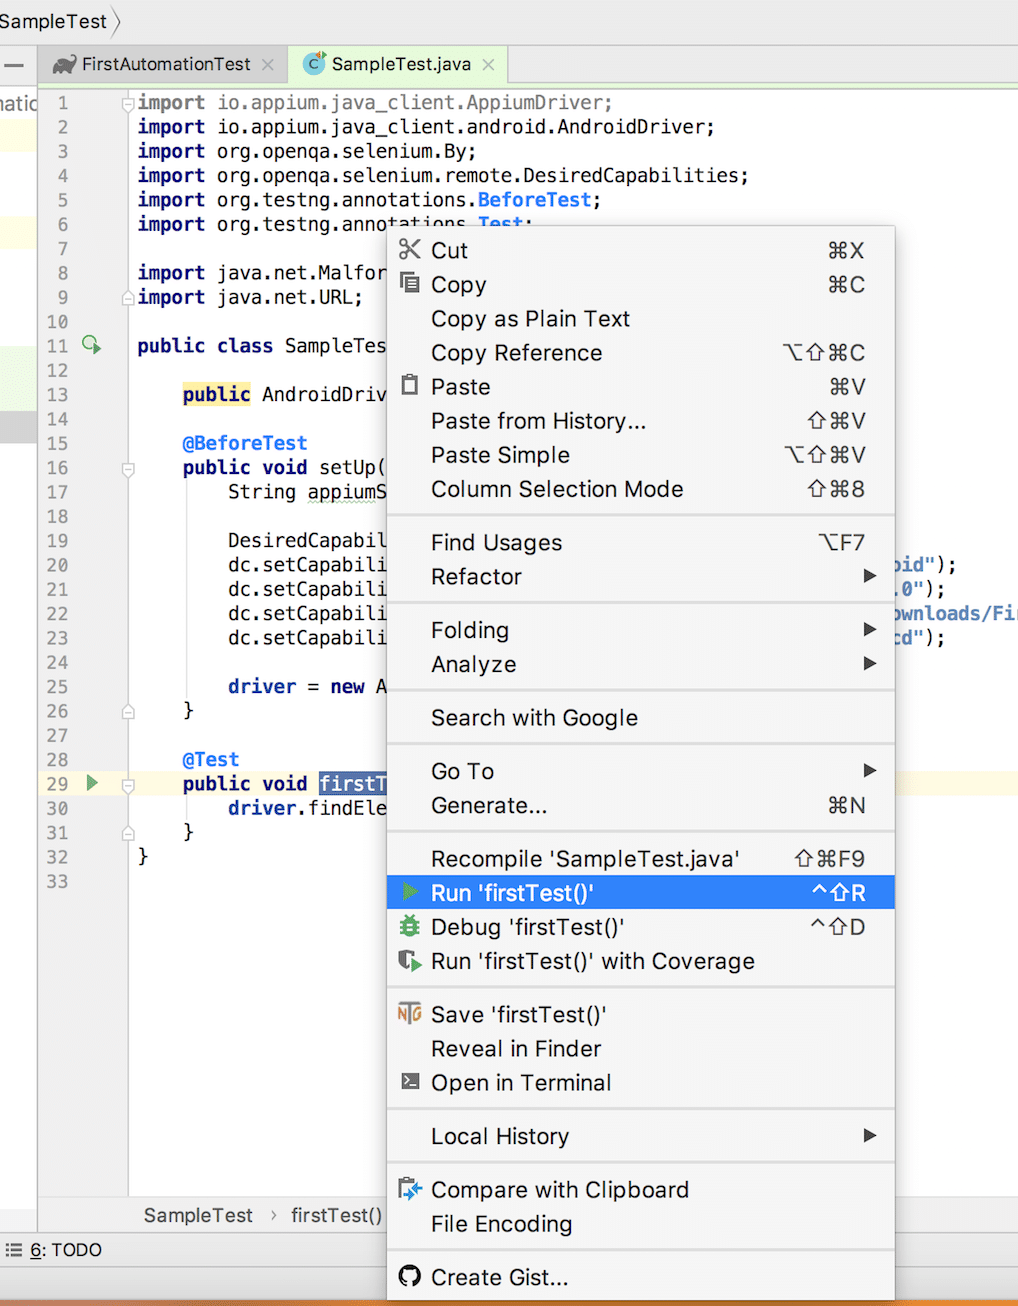
Let’s take a refresher on how you can execute test cases from a Test Class file in IntelliJ Idea. You will recall that you just need to select the Test Method Name > Right click on it > Run.
Now before jumping into parallel testing, let’s revisit the following simple code for iOS we used in an earlier article. This is the code we will be using as an example for parallel execution:
import io.appium.java_client.ios.IOSDriver;
import io.appium.java_client.ios.IOSElement;
import org.openqa.selenium.By;
import org.openqa.selenium.remote.DesiredCapabilities;
import org.testng.Assert;
import org.testng.annotations.BeforeTest;
import org.testng.annotations.Test;
import java.net.MalformedURLException;
import java.net.URL;
public class IOSTestCases {
    public IOSDriver driver;
    @BeforeTest
    public void setUp() throws MalformedURLException {
        String appiumServerURL = "https://127.0.0.1:4723/wd/hub";
        DesiredCapabilities dc = new DesiredCapabilities();
        dc.setCapability("platformName", "iOS");
        dc.setCapability("platformVersion", "11.4");
        dc.setCapability("app", "/Users/pratik/Downloads/FirstAutomationTest/src/test/resources/DemoApp-iPhoneSimulator.app");
        dc.setCapability("deviceName", "iPhone X");
        driver = new IOSDriver(new URL(appiumServerURL), dc);
    }
    @Test
    public void sampleTestCase() throws InterruptedException {
        int a = 5;
        int b = 10;
        driver.findElement(By.id("IntegerA")).sendKeys(a + "");
        driver.findElement(By.id("IntegerB")).sendKeys(b + "");
        driver.findElement(By.id("ComputeSumButton")).click();
        String answer = driver.findElement(By.id("Answer")).getText();
        Assert.assertEquals(answer, a + b + "", "Expected and Actual Result didn't match!");
    }
}
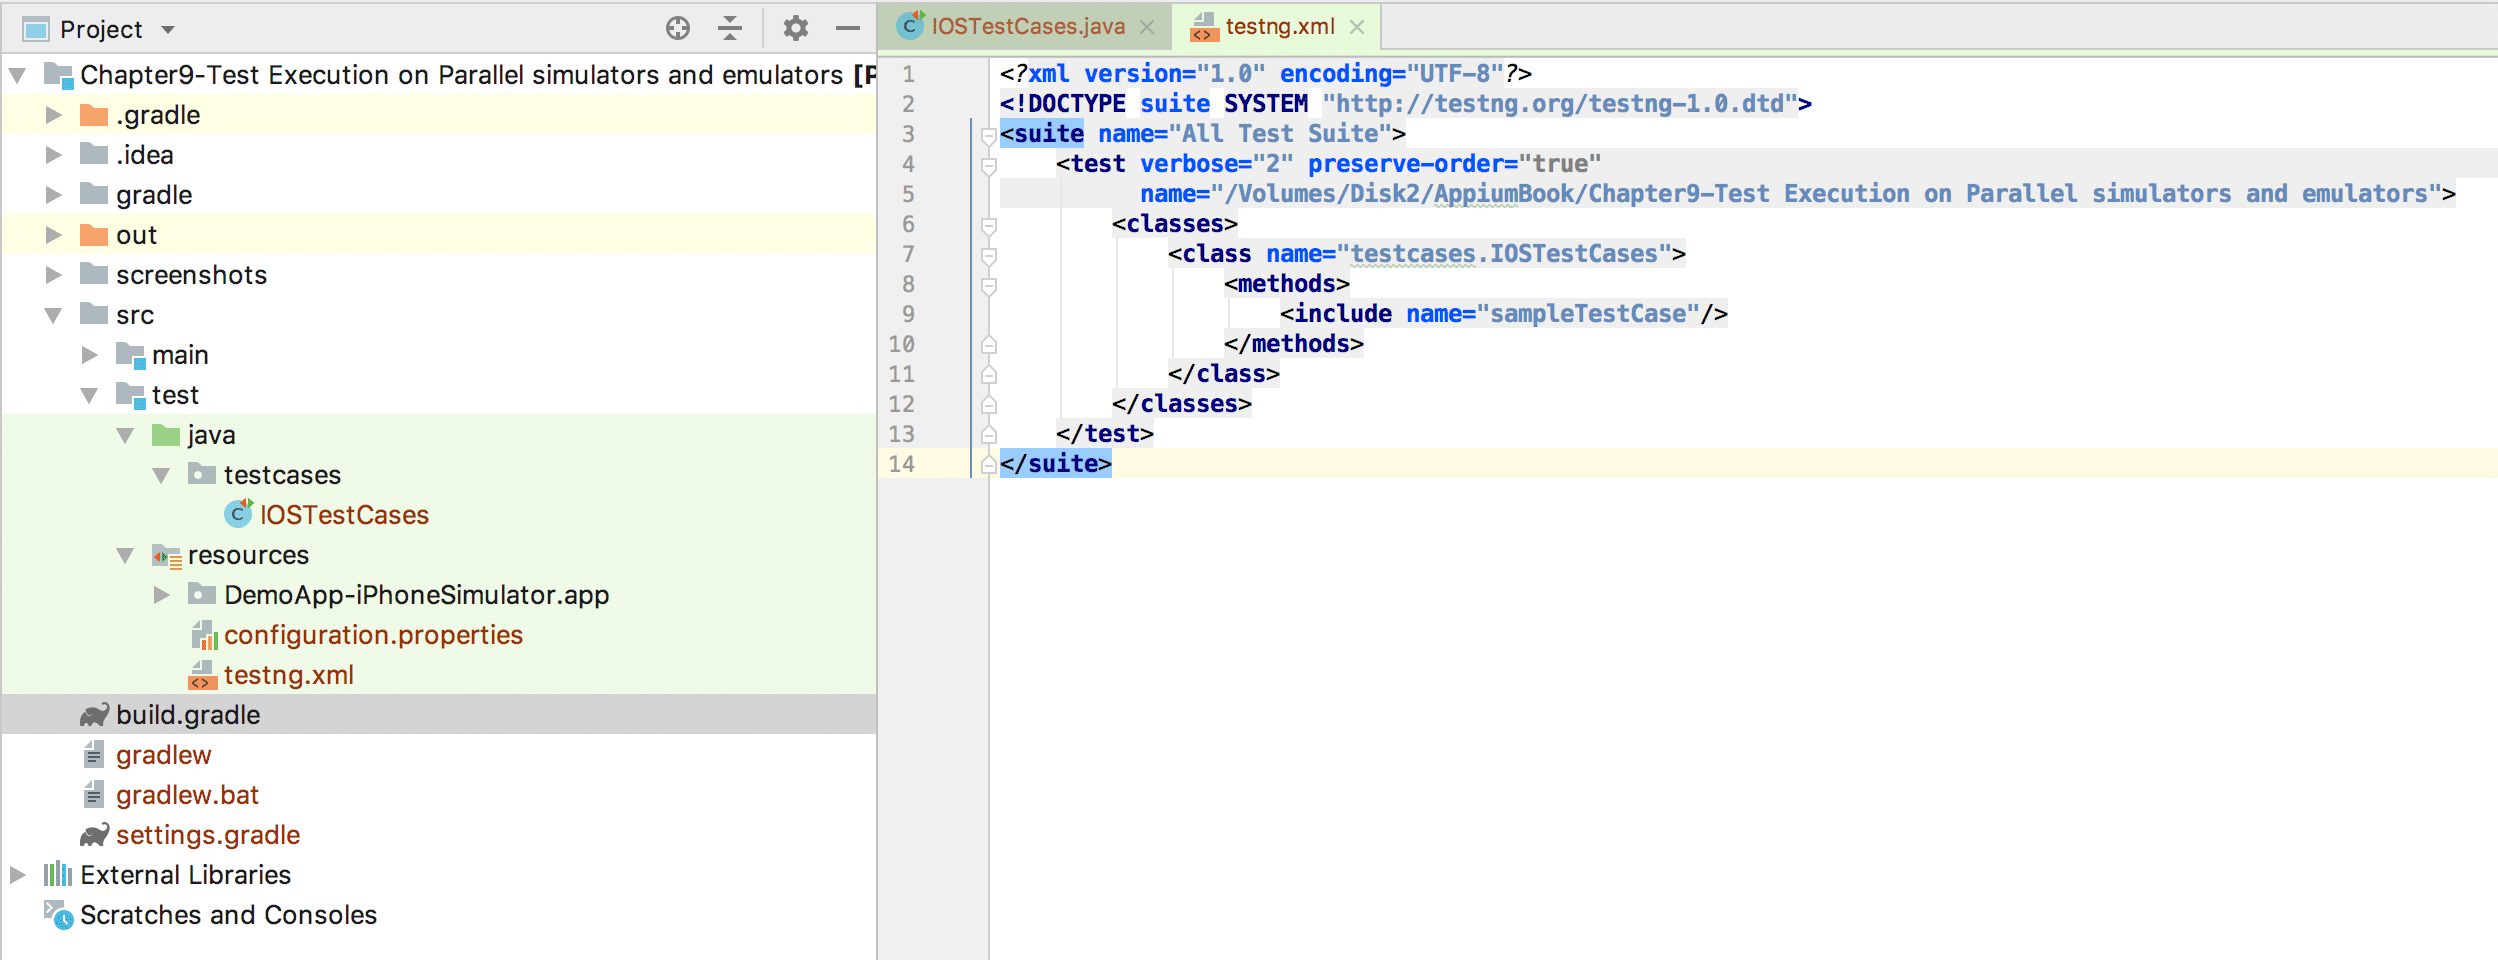
After putting the above test script into a IntelliJ java project, we can execute the test cases. But now we will use the testng.xml method for execution.
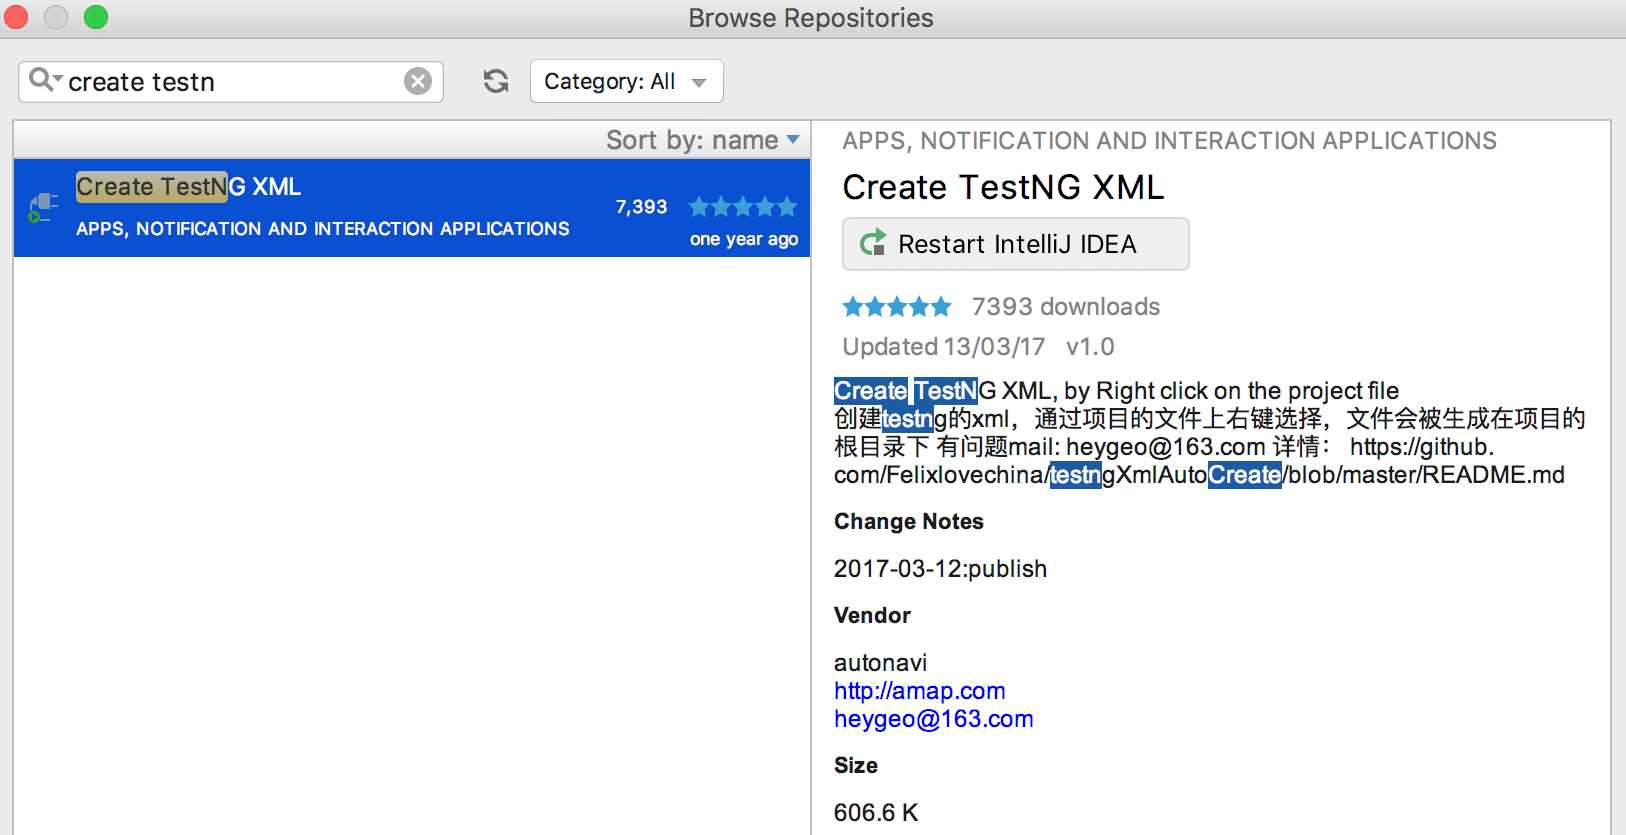
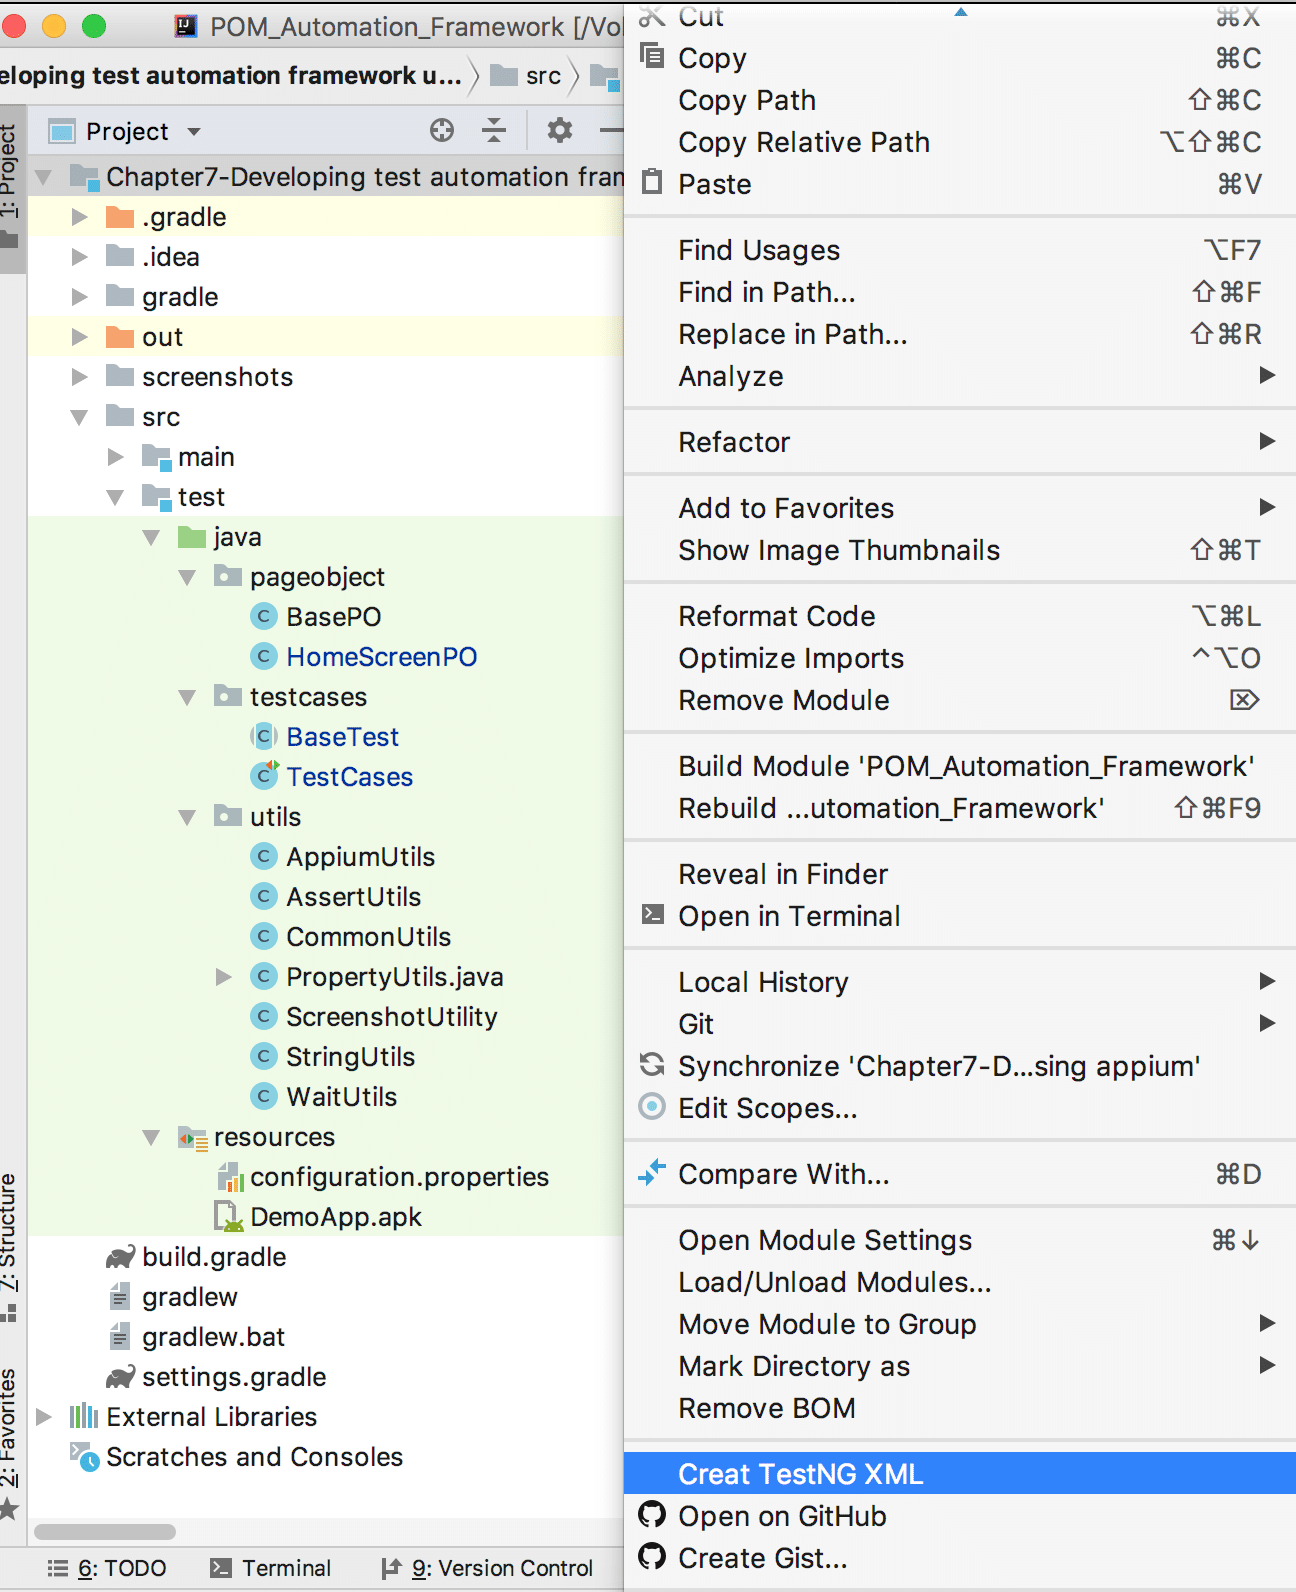
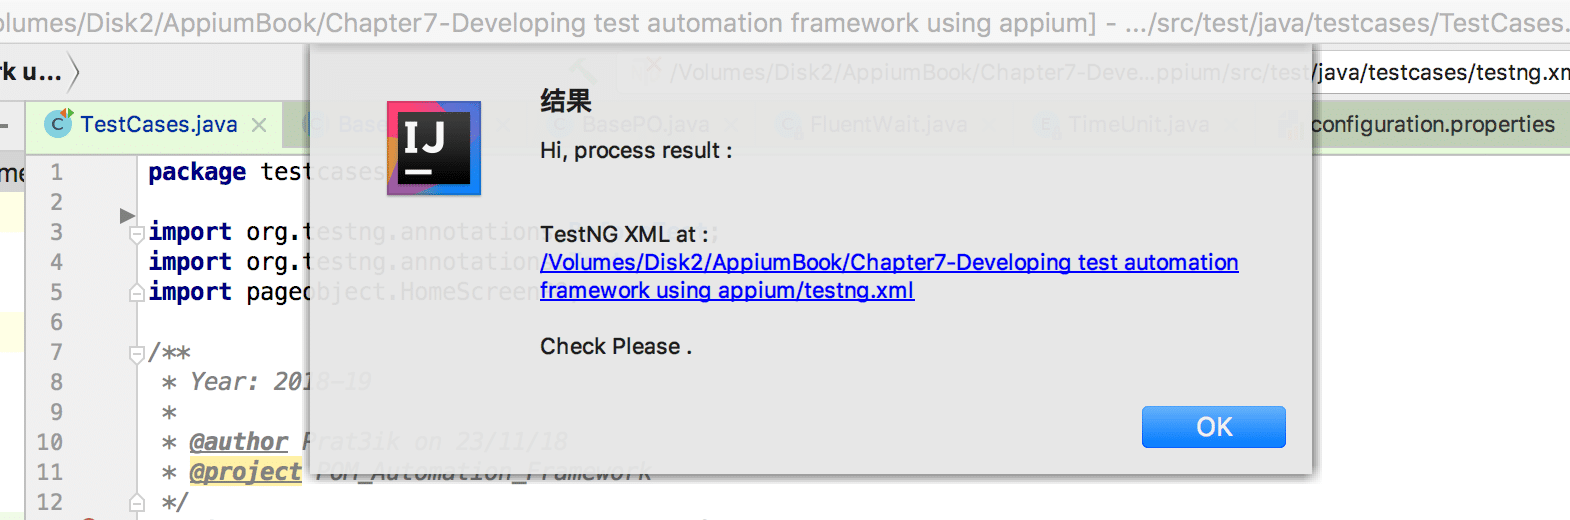
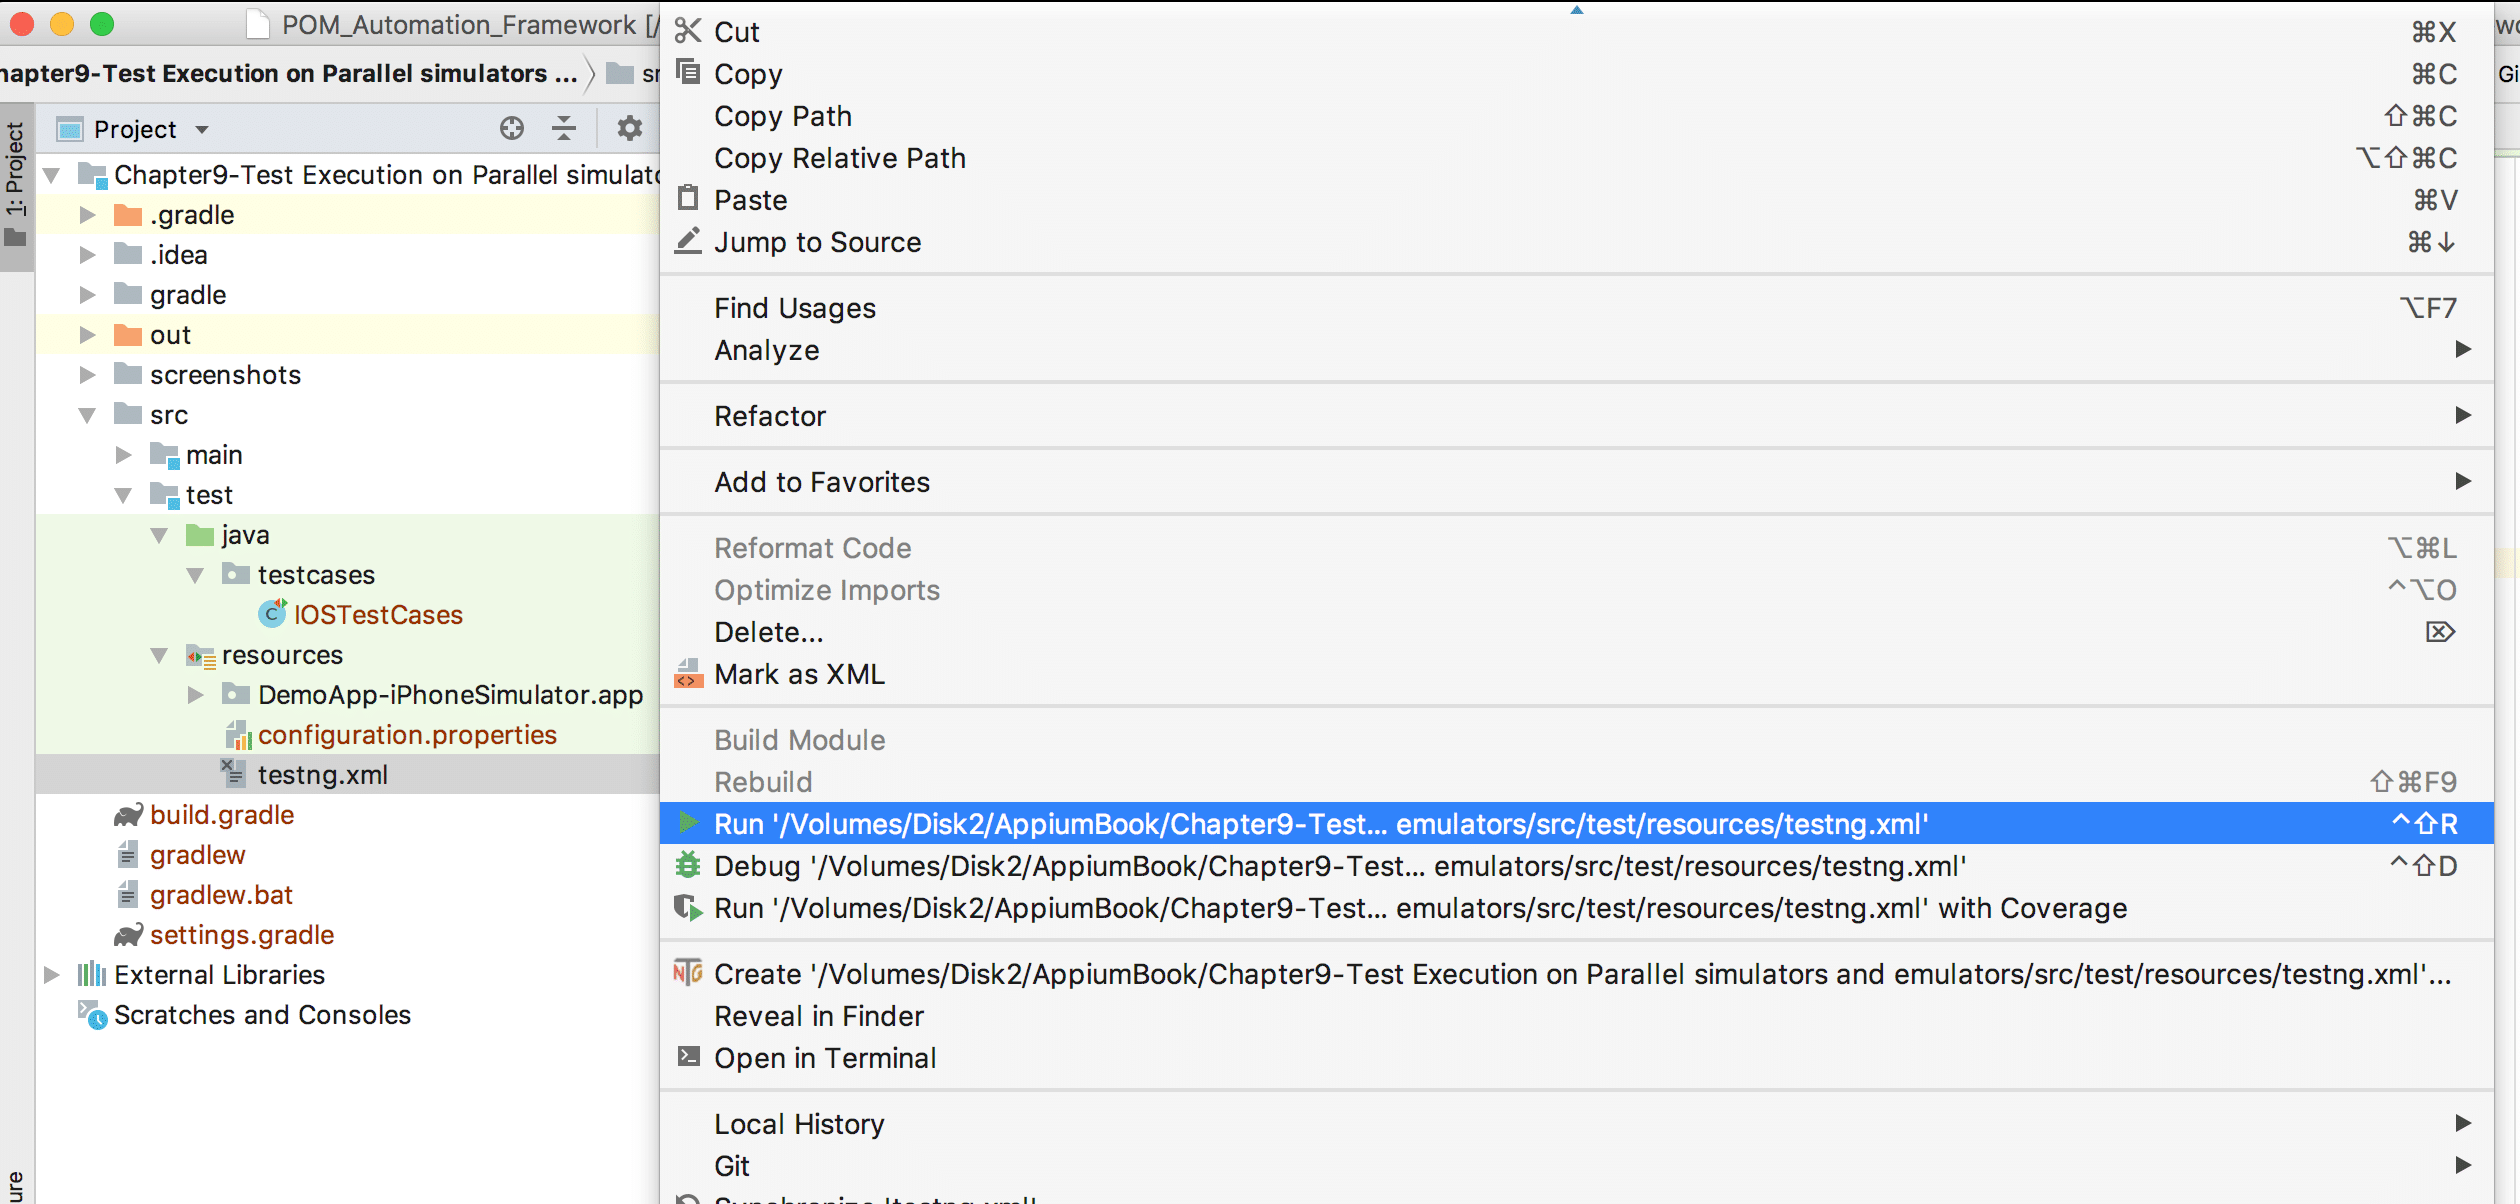
Unfortunately, by default testng.xml is not available to the project so we need to create it. But you can do it in 2 ways:
<?xml version="1.0" encoding="UTF-8"?>
<!DOCTYPE suite SYSTEM "https://testng.org/testng-1.0.dtd">
			<suite name="All Test Suite">
			    <test verbose="2" preserve-order="true" name="/Volumes/Disk2/AppiumBook/Chapter9-Test Execution on Parallel simulators and emulators">
			     <classes>
			         <class name="testcases.IOSTestCases">
			             <methods>
			                 <include name="sampleTestCase"/>
			              </methods>
			          </class>
			      </classes>
			    </test>
			</suite>
<?xml version="1.0" encoding="UTF-8"?>
<!DOCTYPE suite SYSTEM "https://testng.org/testng-1.0.dtd">
<suite name="All Test Suite">
    <test verbose="2" preserve-order="true" name="/Volumes/Disk2/AppiumBook/Chapter9-Test Execution on Parallel simulators and emulators">
        <groups>
            <run>
                <include name="sample"/>
            </run>
        </groups>
        <classes>
            <class name="testcases.IOSTestCases"/>
        </classes>
    </test>
</suite>
Well, the answer is just a 2 step process:
And that’s it, your tests under the IOSTestCases will start the execution sequentially.
Our Goal is to execute a single test case(sampleTestCase) written in IOSTestCase.java on 3 iOS Simulators (iPhone 7, iPhone 8 and iPhone X) in parallel.
In order to achieve that we need to understand 2 important concepts:
Now let’s come to the parallelization part. If you want to run test cases in parallel then you need to use attributes along with the tag.
To reach our goal, we need to execute test cases from IOSTestCases.java on 3 iOS simulators in parallel. Below is the testng.xml file we can use:
<?xml version="1.0" encoding="UTF-8"?>
<!DOCTYPE suite SYSTEM "https://testng.org/testng-1.0.dtd">
<suite name="All Test Suite" parallel="tests" thread-count="3">
    <test name="test1">
        <parameter name="wda" value="8100"/>
        <parameter name="deviceName" value="iPhone 7"/>
        <parameter name="port" value="4725"/>
        <classes>
            <class name="testcases.IOSTestCases"/>
        </classes>
    </test>
    <test name="test2">
        <parameter name="wda" value="8200"/>
        <parameter name="deviceName" value="iPhone 8"/>
        <parameter name="port" value="4726"/>
        <classes>
            <class name="testcases.IOSTestCases"/>
        </classes>
    </test>
    <test name="test3">
        <parameter name="wda" value="8300"/>
        <parameter name="deviceName" value="iPhone X"/>
        <parameter name="port" value="4727"/>
        <classes>
            <class name="testcases.IOSTestCases"/>
        </classes>
    </test>
</suite>
After adding this to testng.xml, you just need to Right click on it and select Run option, and you will see the 3 iOS Simulators will open and each of them will execute test cases in parallel. Great!
We have discussed only one possible way to achieve parallelization. There are many other ways out there and you can also create your own.
In the previous section, we looked at test execution on iOS Simulators, but what if you want to execute tests on Real Devices? In the next article, we will look at using a cloud testing service like Kobiton, but for now, let’s look at how you may need to run parallel tests using the real-devices on-hand.
The answer is pretty simple – we just need to pass UDID as a 4th parameter.
Let’s understand this by way of an example. Let’s say we have 2 real iOS Devices connected to our Mac host and we want to run the test cases on that in parallel. Please look at the table below for Device capability and Port information.
| No. | Appium Server Port | Real Device Name | UDID | WDA Local Port |
|---|---|---|---|---|
| 1 | 4725 | John’s iPhone | 2b6f0cc904d137be2e1730235f5664094b831186 | 8100 |
| 2 | 4726 | iPhone | d137be2e12b6f0cc90473031186235f5664094b8 | 8200 |
| 3 | 4727 | iPhone X | 137b30235f5664094b831186e22b6f0cc904de17 | 8300 |
IOSTestCases.java and testng.xml will look like below.
IOSTestCases.java
		@Parameters({"wda", "udid", "deviceName", "port"})
		@BeforeTest
		public void setUp(long wda, String udid, String deviceName, String port){
		AppiumDriverLocalService service = new AppiumServiceBuilder().usingPort(Integer.valueOf(port)).build();
		service.start();
		DesiredCapabilities dc = new DesiredCapabilities();
		dc.setCapability(IOSMobileCapabilityType.WDA_LOCAL_PORT, wda);
		dc.setCapability(MobileCapabilityType.UDID, udid);
		dc.setCapability(MobileCapabilityType.DEVICE_NAME, deviceName);
		….
		….
		}
testng.xml
<?xml version="1.0" encoding="UTF-8"?>
<!DOCTYPE suite SYSTEM "https://testng.org/testng-1.0.dtd">
<suite name="All Test Suite" parallel="tests" thread-count="2">
    <test name="test1">
        <parameter name="wda" value="8100"/>
        <parameter name="udid" value="2b6f0cc904d137be2e1730235f5664094b831186"/>
        <parameter name="deviceName" value="John’s iPhone"/>
        <parameter name="port" value="4725"/>
        <classes>
            <class name="testcases.IOSTestCases"/>
        </classes>
    </test>
    <test name="test2">
        <parameter name="wda" value="8200"/>
        <parameter name="udid" value="d137be2e12b6f0cc90473031186235f5664094b8"/>
        <parameter name="deviceName" value="iPhone"/>
        <parameter name="port" value="4726"/>
        <classes>
            <class name="testcases.IOSTestCases"/>
        </classes>
    </test>
    <test name="test3">
        <parameter name="wda" value="8300"/>
        <parameter name="udid" value="137b30235f5664094b831186e22b6f0cc904de17"/>
        <parameter name="deviceName" value="iPhone X"/>
        <parameter name="port" value="4727"/>
        <classes>
            <class name="testcases.IOSTestCases"/>
        </classes>
    </test>
</suite>
Everything else remains consistent.
You just need to change the device name in testng.xml. Using $ adb devices you can get the connected real device names.
testng.xml
<?xml version="1.0" encoding="UTF-8"?>
<!DOCTYPE suite SYSTEM "https://testng.org/testng-1.0.dtd">
<suite name="Android Test Suite" parallel="tests" thread-count="2">
    <test name="test1">
        <parameter name="platformVersion" value="7.0"/>
        <parameter name="deviceName" value="B6AUTSZDYPSOZD7S"/>
        <parameter name="port" value="4739"/>
        <classes>
            <class name="testcases.AndroidTestCases"/>
        </classes>
    </test>
    <test name="test2">
        <parameter name="platformVersion" value="8.0"/>
        <parameter name="deviceName" value="c4e3f3cd"/>
        <parameter name="port" value="4740"/>
        <classes>
            <class name="testcases.AndroidTestCases"/>
        </classes>
    </test>
</suite>
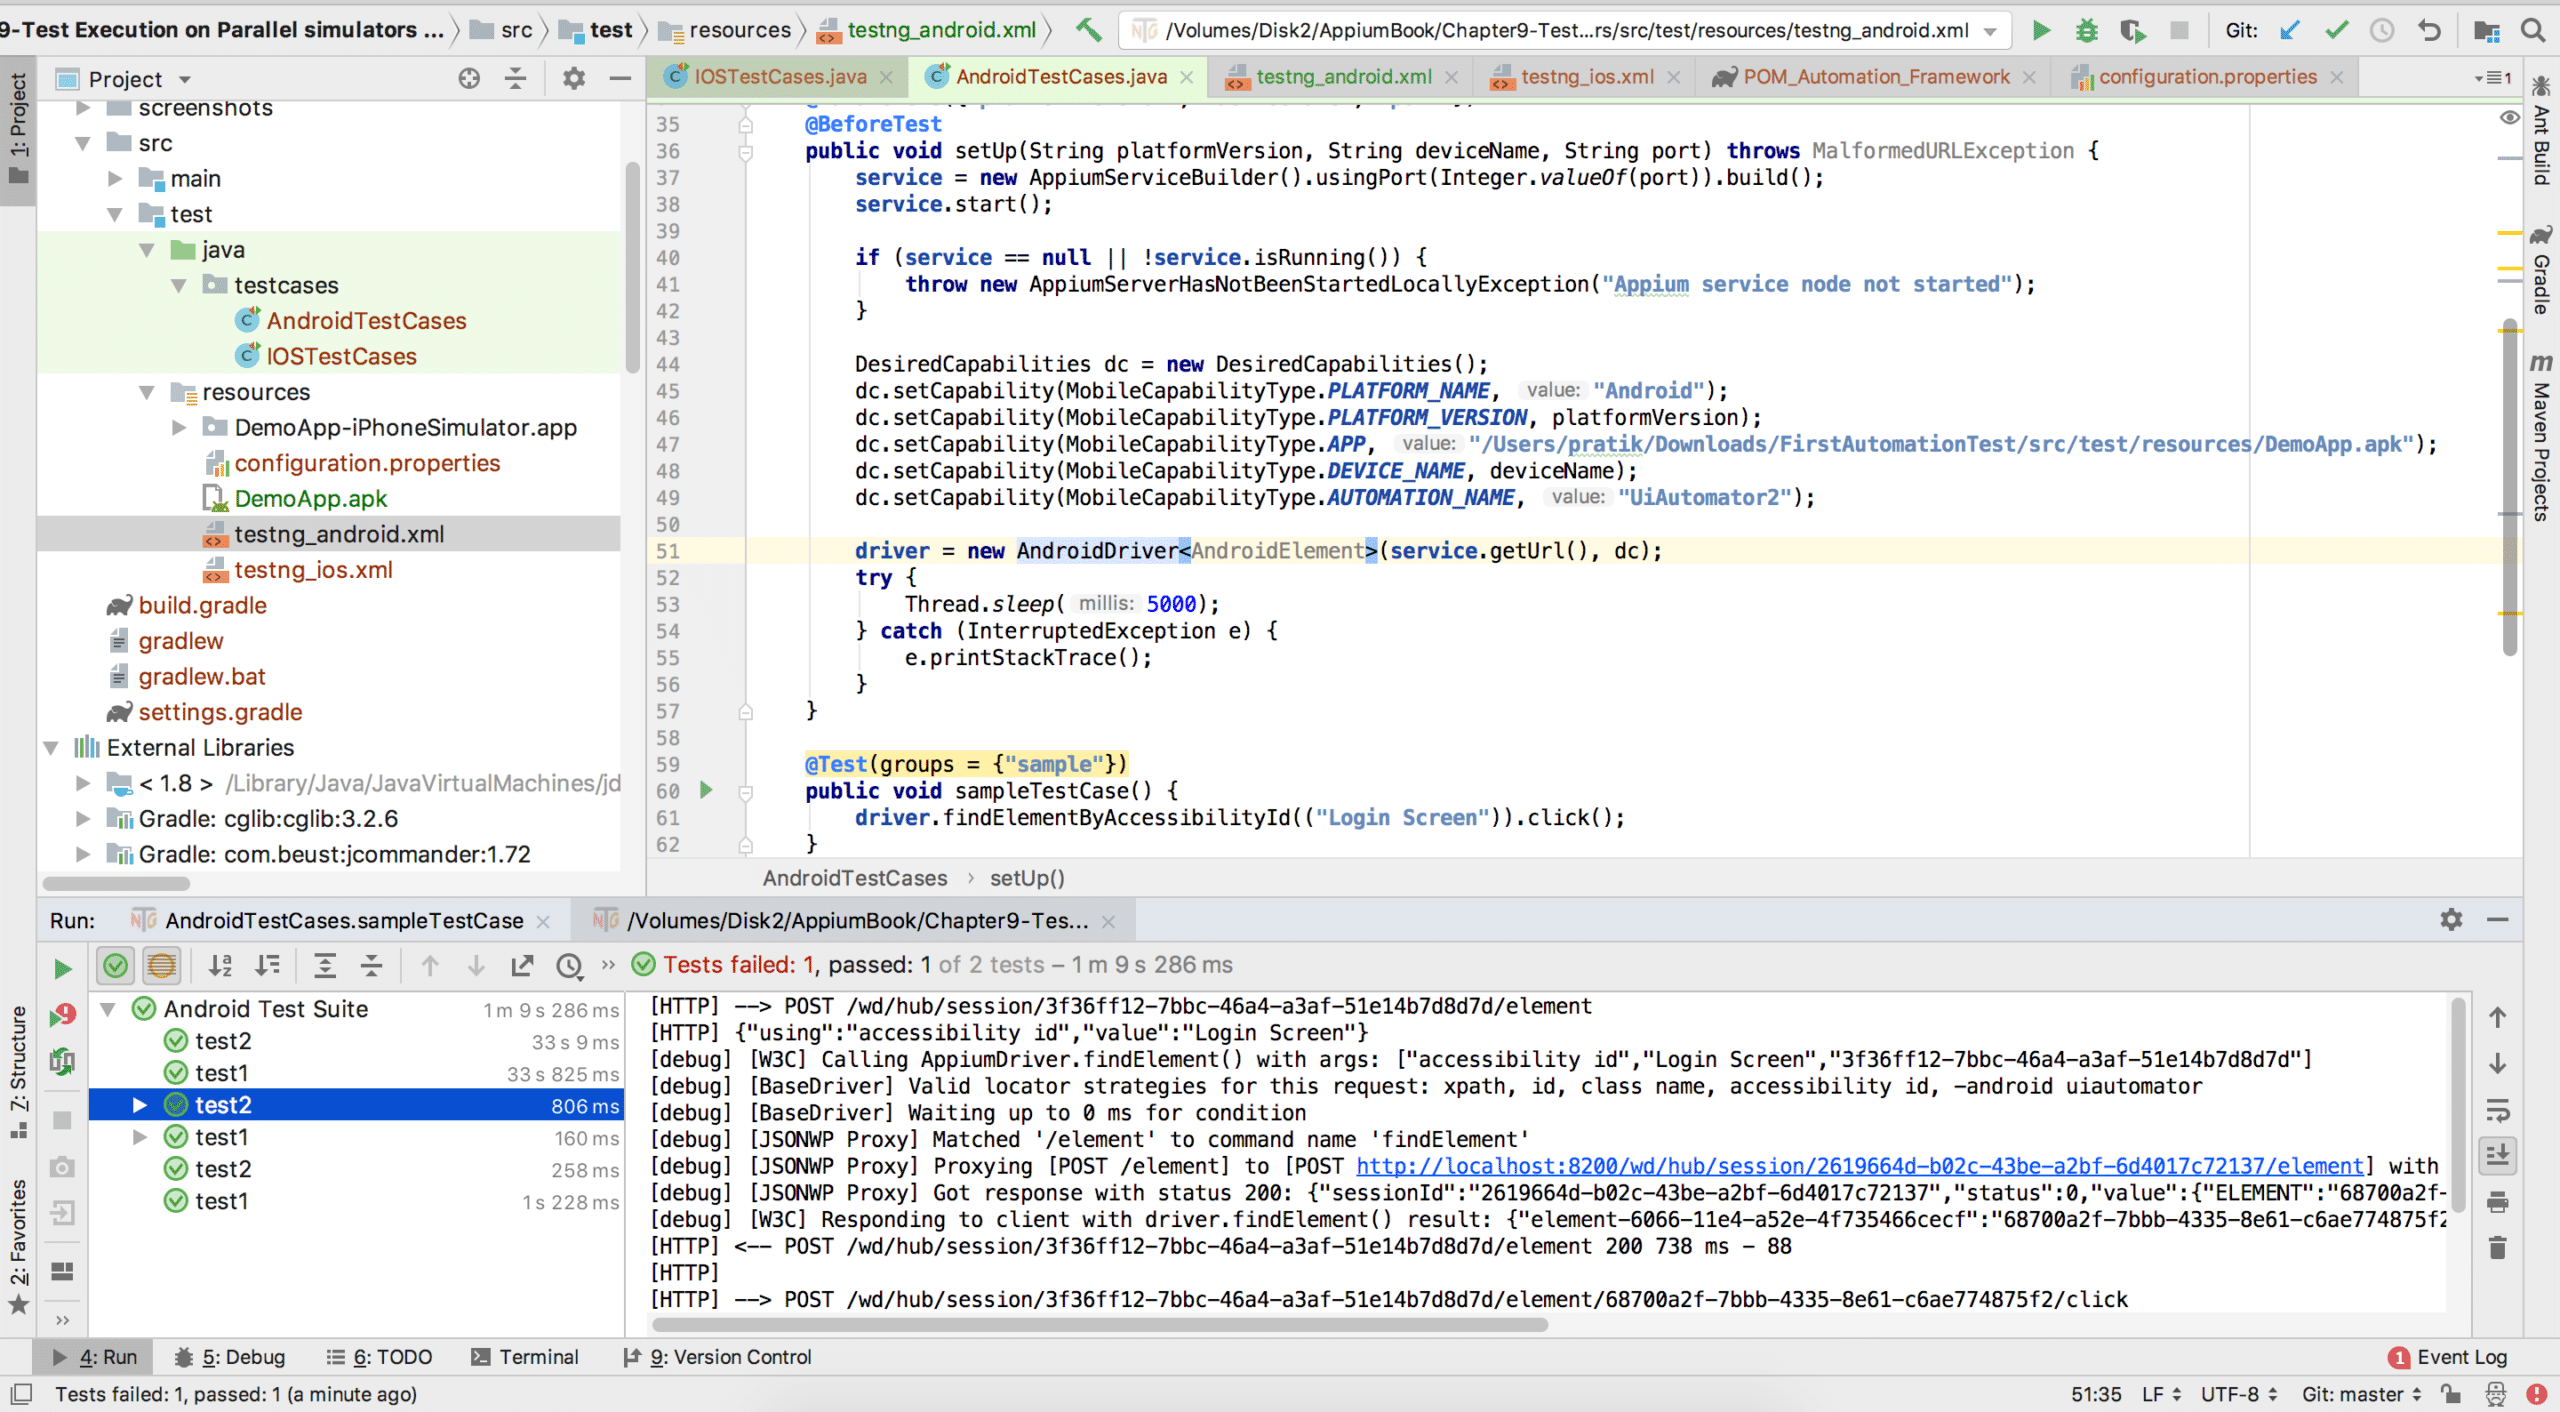
When you execute the above testng.xml you can get output result similar to the below image.
You can also find this example on our Github page as well: https://github.com/appiumbook/appiumbook/tree/master/Chapter9-Test%20Execution%20on%20Parallel%20simulators%20and%20emulators
So, that was all about parallel execution on Appium using TestNG. As we discussed, there are many other ways to achieve parallelization using TestNG, so using your custom logic, you can even execute tests for both iOS and Android.


